What Not to Clean, or How to Avoid Destroying Your Wurlitzer
Wurlitzers are pretty forgiving. If you damage something, you can usually fix or replace it and get your keyboard up and running again quickly. But certain parts of your Wurlitzer are harder to source. Here's a rundown of all the things in your Wurlitzer that you should avoid breaking if at all possible.
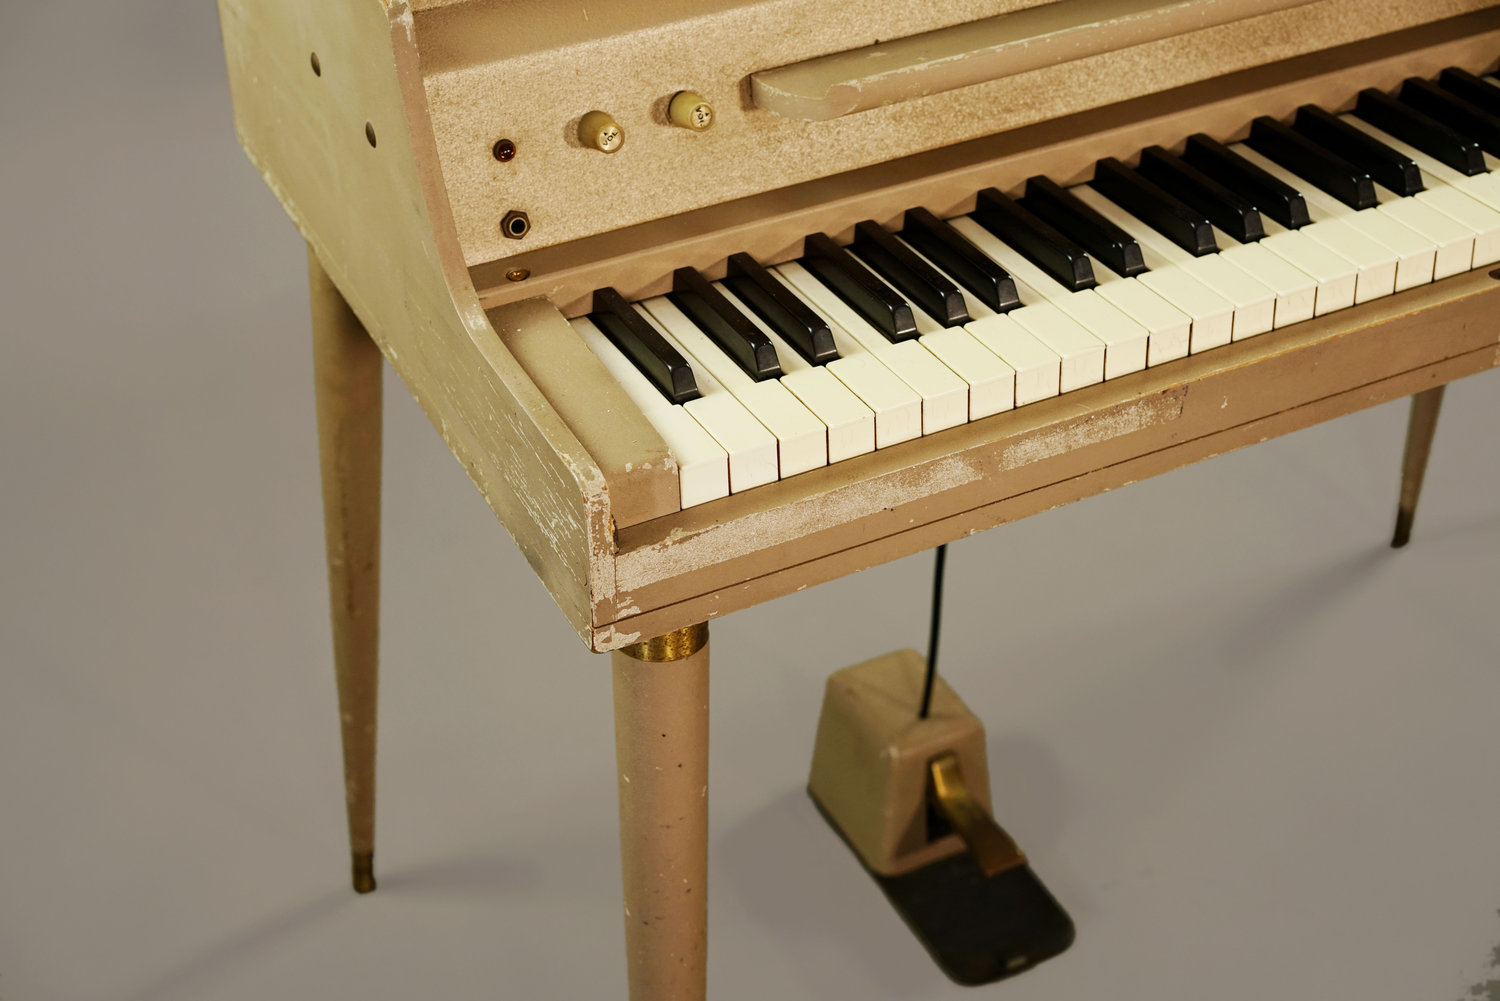
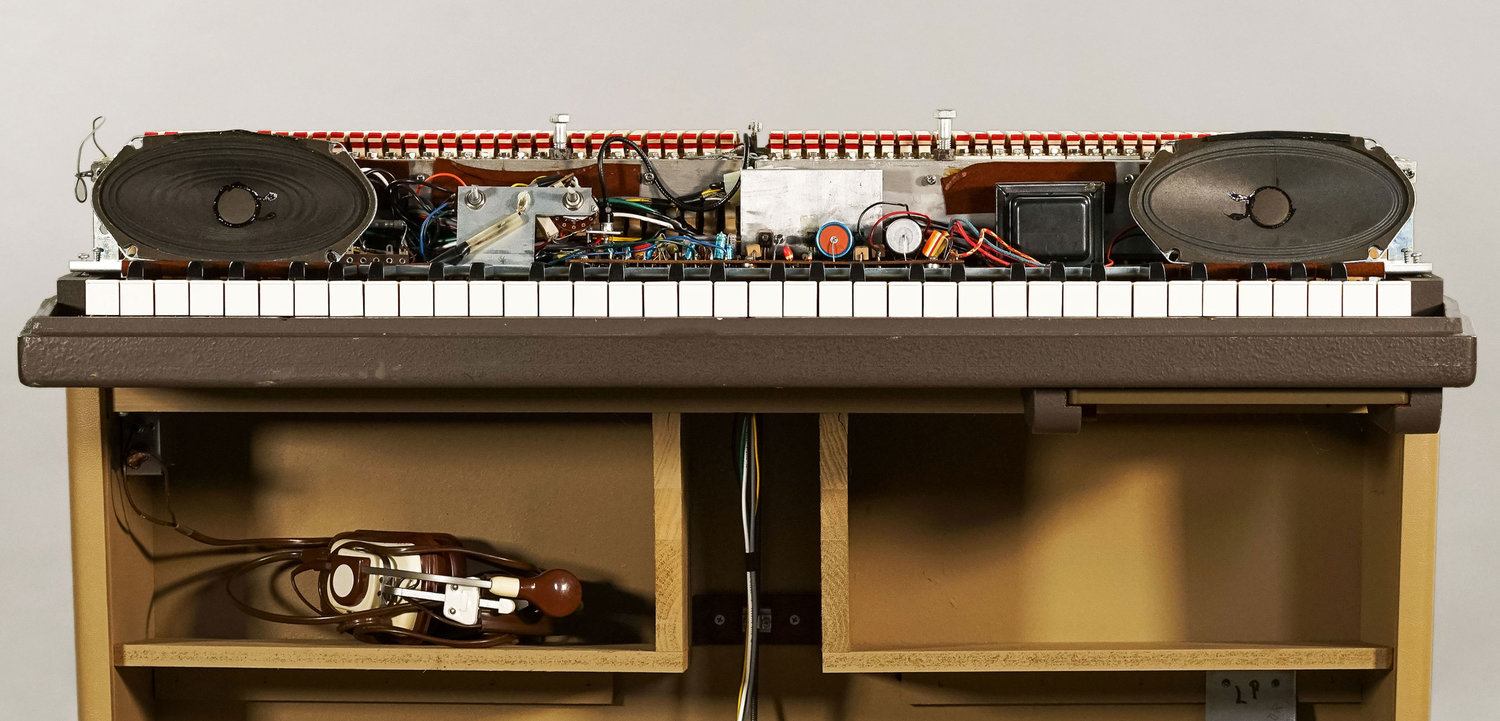
The electrostatic paint. This is the bumpy stuff underneath the metal lid of a Wurlitzer 140/145. It's also the weird chalky black paint inside the case of a 100-series Wurlitzer (except for the earliest ones) and under the keybed of a 200-series Wurlitzer.
This paint helps shield the Wurlitzer’s electronics. You can clean it with mild detergent and a minimal amount of water, but don't scrape it up, sand it away, or paint over it. If you do, you could interfere with the shielding and cause your Wurlitzer to develop a hum.
The most important place where this paint should stay intact is where the metal lid of a 100-series Wurlitzer is screwed to the body. The lid rests in a little lip on the case, and there's a braided wire on the reed bar that is stuffed between the lid and the lip. The lid is an important piece of shielding, but it must connect to chassis ground to work properly. The braided wire is its main connection.
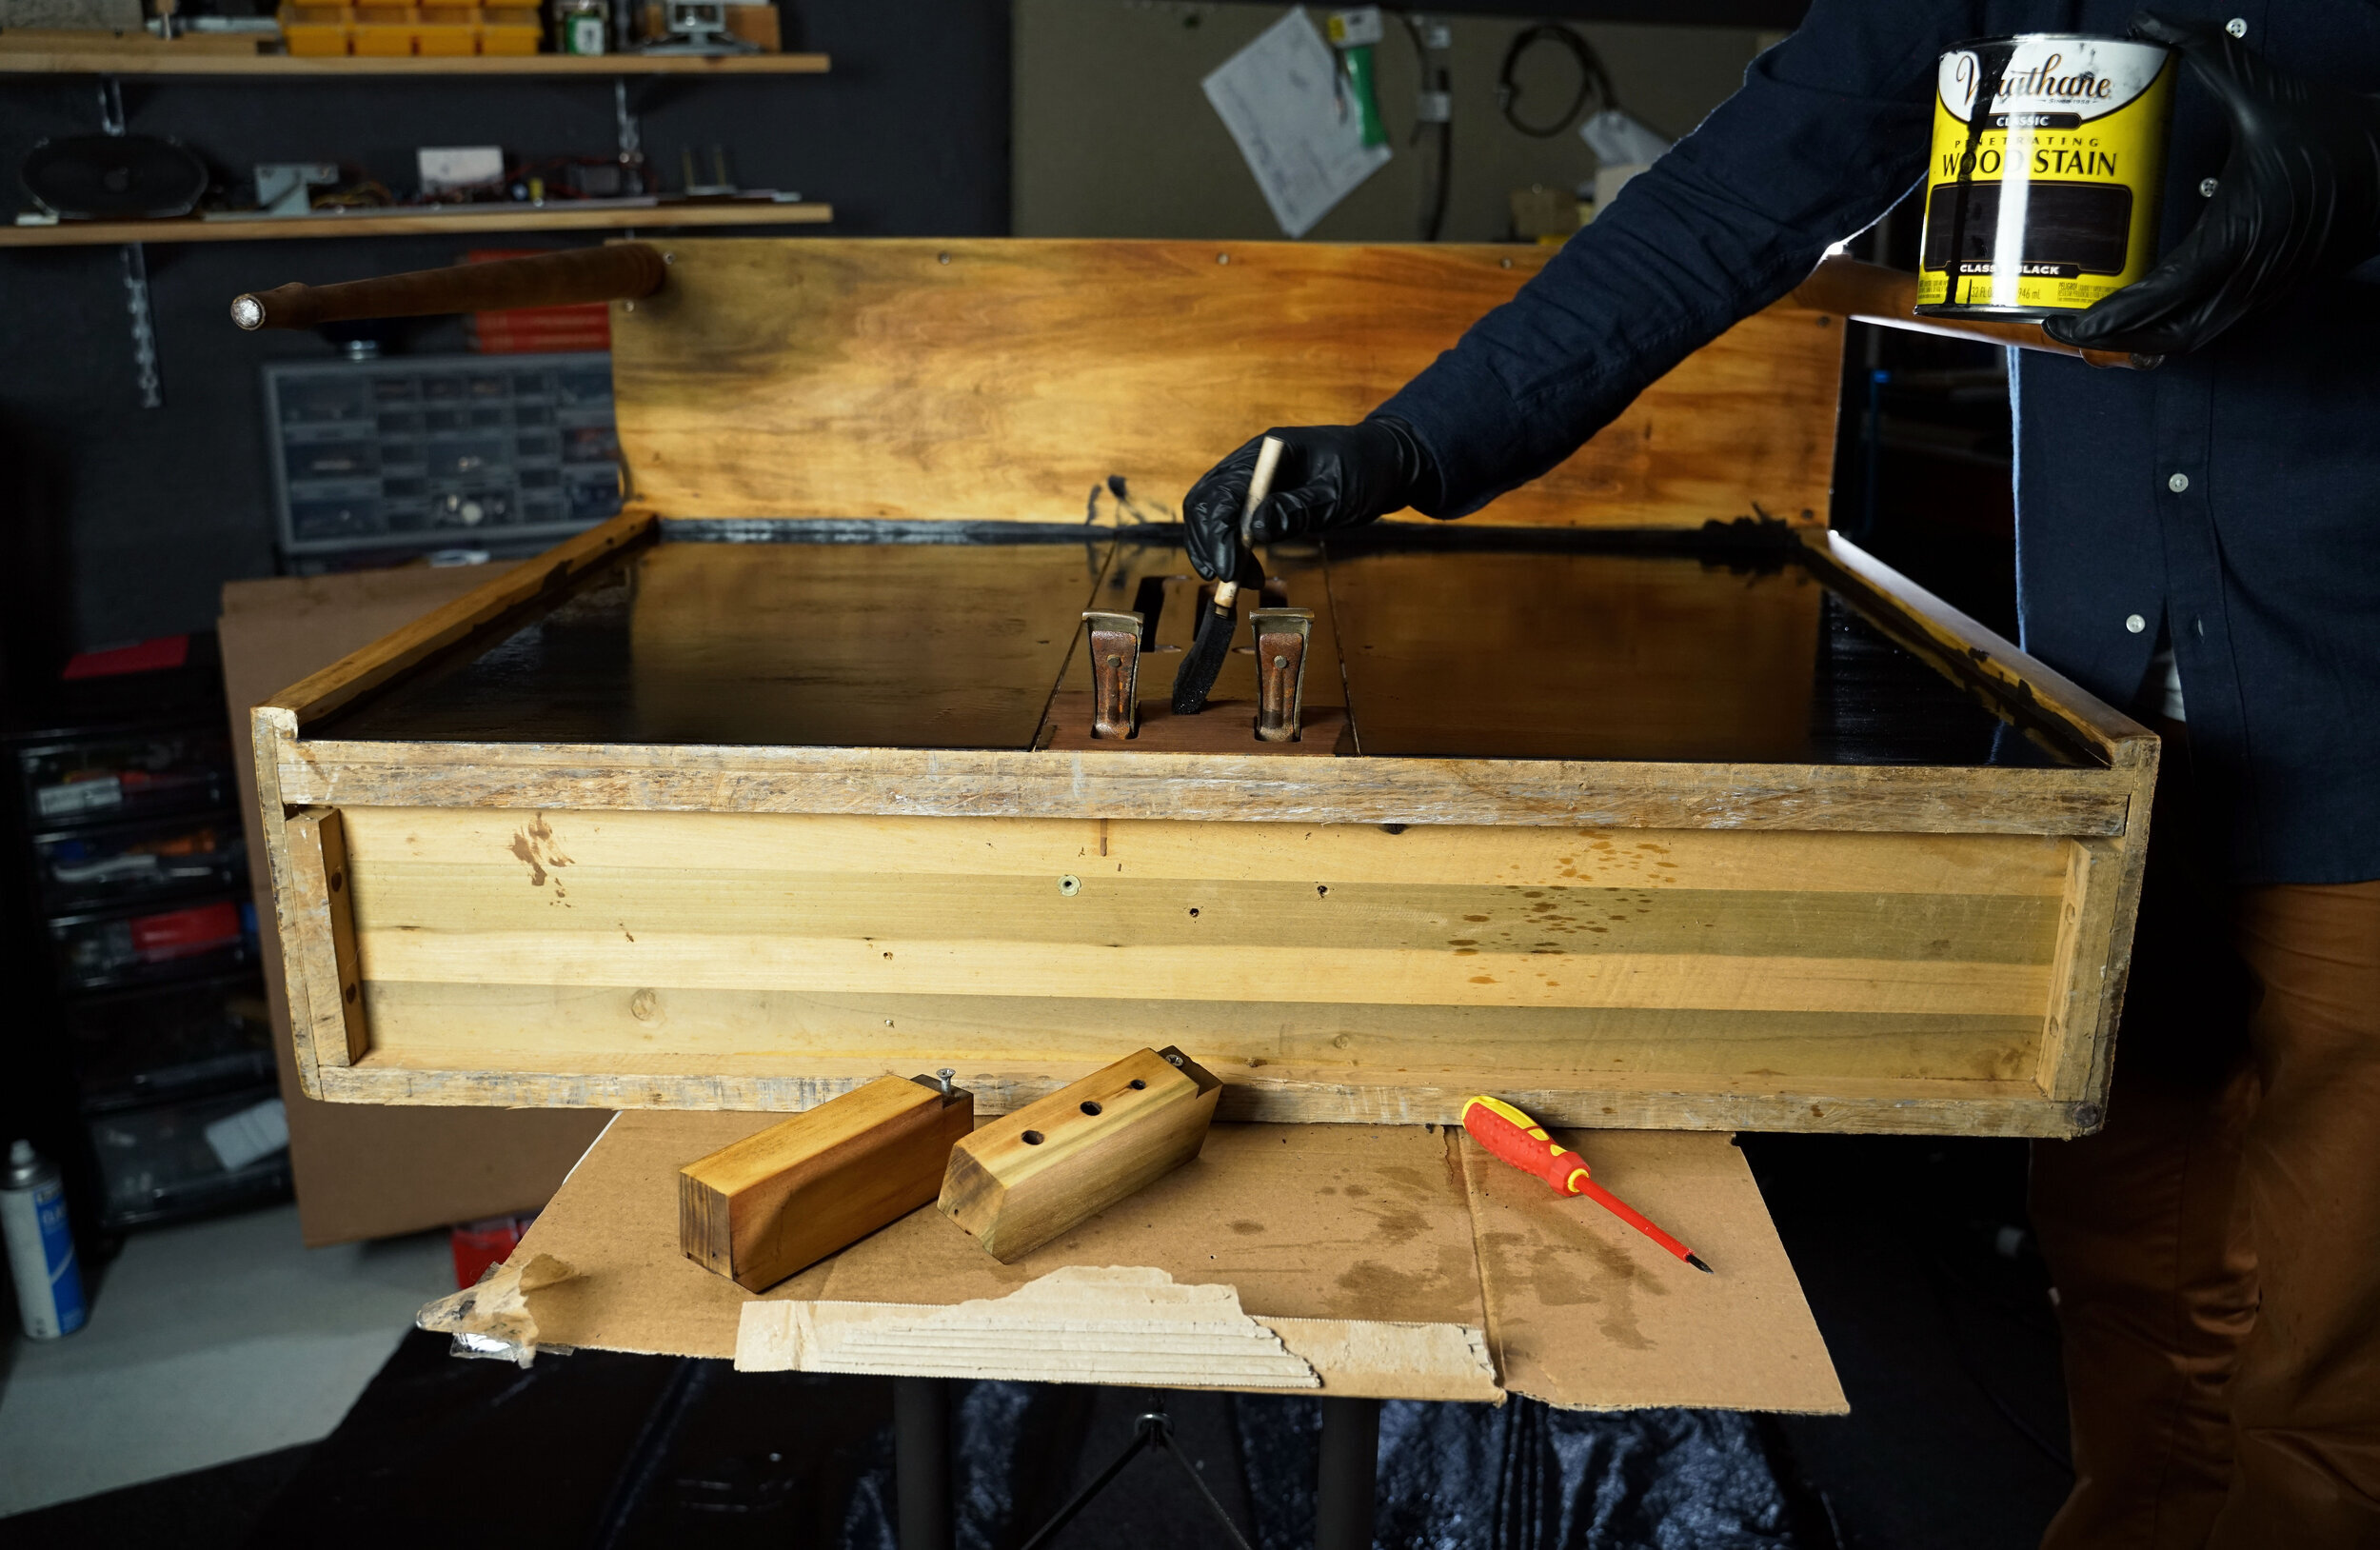
If the Wurlitzer was refinished and the black paint on the lip was painted over, use a piece of 1000-grit sandpaper and gently sand the new paint until you uncover the old black paint. The layer of black paint is extremely thin, so work slowly and be very careful not to sand past it. The most important point is where the braided wire meets the metal lid, so uncovering the black paint here should get you pretty far.
Remember that if you hear loud popping sounds after sanding any part of your Wurlitzer, there's dust on your reed bar. Clean it with canned air or a gentle brush.
The transformers. If the transformers are rusty, do not attempt to clean them. The rust has already eaten away at the metal beneath, and cleaning it off will negatively affect the transformer’s magnetic fields and cause it to fail. An amp with rusty transformers is still usable, but note that the rust may cause the transformer to run hotter than intended. You can slow down the rust by knocking off any loose pieces of debris and then spray painting the transformer. This tends to insulate the transformer, so if you choose to paint it be aware of its temperature during use. Other options, of course, include installing a new transformer.
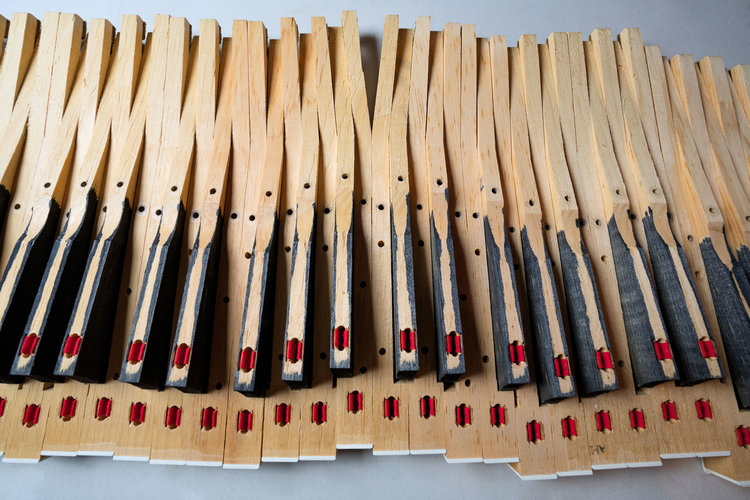
The reed bar. Never sand or otherwise modify the reed bar. If the reed you have simply doesn't fit in its slot, you likely have the wrong reed. If you’re in a pinch and must make what you have work, sand the reed itself, not the reed bar. You can always replace a reed if your experiment fails, but you'd need to get a new Wurlitzer to replace the reed bar.
What about the other rare parts? Any Wurlitzer has a lot of rare parts (try replacing a lid, for instance), but most of them should be pretty self-explanatory as far as cleaning goes. As a rule, if you're going to use any cleaning product on a Wurlitzer, spot test it first in an inconspicuous area. If you spot test, use decent-quality products, and exercise your best judgment, you should be fine.
One final piece of advice: read the label of any product you plan to use on a Wurlitzer. A lot of people see a product in a spray bottle and assume that all you have to do is point-spray-wipe, but some products have special instructions. New things with new finishes can often tolerate off-label use of cleaning products, but a vintage item with an aging finish needs special care. So take the extra minute to read the label, and clean thoughtfully.
Further Reading
Browse all of our articles on restoring vintage gear. Or, click on an image below.