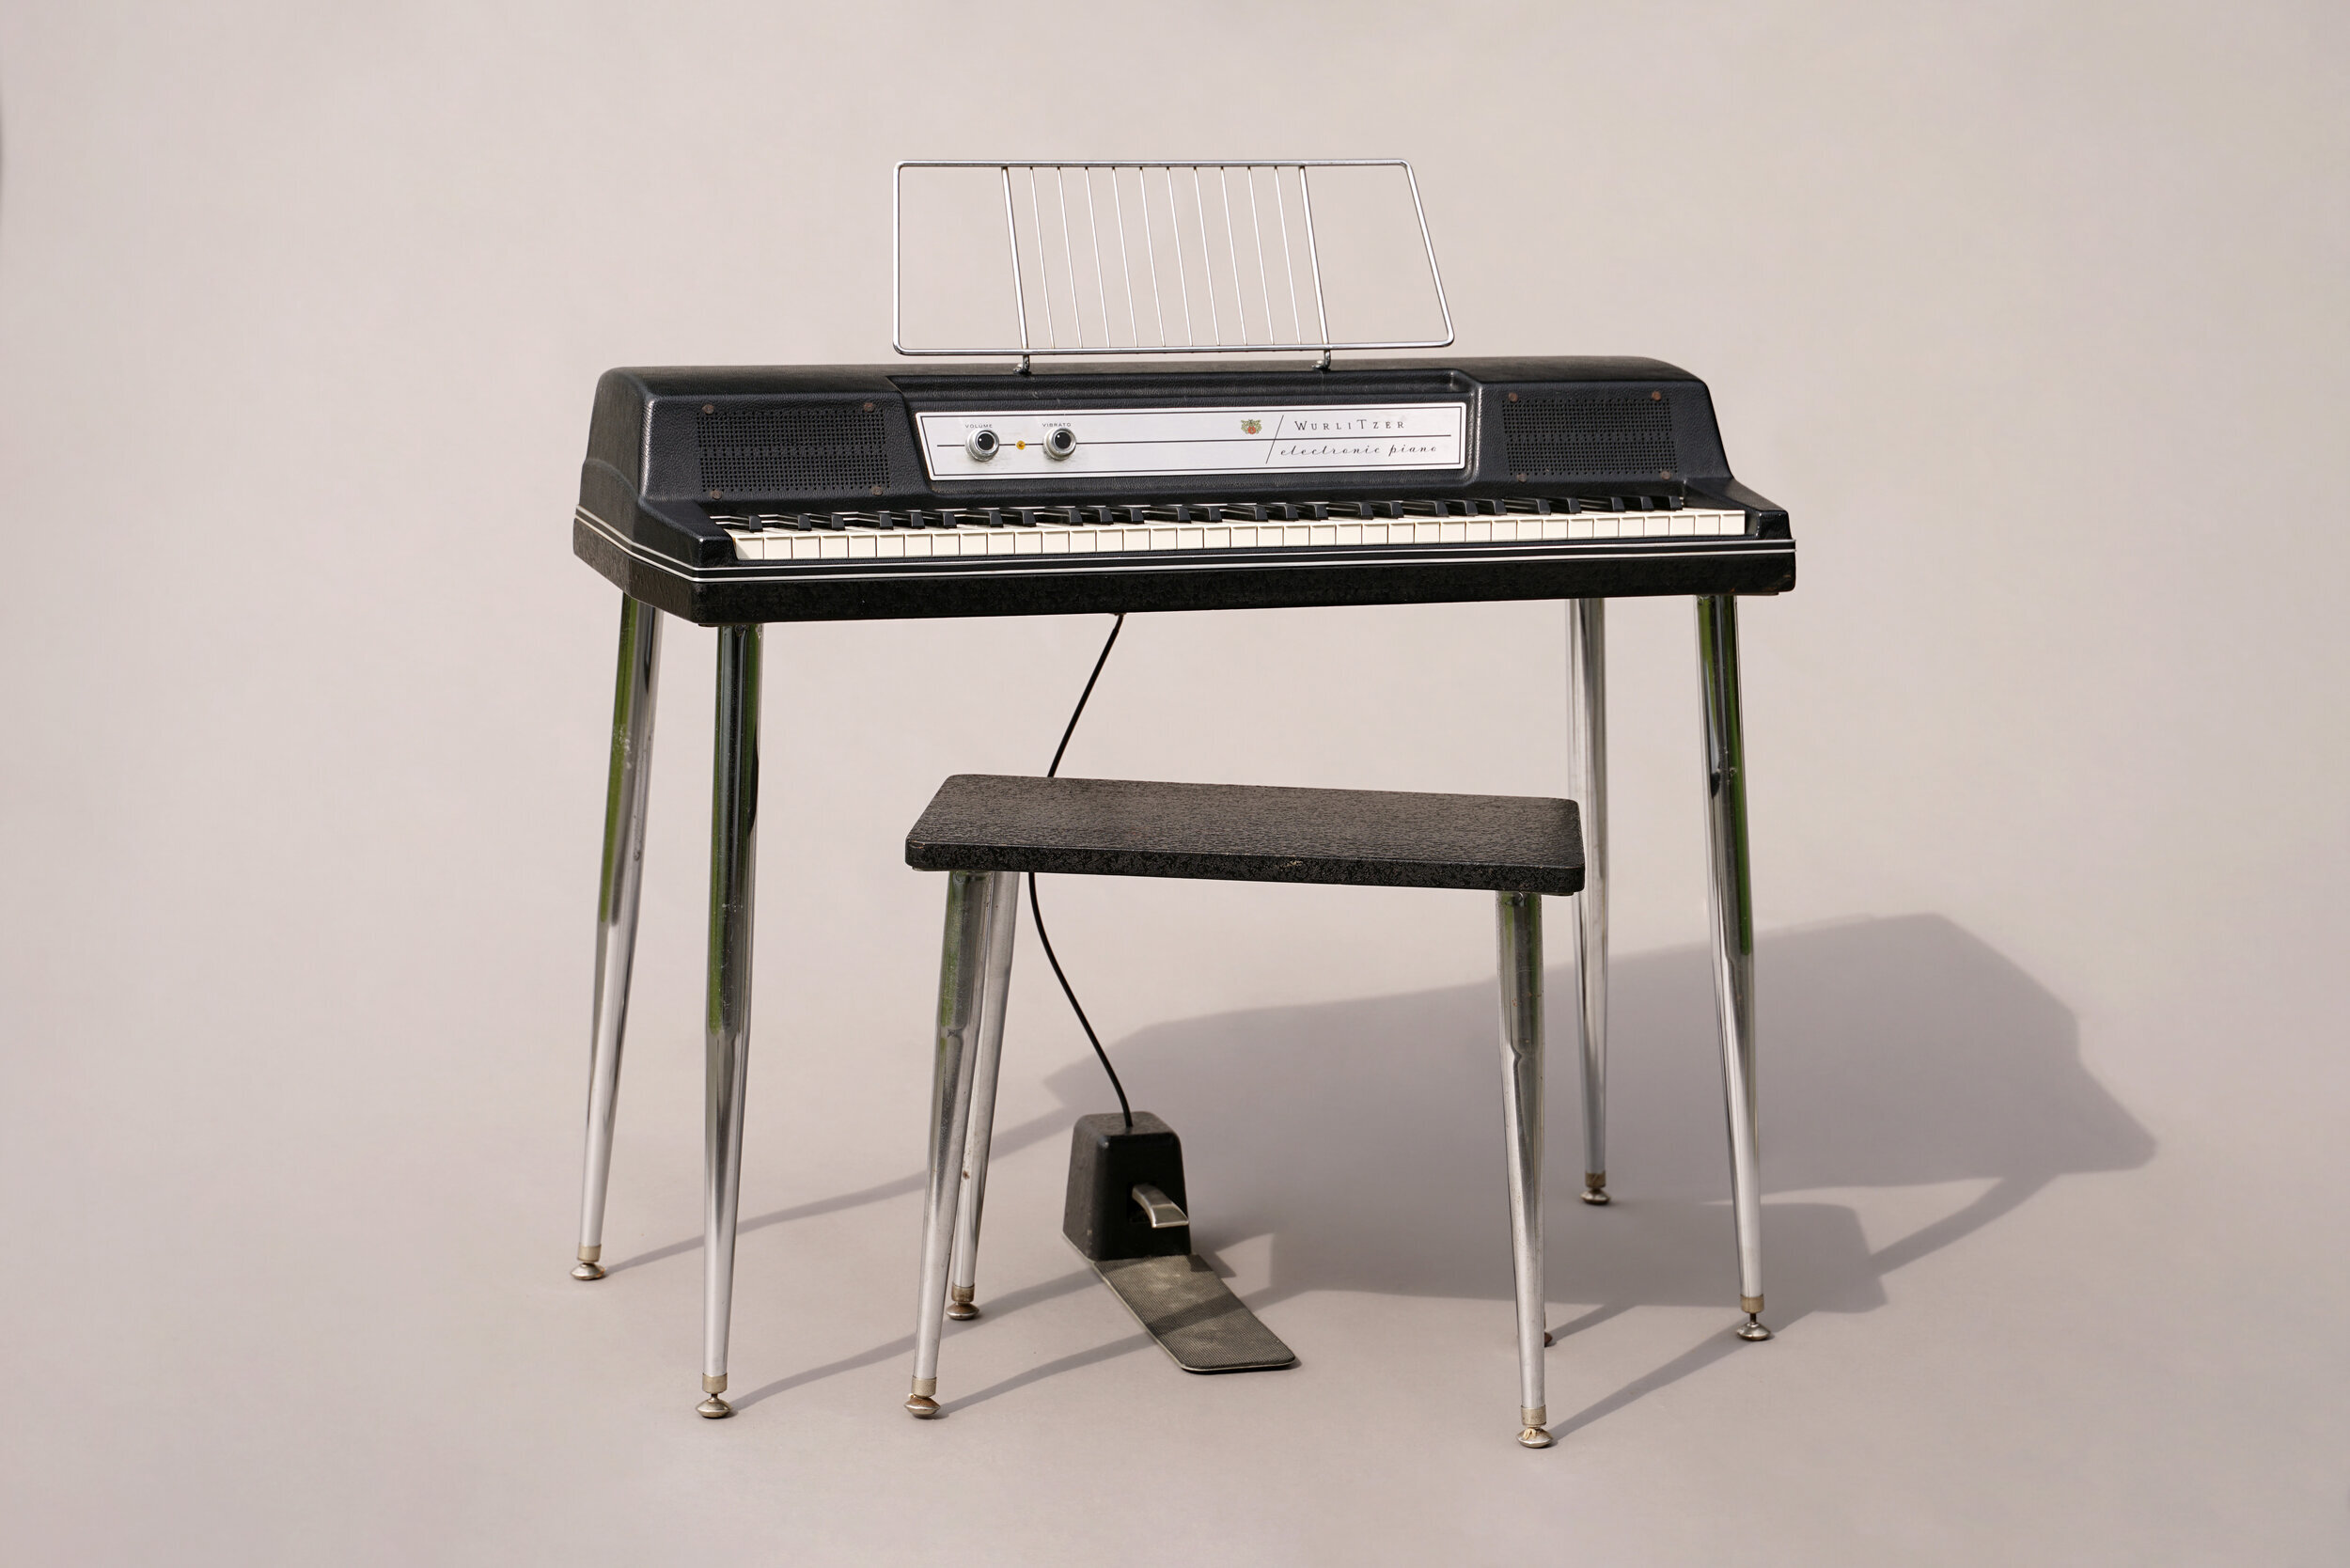
What to Look for When Buying a Wurlitzer 200 or 200a

Vintage instruments are the ‘real thing’ and were built to a different—possibly better—standard than modern ones. But let’s face it: some of them have been around the block, multiple times. And why not? They are decades old: someone should have enjoyed them. Hopefully, that person didn’t enjoy them too much and in the wrong way. (The sheet music holder is not a party convenience tray, necessarily.) For this reason, the vintage instrument market can be a scary and confusing place. Buying a Wurlitzer 200 or 200A is a prime example. Prices range, and if you have never have looked inside one, you possibly don’t know what to look for.
Before purchasing a Wurlitzer 200 or 200A, there are a few aspects of condition we like to take a look at when determining its value. These items will give some insight into the playability of the instrument and what might need servicing.
For the sake of this article we will focus on the interior and mechanical aspects of the Wurlitzer. If you are looking for a list of the exterior and detachable parts of the Wurlitzer please check out this article on what should come with a Wurlitzer 200 or 200A.
How to evaluate different parts of a Wurlitzer keyboard
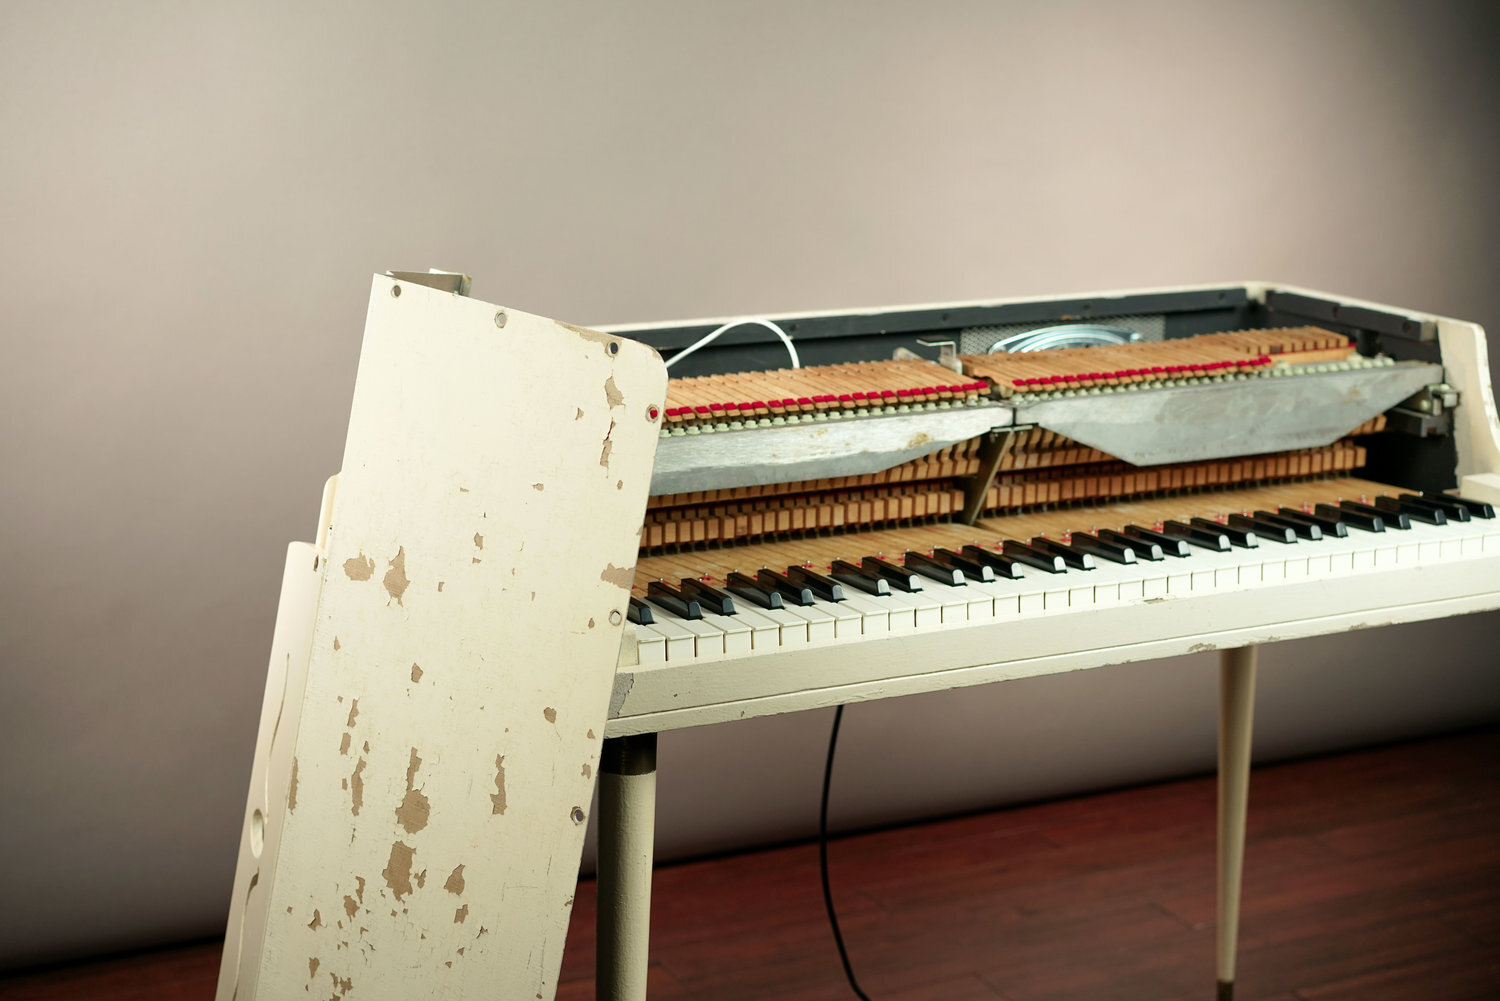
Damper felts. If you have a chance to look inside the Wurlitzer before purchasing it, do so. Here there are several felts that should, ideally, look fresh, full and soft. The damper felts are wedge- and cube-shaped felts that, as in a traditional piano, dampen the tone generators (in this case, the reeds). These felts should be non-compacted, close to white in color and not deformed much or caked. The less perfect the damper felts are, the less perfect they will perform their job of stopping the reeds from playing when you want them to.
Hammer felts. If this felt is in good shape, it will show evenness on the tip that meets the reed and will be less marked or compacted. The felt here should also look full and soft (although it is not meant to be as soft as damper felt). It should not be torn or missing. While some compacting is acceptable, torn or missing hammer felt will result in bare wood hitting the reeds, which will not sound good or consistent with the rest of the keyboard.
Bushing felts. These are the felts inside the little holes in the keys that allow them to fit on the key posts. You may not be able to visually inspect the key bushings if you are making a casual purchase, because in order to do so you will need to remove the keys, which requires removing the amp rail. The job of the bushing felts is to give the keys a smooth ride up and down the key posts. You can also check if the are loose by physically nudging the keys left and right. Too much movement means that something is up with the key bushings which should be addressed. Deteriorated bushing felts can also cause keys to stick.
Reeds. Reeds are hidden by the hum shield, but they should all be present. Checking their intonation or timbre is a job for your ears. Tuning reeds is possible—a little time-consuming, but definitely doable. If the timbre of a reed is really wonky, or too loud, it could be compromised, or a reed from a different series (or register, cut to replace a broken reed in a pinch).
Wooden mechanical parts. This includes damper arms, whips, keys and hammers. You first want to check to see that they are all present, one for each note. If any of these parts are sticking, it will be pretty quickly apparent. This is something that protek lubricant can usually fix. Sometimes, a wooden part could break. In many cases, these parts can be repaired with wood glue. Sometimes, though, if the break is in a critical place (like at a center pin), the part will need to be replaced altogether.
The amp. [Remember to always follow our safety guidelines when inspecting an amp, as the voltages and charges it holds can hold a dangerous charge] This one may be for the more trained eye, but a quick glance can tell you if the amp is all original, original with replacement parts or a reproduction amp. While all original is nice for the keyboard’s mechanical and cosmetic parts, it is less nice for a 50-60 year old amp. Capacitors leak and resistors drift all causing the amp to function poorly. If all the components look equally dusty or ‘matchy’ (in a “wow that hat really goes with that coat” sense), the amp is likely all original. If a few caps look shiny and new and don’t match, they are likely replacements, which is a good move (but should be checked by an experienced tech to ensure that they were installed appropriately). If the amp is shiny and new, and the resistors and caps are all really small, it is a new reproduction amp.
Shielding. All 200 and 200A have a large aluminum shield that covers the whole damper assembly, and this should be present. The 200A came with a pickup shield that is smaller and comb shaped, but covers all of the reeds. This provides an added level of hum rejection and shielding. The Wurltizer 200 did not come stock with this shield, but one could have been added, which is a good thing.
Lastly… Look deep inside yourself! Are you a hands on kind of person? A Wurlitzer 200 is an amazingly beautiful-sounding instrument and it was built with the spirit of serviceability in mind. Serviciability is a concept of ‘this can be fixed, dont throw it away,’ which is completely lost among manufacturers these days. Serviceability means that every design decision also took into account the question ‘How can we make this fixable if it breaks?’ A modern digital keyboard is not designed with these principles in mind. But a Wurlitzer wants you to dive in occasionally to fix an issue. This is good because the instrument is going on 55 years old. Remember that what may sound like a big issue (a loud pop, or a sticking key) is usually a small fix that you need no more than a screwdriver to address. But you might need a little patience every now and again. Wurlitzer may have achieved a timeless retro-future look that makes these instruments look as though they were built only recently, but these instruments are quite old and will require some regular upkeep.
Further Reading
Browse all of our articles on restoring vintage gear. Or, click on an image below.