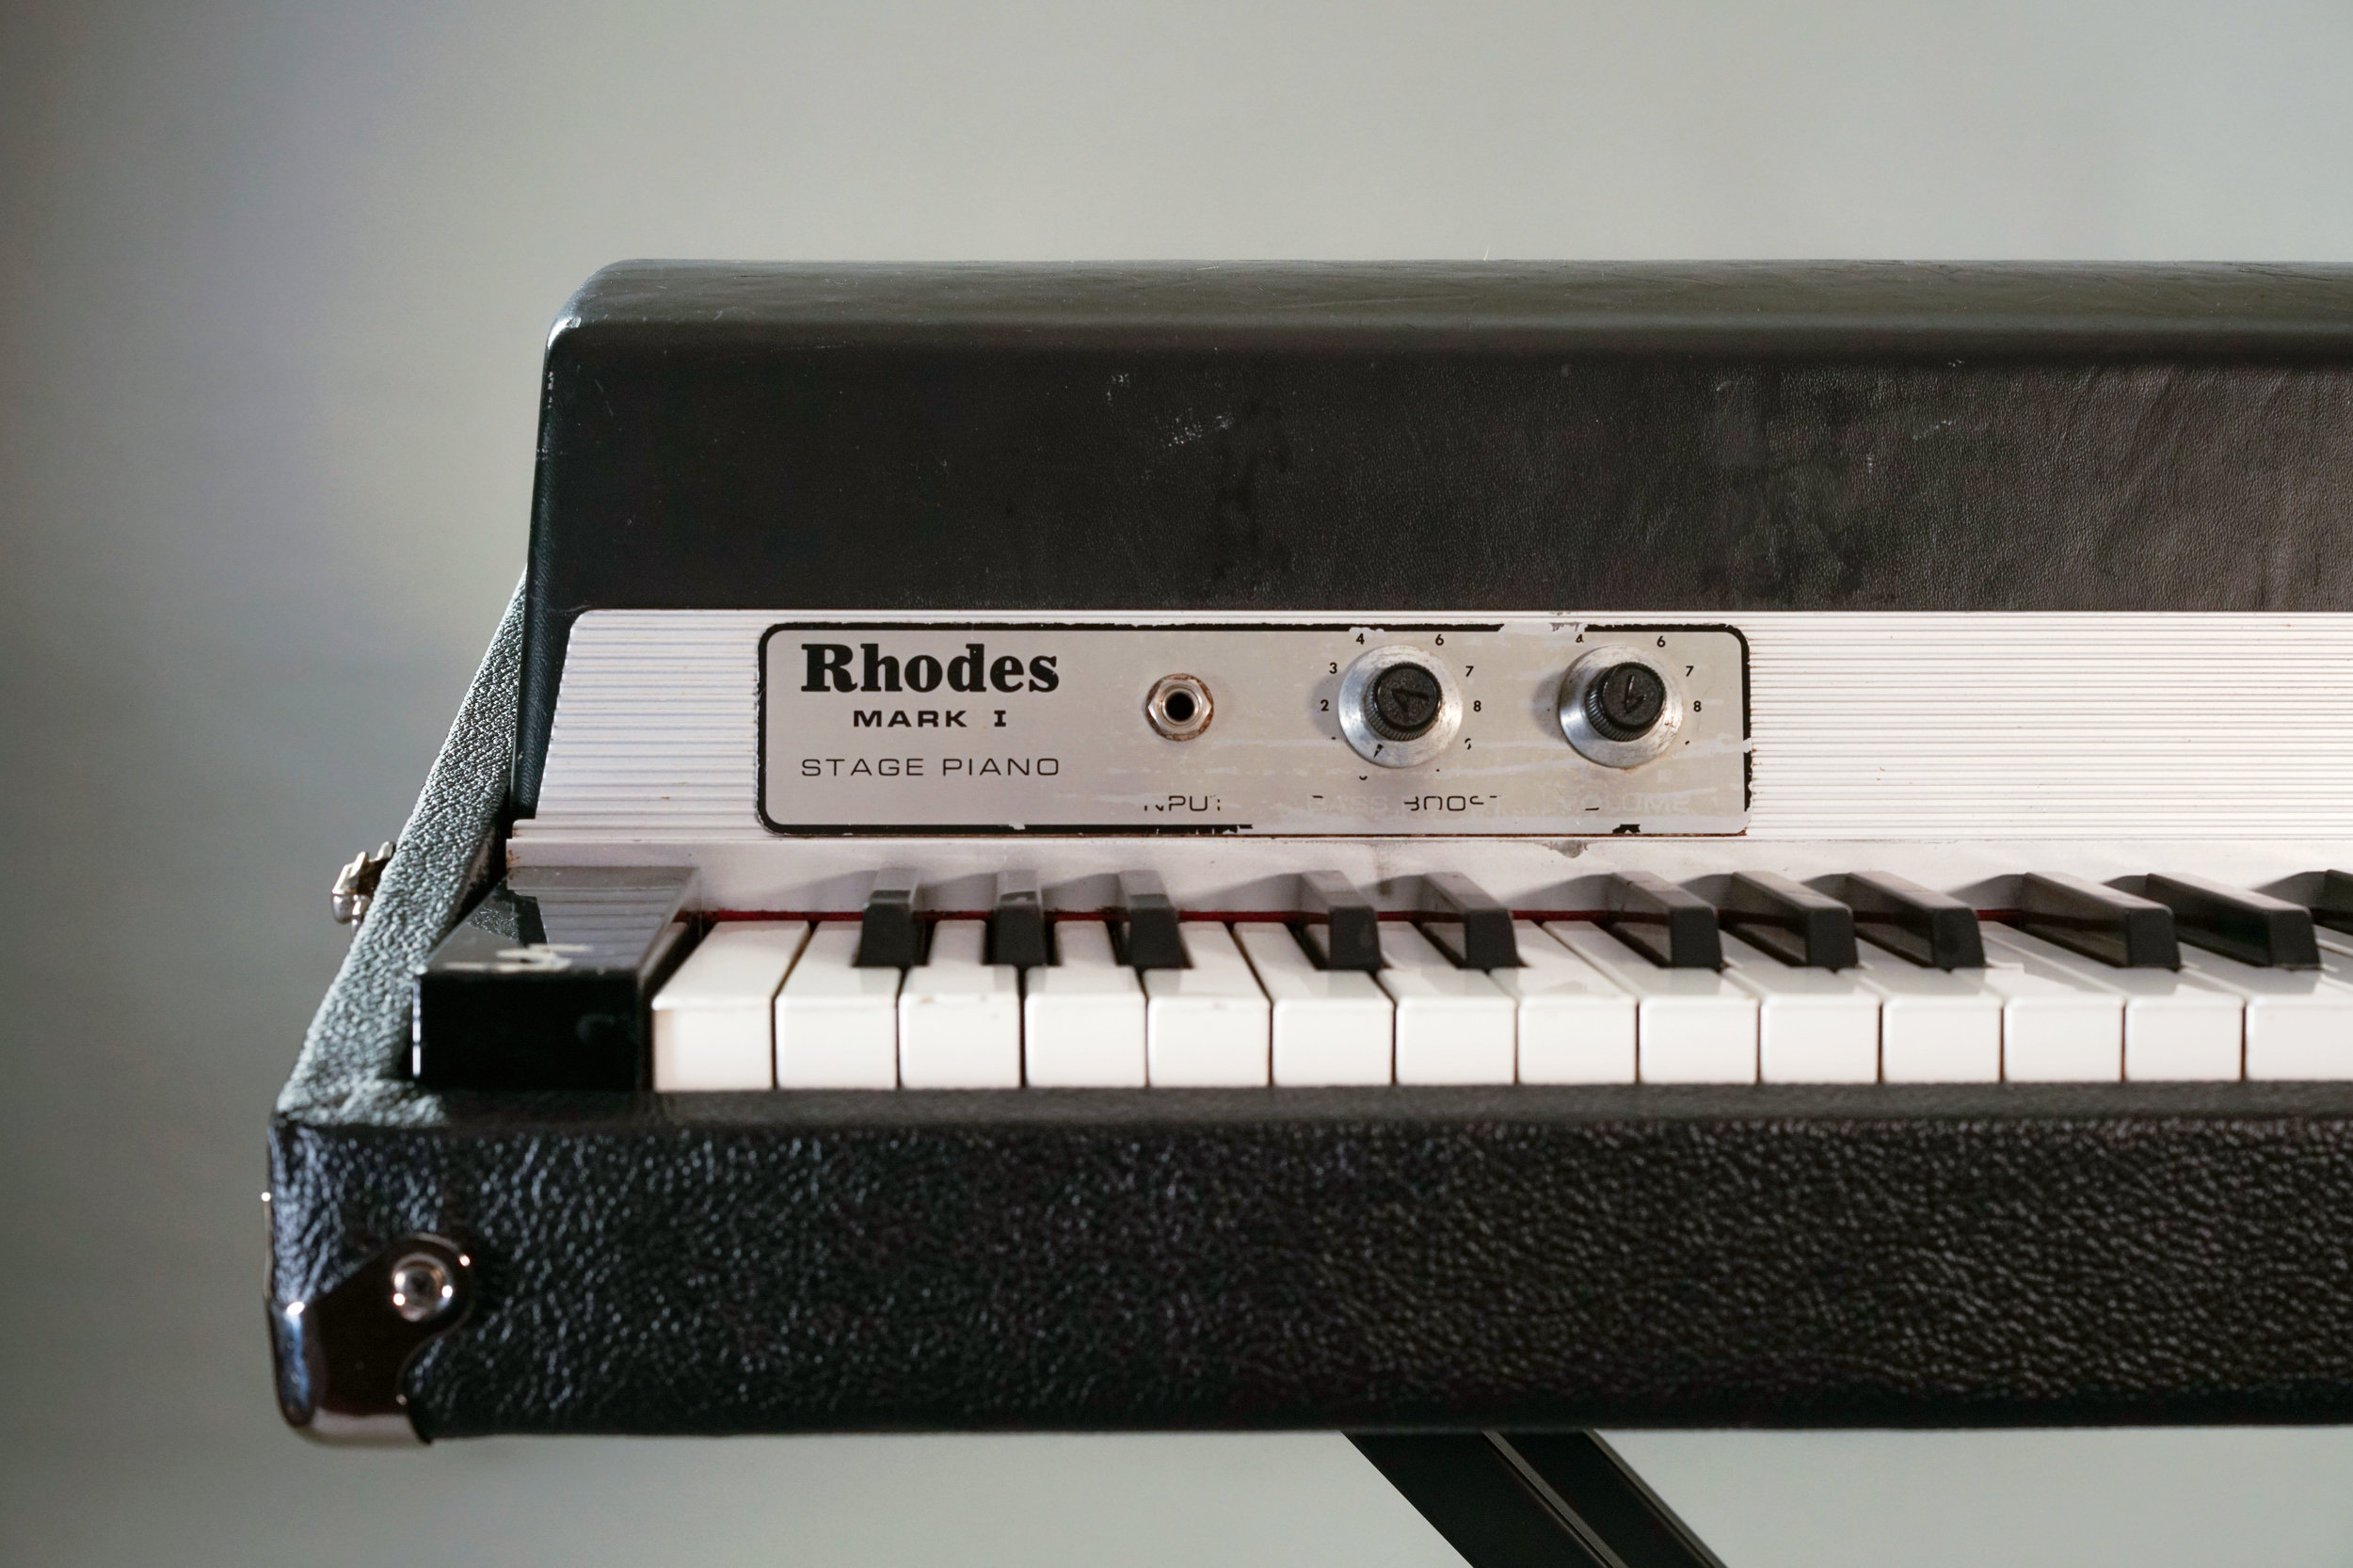
In Restoration: Rhodes Mk I

A customer brought this Rhodes in for restoration. It had been in storage for some time, and he asked us to bring it back to optimal playing condition.
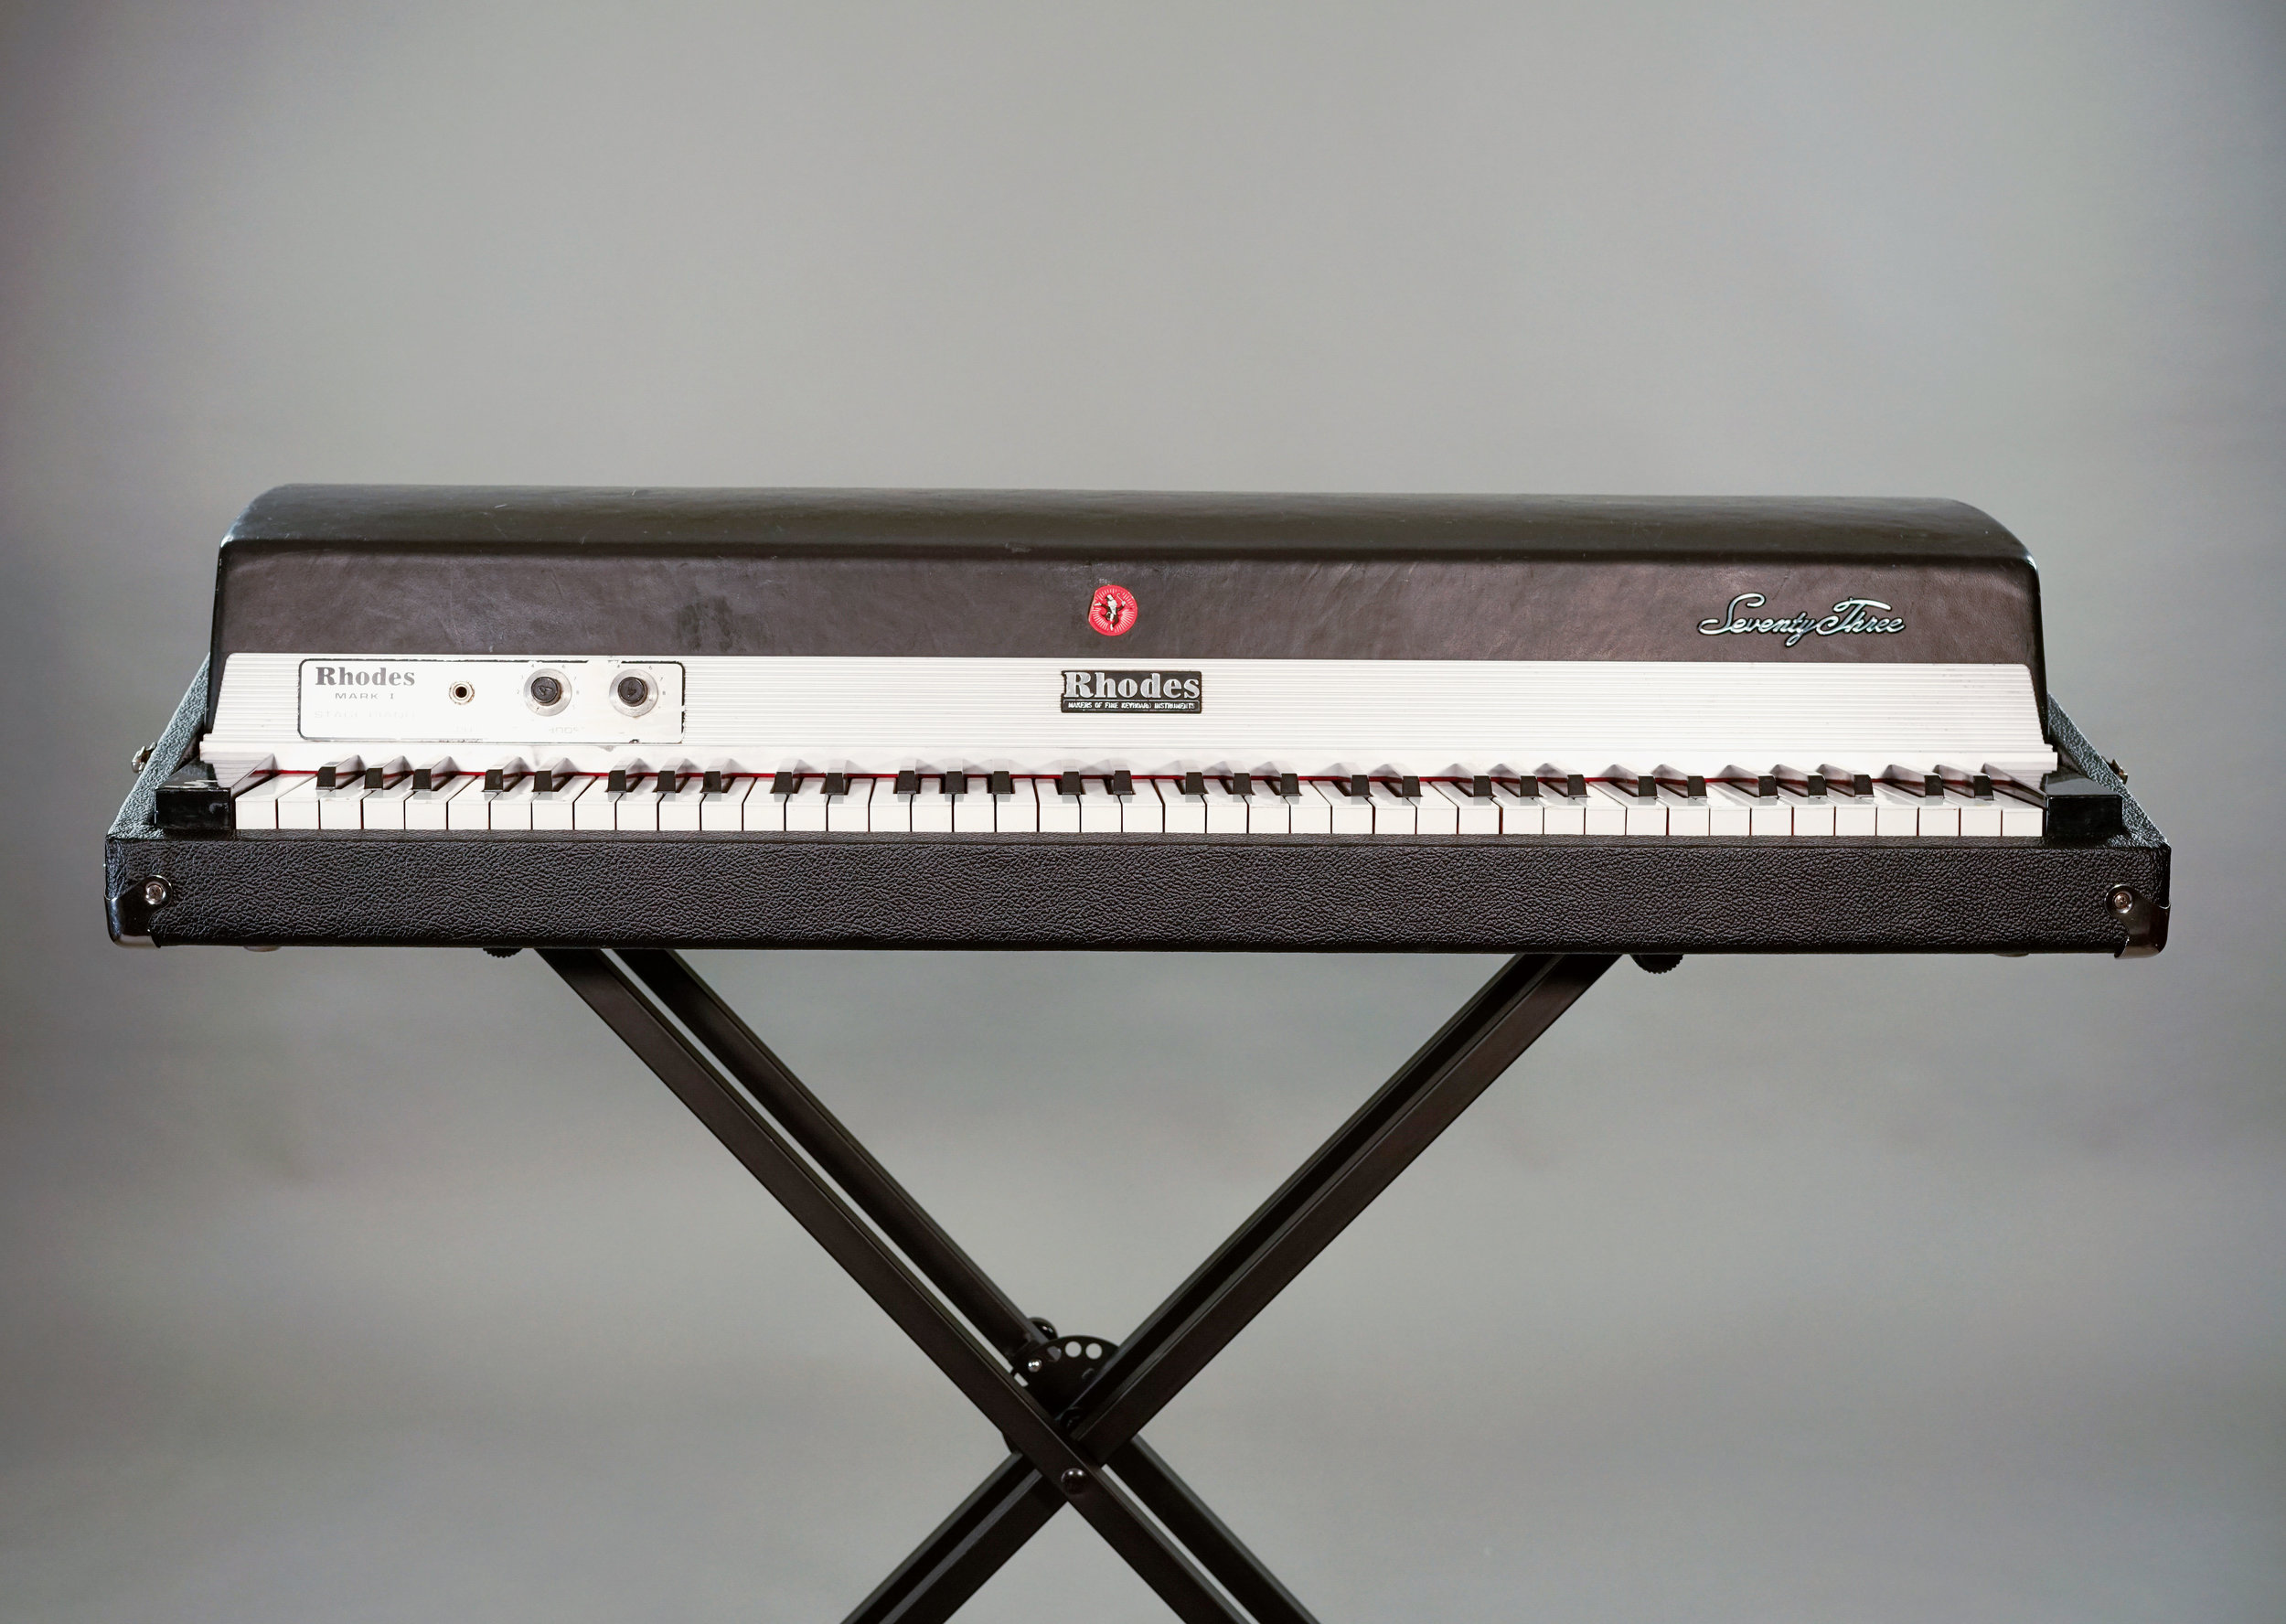
The instrument was out of tune, missing most of its tolex, and suffered from a sloppy, unresponsive action. It had clearly been well-used for a while, and then at some point it had been put away and not used at all. Overall, though, it was in good shape, because all of its fundamental parts were present and more or less functional. That is, the wood parts weren’t warped, the plastic parts hadn’t deteriorated, and nearly every pickup worked. It was a great candidate for restoration.
There were two major issues we wanted to address. First, and most obviously, was the tolex. The exposed wood underneath was weathered and certainly had an interesting aesthetic, but keeping the instrument in that condition wasn’t very practical. All that old wood is a splinter hazard, and so, if it remains exposed, the Rhodes must be handled very carefully at all times. If you’re gigging with a keyboard, or even just playing it regularly, you should be able to safely touch it and move it around without a second thought.
The second problem was the general playability of the keyboard. Overall, it felt unresponsive and sluggish. Every key showed significant side-to-side motion, suggesting that the key bushing felts should be replaced. The keys also hit softly and had a clunky attack. On closer examination, all of the hammer tips were severely indented. This is because the hammer tips are made of a soft rubber, which erodes over time after repeated impact with the metal tines.
Here are some of the steps we took to make sure this Rhodes was once again in excellent playing condition:
Removed the action assembly from the case and cleaned all surfaces. Unlike a Wurlitzer, the action assembly in the Rhodes was designed to be lifted out from the case in one piece. This is very convenient for servicing and allows us to work on the mechanical action and the cosmetics of the instrument independently from one another. It also makes it easy to clean any dust and debris from the inside of the case. We always clean the instrument first to avoid kicking dust around the studio during servicing.
First, we remove the original tolex.

Then we use wood filler to ensure that the edges are even. This photo was taken before we sanded.
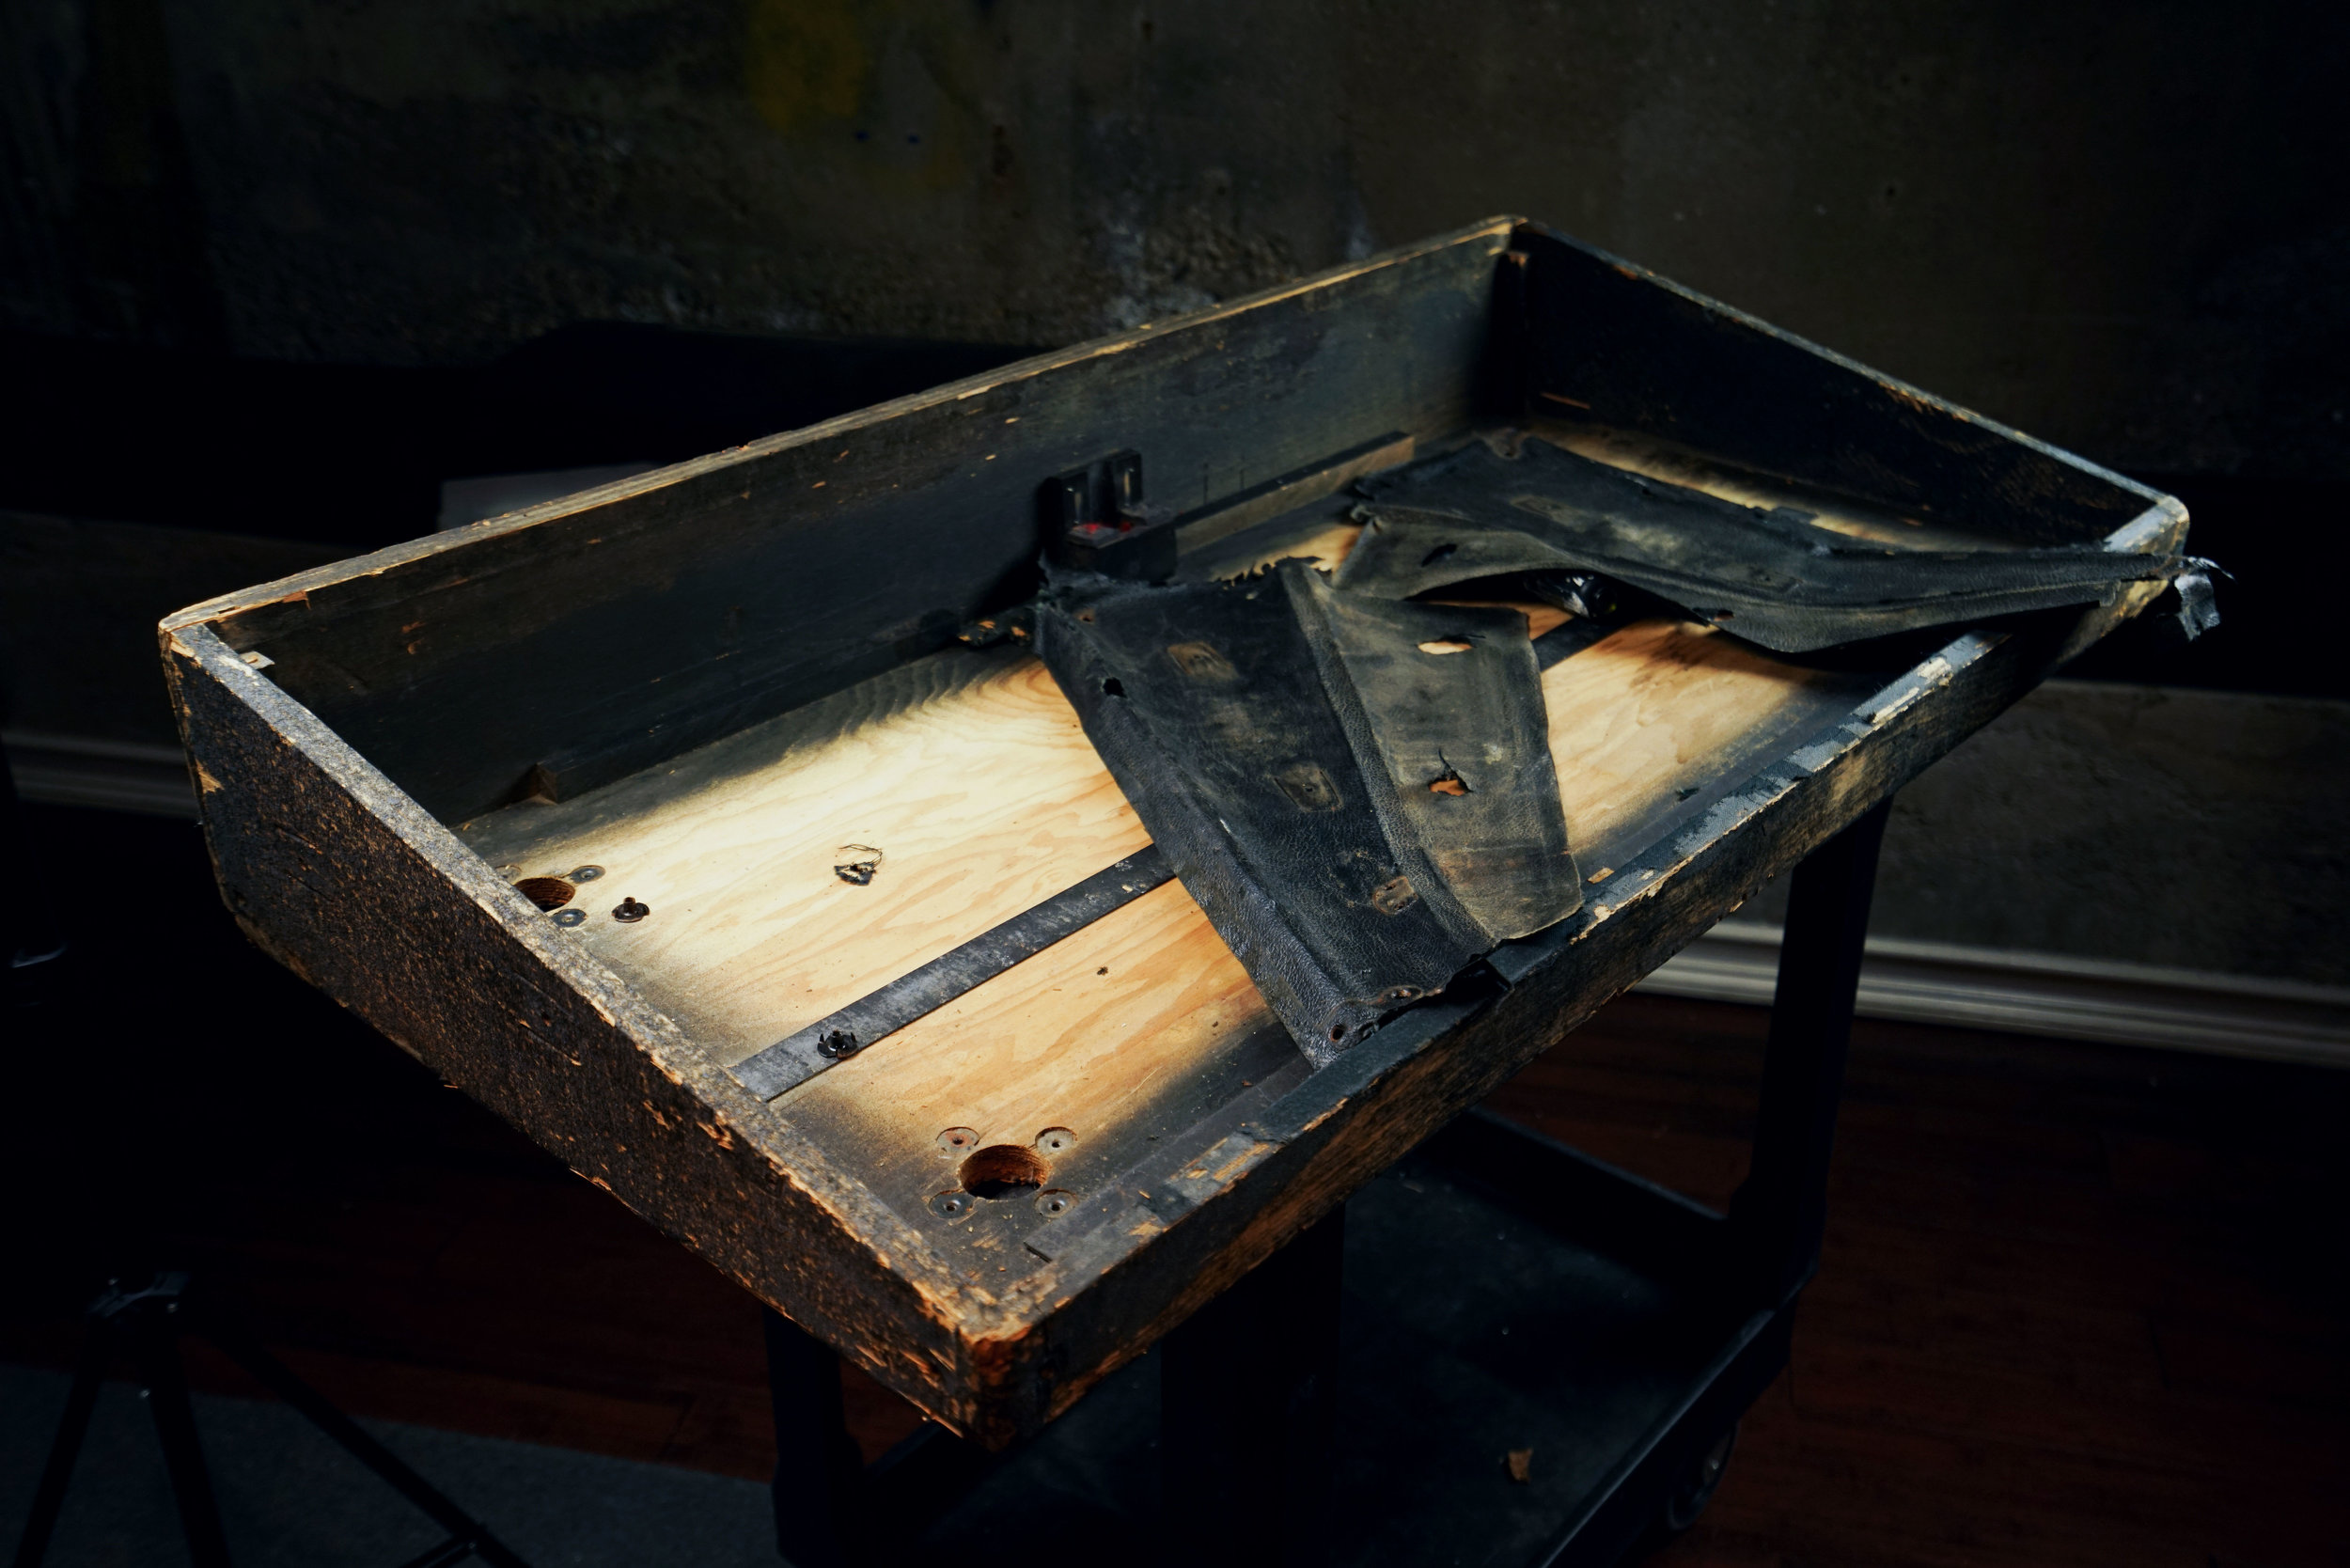
Replaced the tolex. First, we removed all of the remaining tolex. We do this carefully, to avoid damaging the case. We also want the original tolex to come off as cleanly as possible, so we can cut the new pieces to roughly the same shape.
At this point, it’s worthwhile to examine the bare case for structural issues. We discovered that the piece of wood that comprises the back of the case was splitting away from the sides of the case. The woodwork in the Rhodes is pretty rudimentary, and the keyboard itself is so heavy that it’s prone to rough handling, so this kind of issue isn’t uncommon. We repaired the split and reinforced the corner joints so it won’t happen again.
Next, we lightly sanded the wood surface. Tolex takes the shape of whatever object its covering, so for best results it’s important to make sure that the case is free of large splinters or other defects. Some of the edges had been chipped away on the parts that had been bare wood. We repaired these spots with wood filler. Otherwise, the edges would look soft and inconsistent.
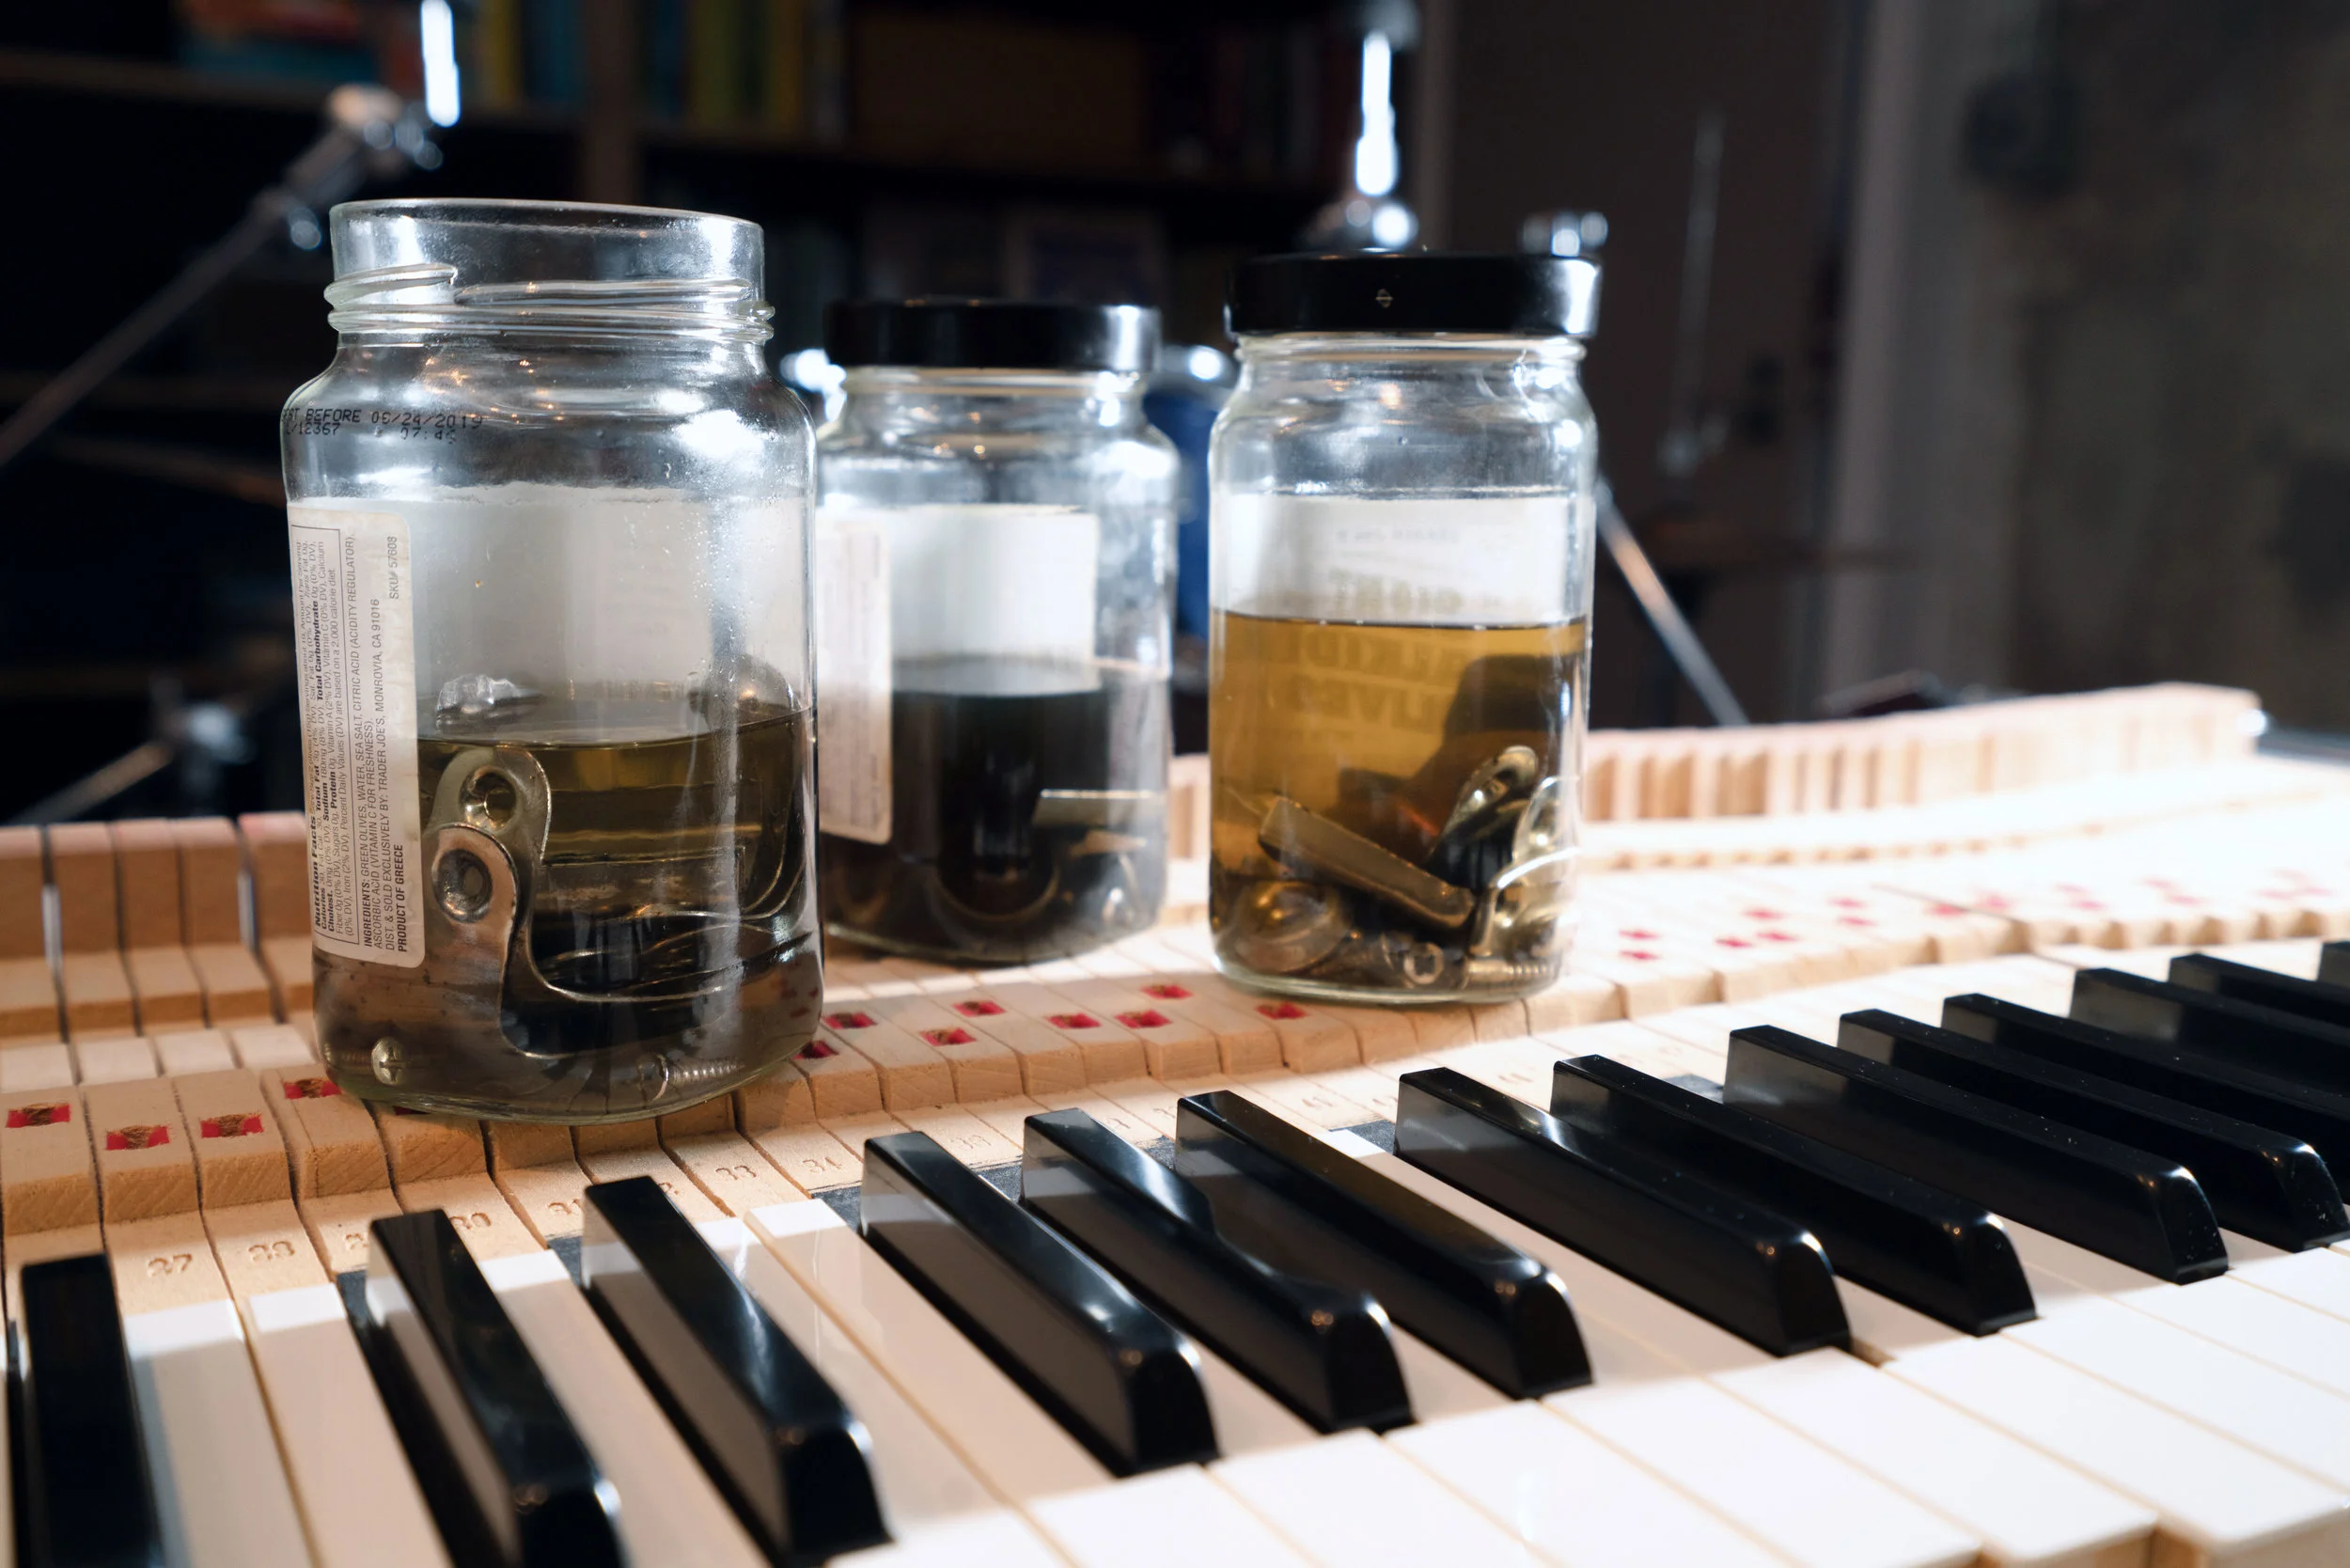
We soaked all of the hardware in Evapo-Rust in order to remove rust.
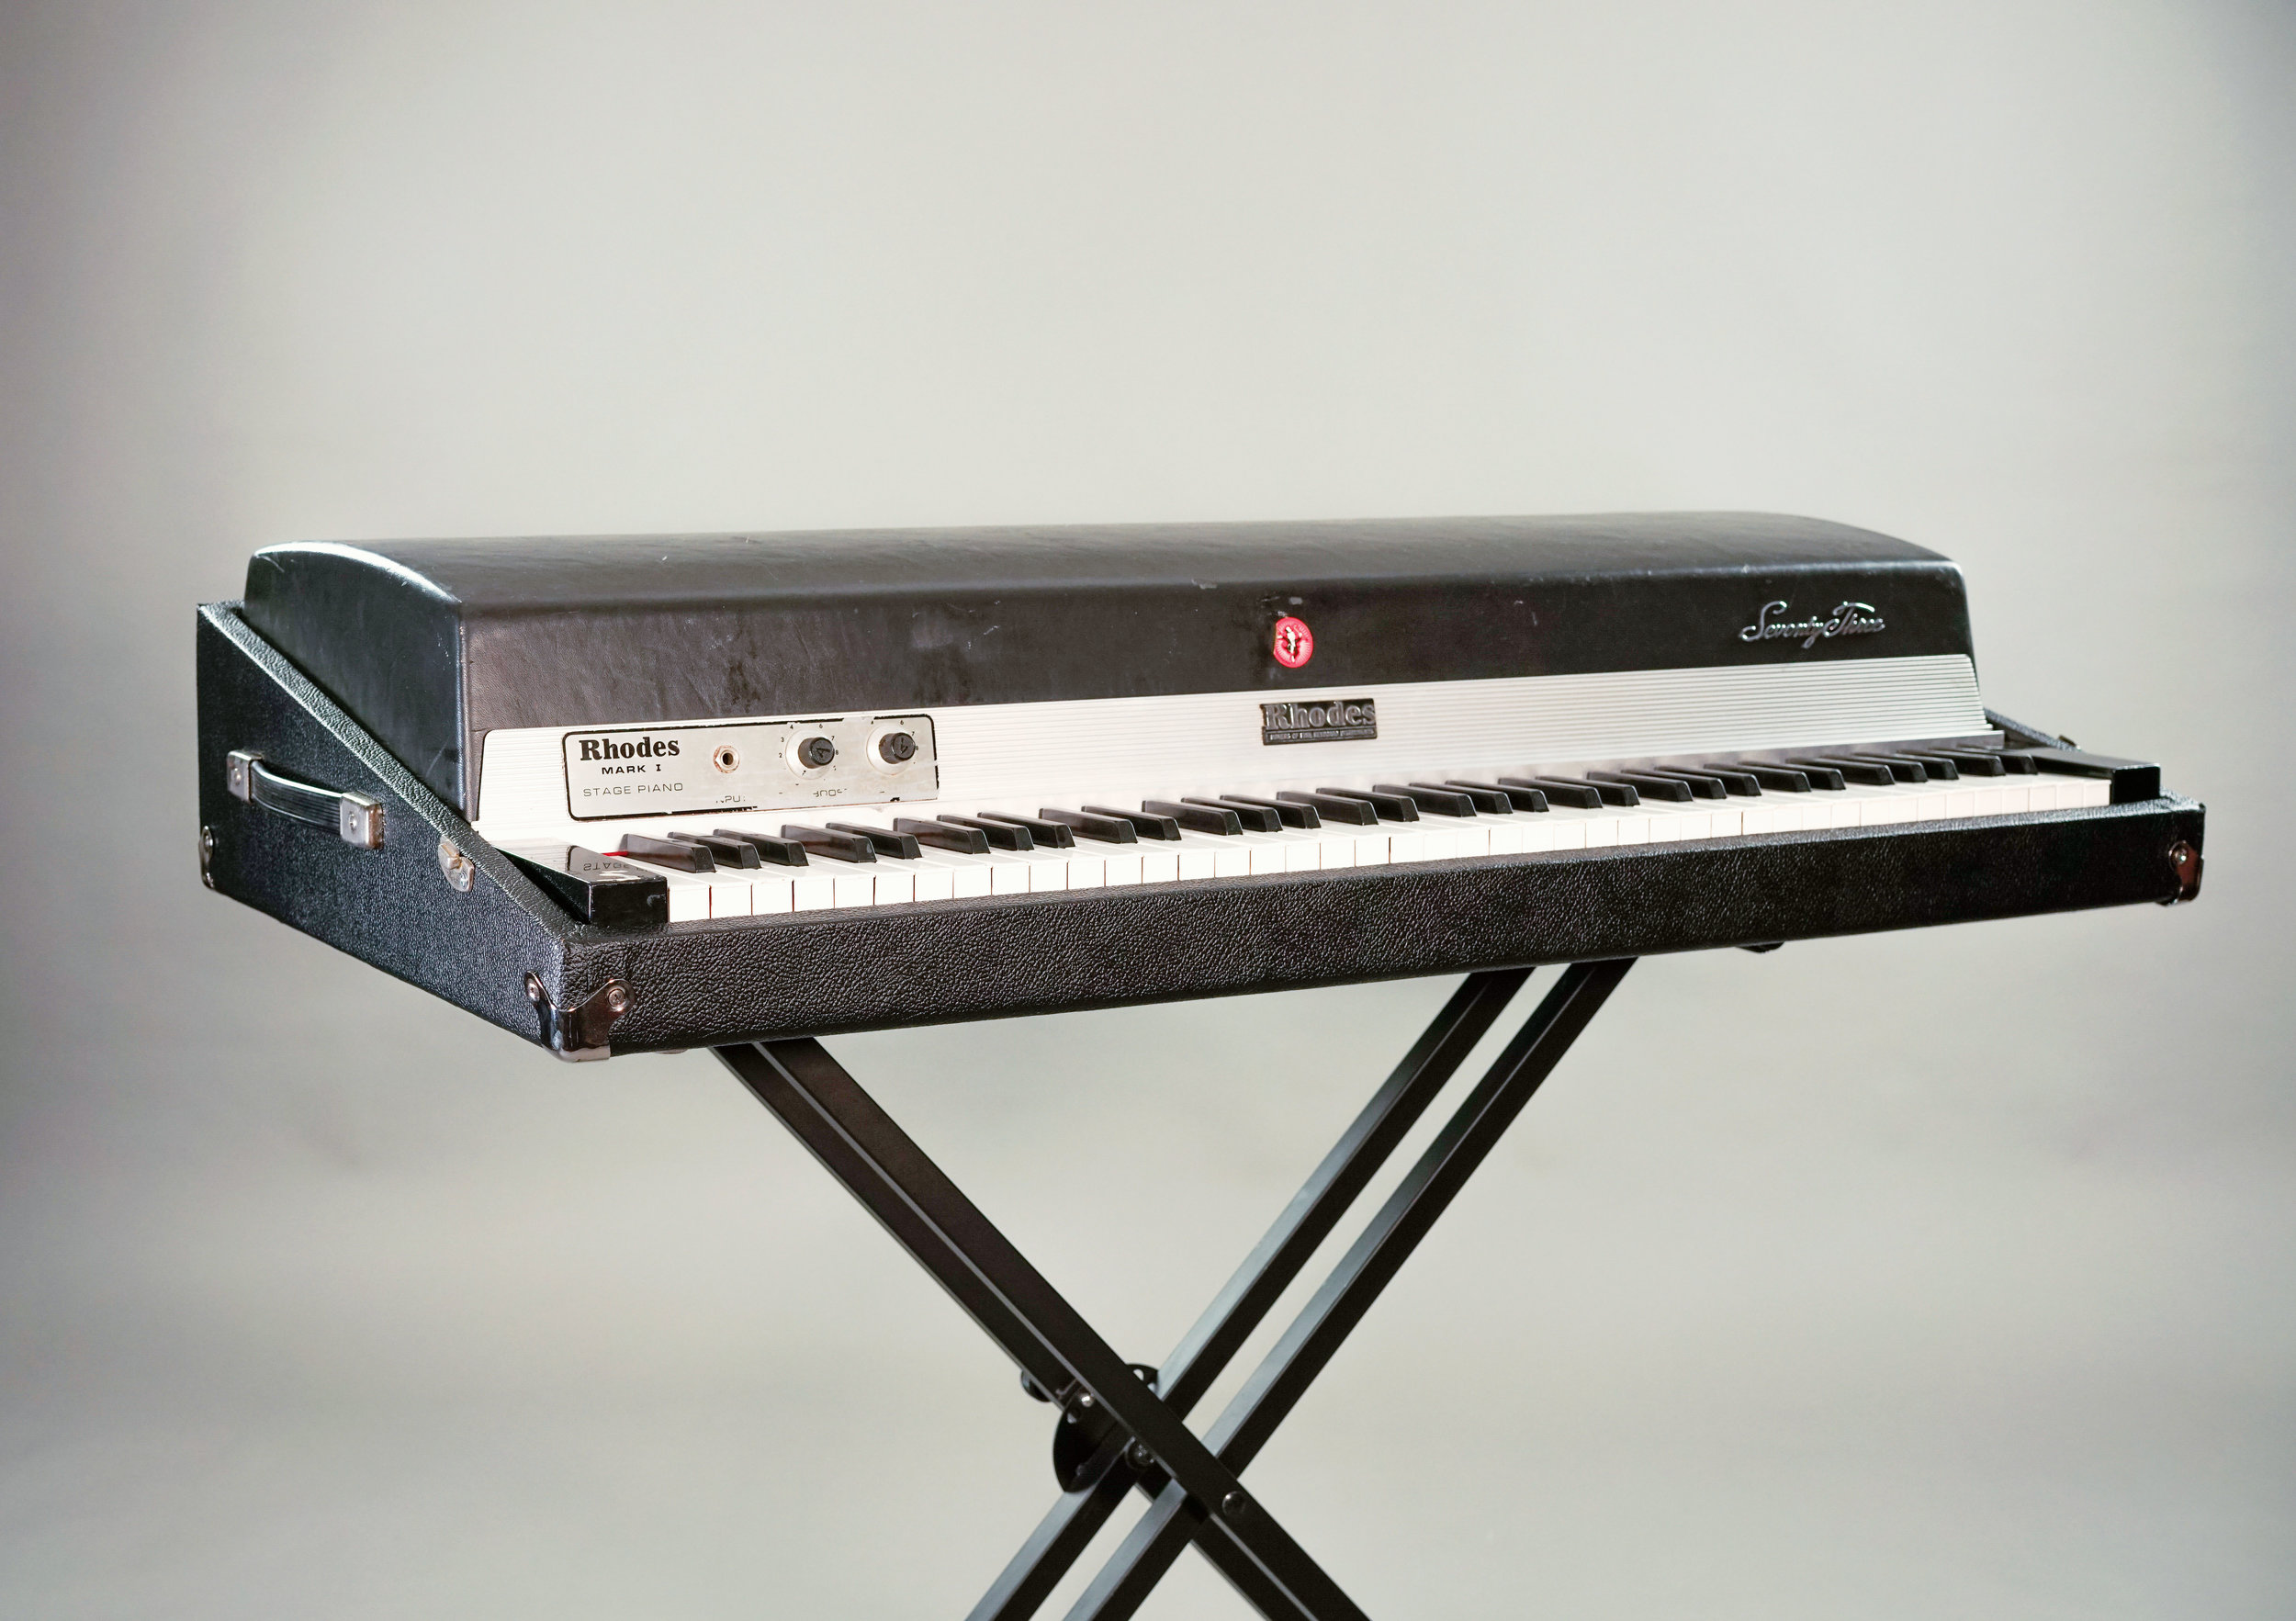
The rest of the process is pretty straightforward. We cut the tolex into pieces that resemble the original pieces as closely as possible. Then we glue them to the case, smoothing out air bubbles where necessary. The edges are reinforced with staples, as Fender did originally.
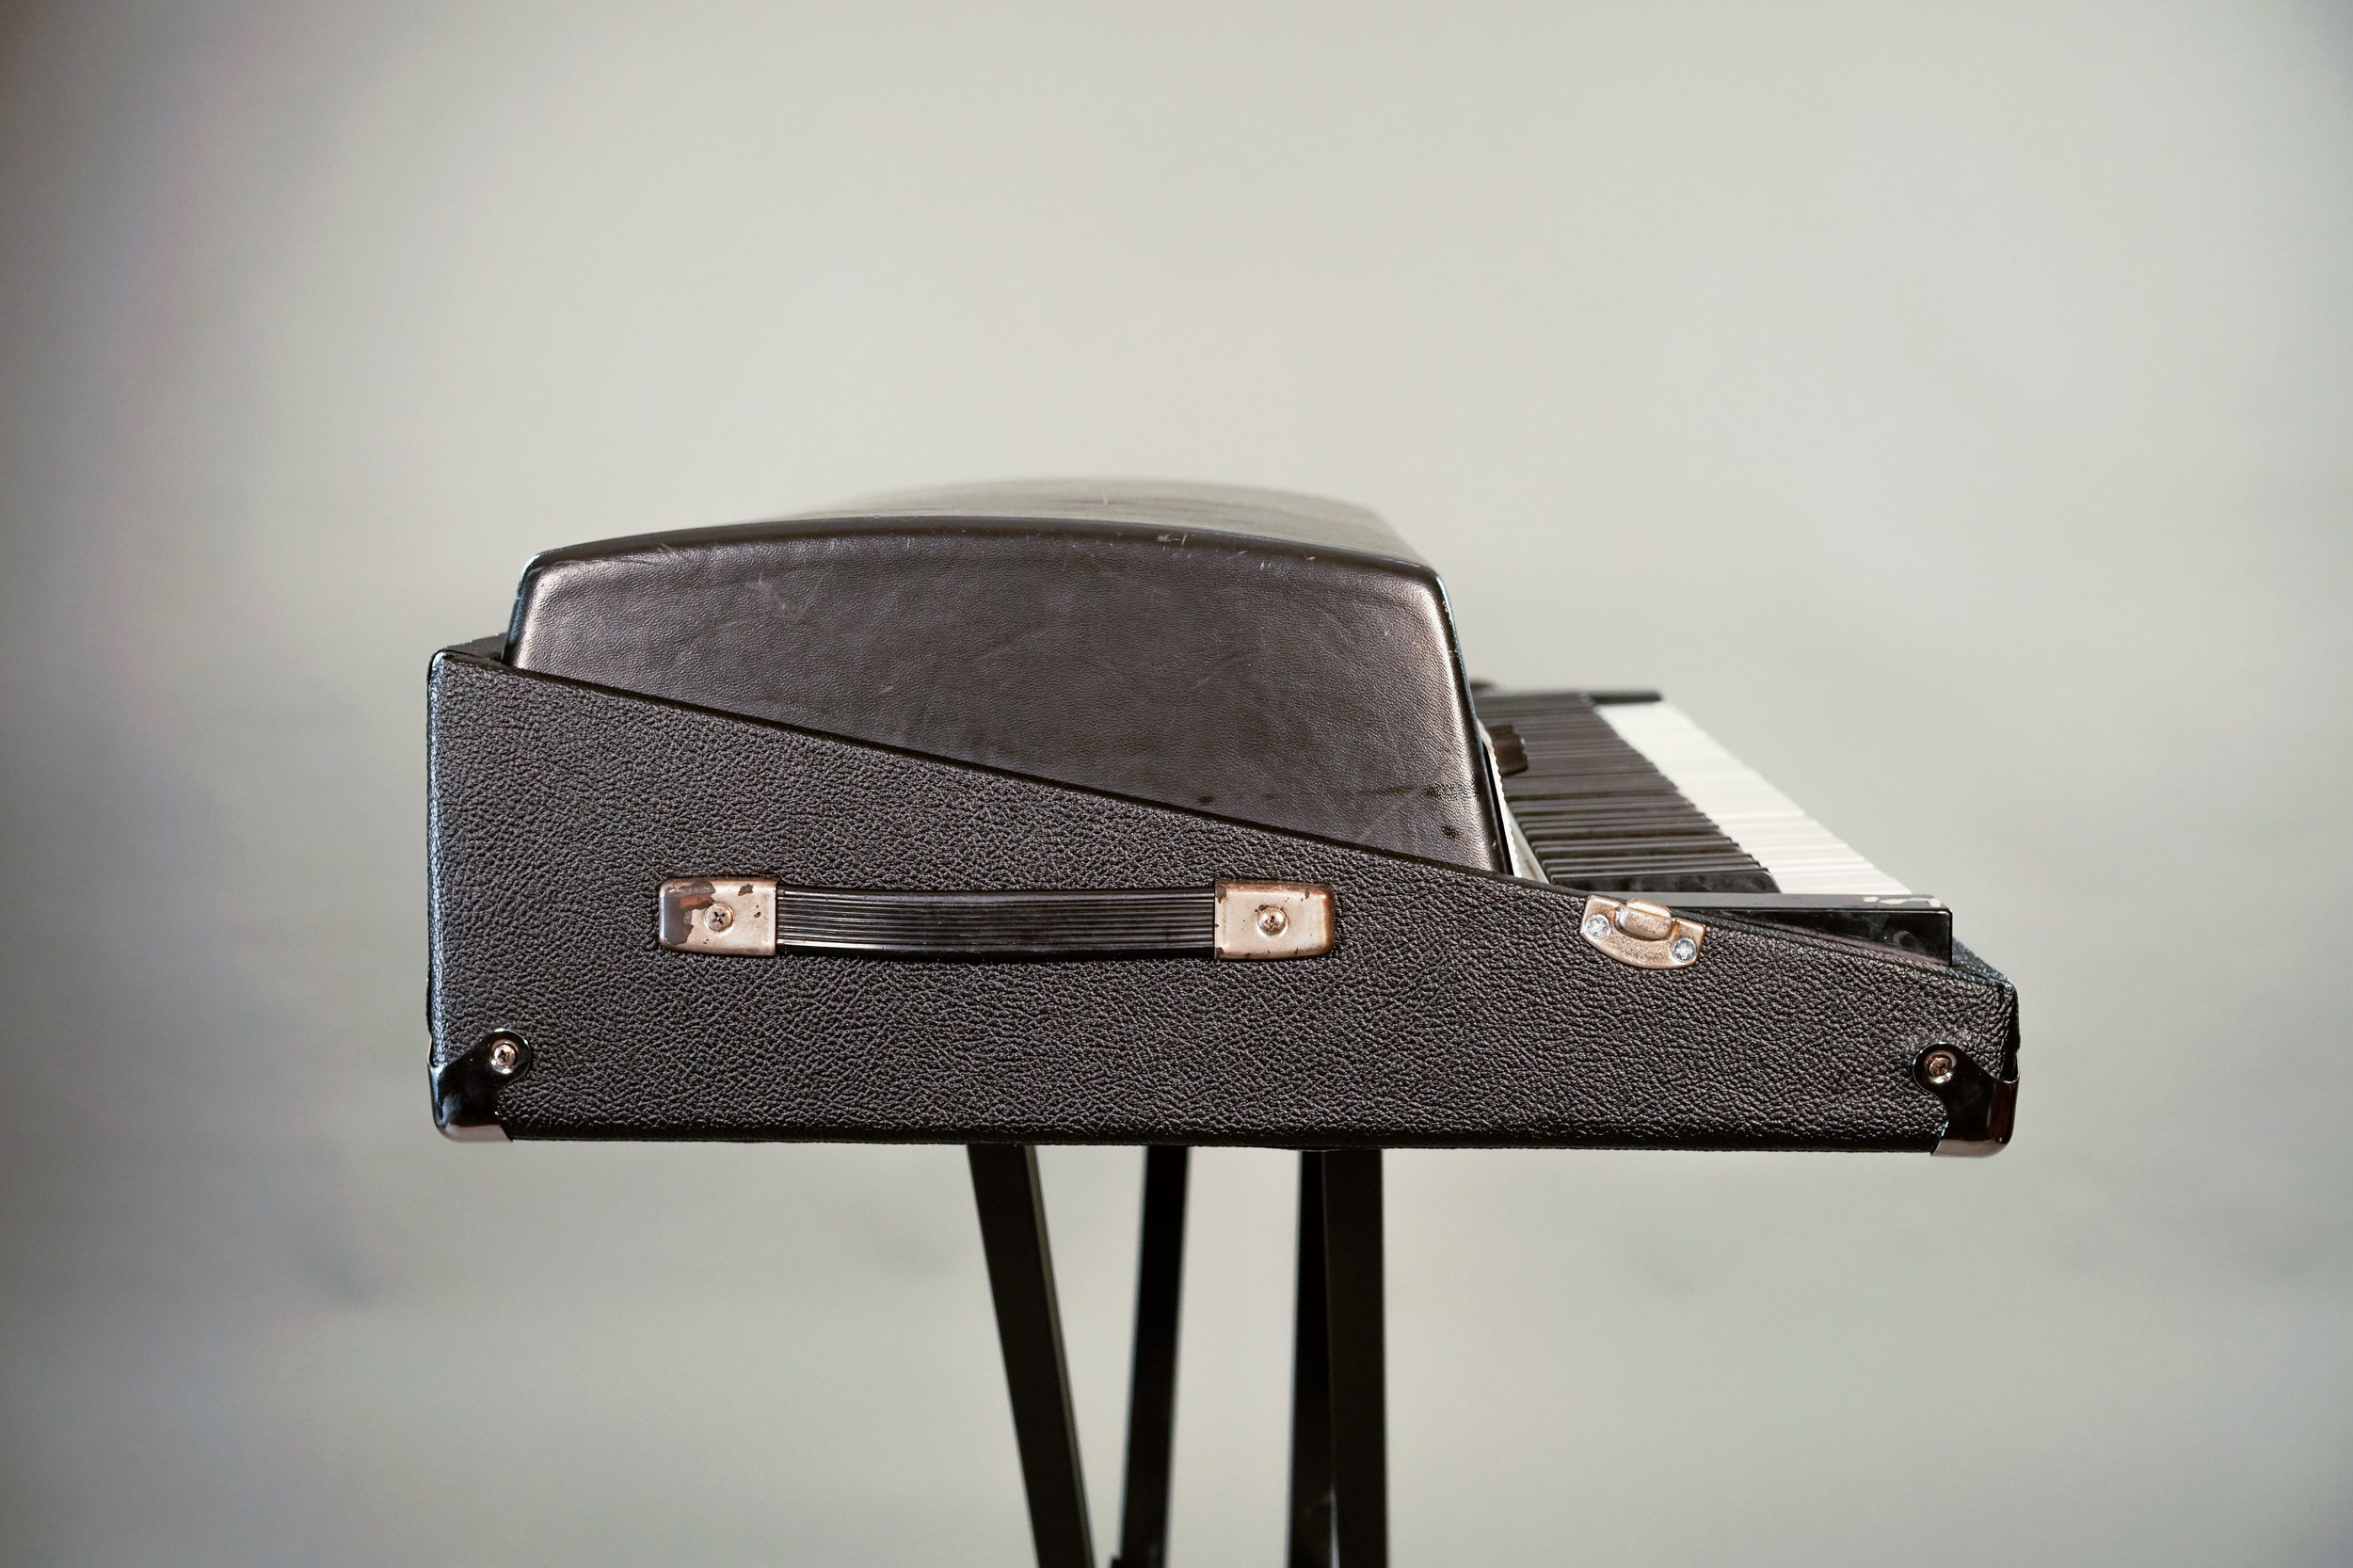
De-rusted the hardware. The Rhodes was missing some of its original metal corners, and the new replacements that we purchased were of course extremely shiny. To help the old hardware match the new corners (without outright replacing anything), we opted to dip the original hardware in Evapo-Rust. This product removes rust without damaging chrome, but it often takes several hours to work on severely rusted objects. For that reason, we remove any parts that need de-rusting as early as possible so we can leave them in the Evapo-Rust solution for as long as it takes to remove the rust.
Obviously, the best way to match new hardware to old hardware is to just replace all the hardware. But many customers prefer leaving as many original parts on the keyboard as possible. De-rusting the old hardware is a good compromise, and ensures that the difference between the old and new hardware isn’t immediately apparent at a casual glance.

Replaced key bushing felts. If you flip a Rhodes key over, you’ll see two small holes where the key fits over the pins in the keybed. Inside these holes are two pieces of felt. These are the key bushing felts. Over time, the keybed pins wear grooves into the felts, so that the keys move side to side. This gives the keyboard an inconsistent and sloppy feel.
First, we removed the old key bushing felts, being sure to clean out any excess glue or debris from inside the bushings. The new felt comes on a long roll, and must be cut to size using a special tool. Once the new felts are glued into place, we use special clamps that apply pressure to the inside of the bushings to ensure that the felts really stick. After several hours of drying, the keys are once again ready to be used.
Replacing your Rhodes or Wurlitzer key bushing felts? Check out our felt kit here.
Replaced hammer tips. As the hammers hit the tines, the hammer tips develop grooves. Worn hammer tips contribute to poor feel, low volume, and mediocre attack. This happens over time and unfortunately is in the nature of the instrument’s design.
The first step in replacing the hammer tips is to remove the old hammer tips with an exacto knife. Next, we sand the excess glue off the surface of the hammers. Then, we glue the new hammer tips into place. There are several styles of hammer tips across the keyboard, so it is important to keep track of the order of the hammers.
Replaced missing screws, tines, and tone bars. On an instrument this old, parts are often missing. Tines and tone bars are clearly crucial components, and their absence is obvious because the key won’t sound. However, improper or missing screws can wreak havoc in subtle ways. If the screw doesn’t grab correctly, components can work themselves loose or otherwise diminish the playability of the instrument. For this reason, we always check for and replace improper screws. In this case, the screws that held the action assembly in place were incorrect, as were some of the tone bar screws.

Further Reading
Browse all of our articles on restoring vintage gear. Or, click on an image below.