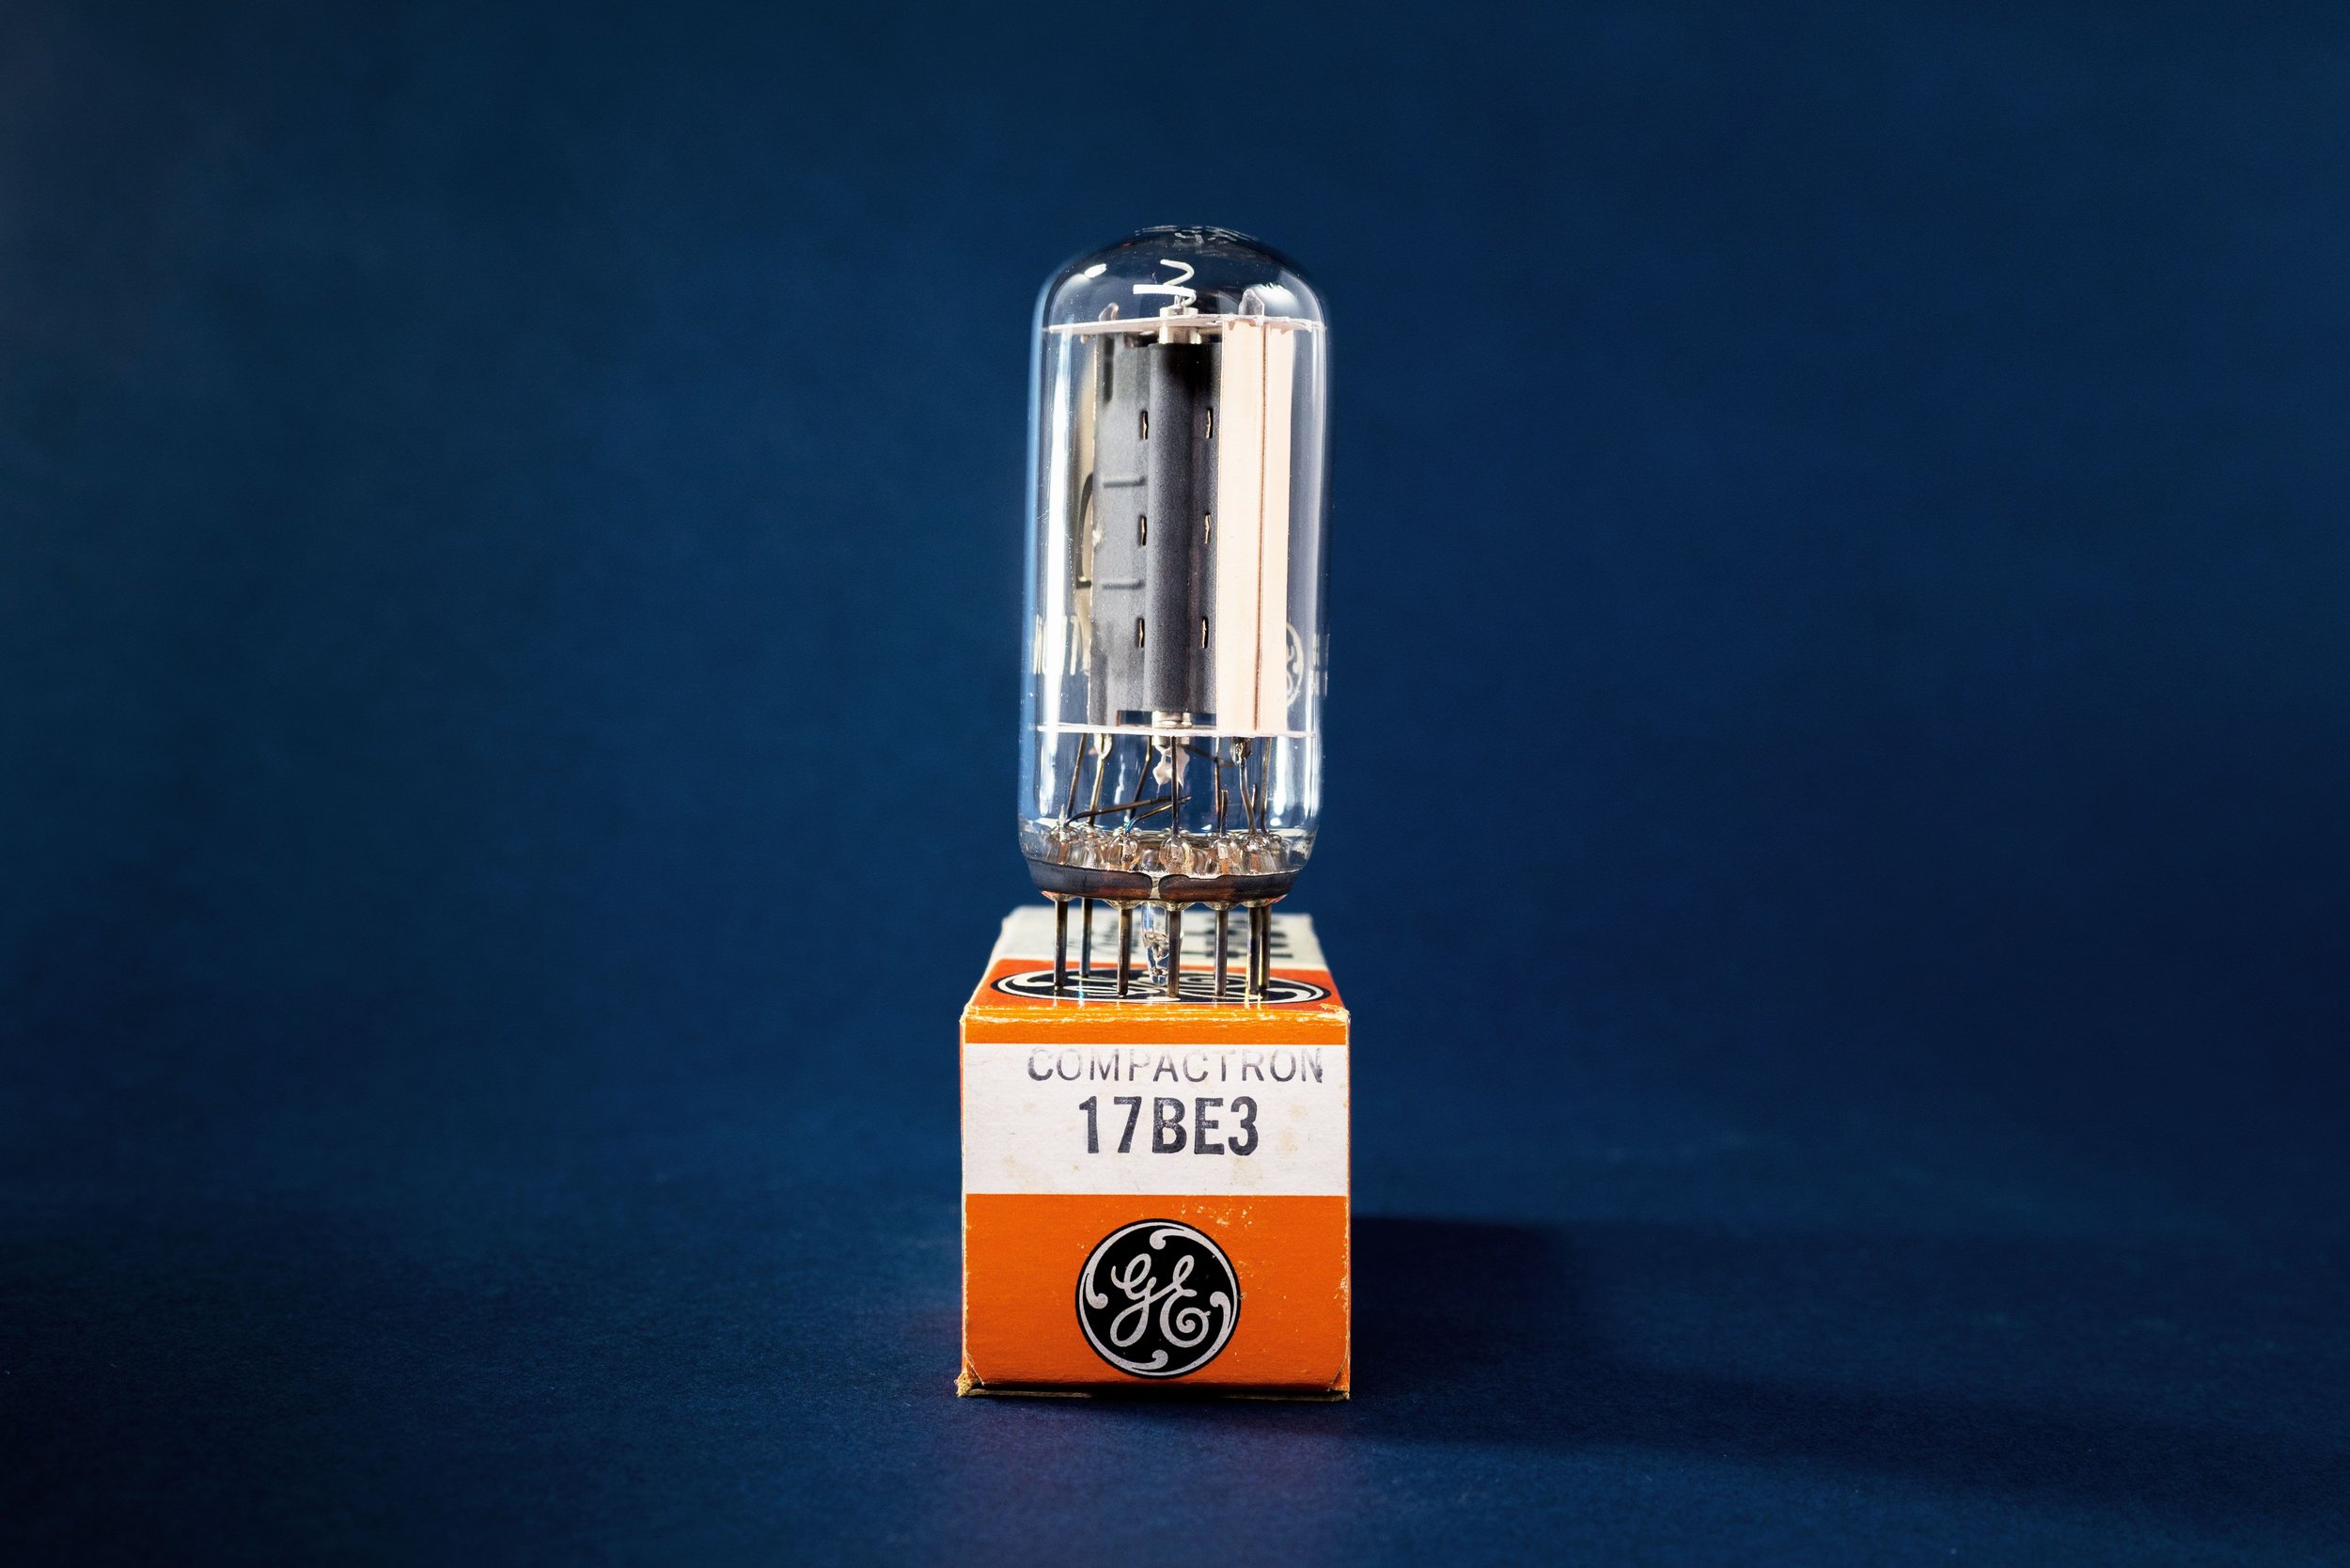
What Do Filter Caps Do?
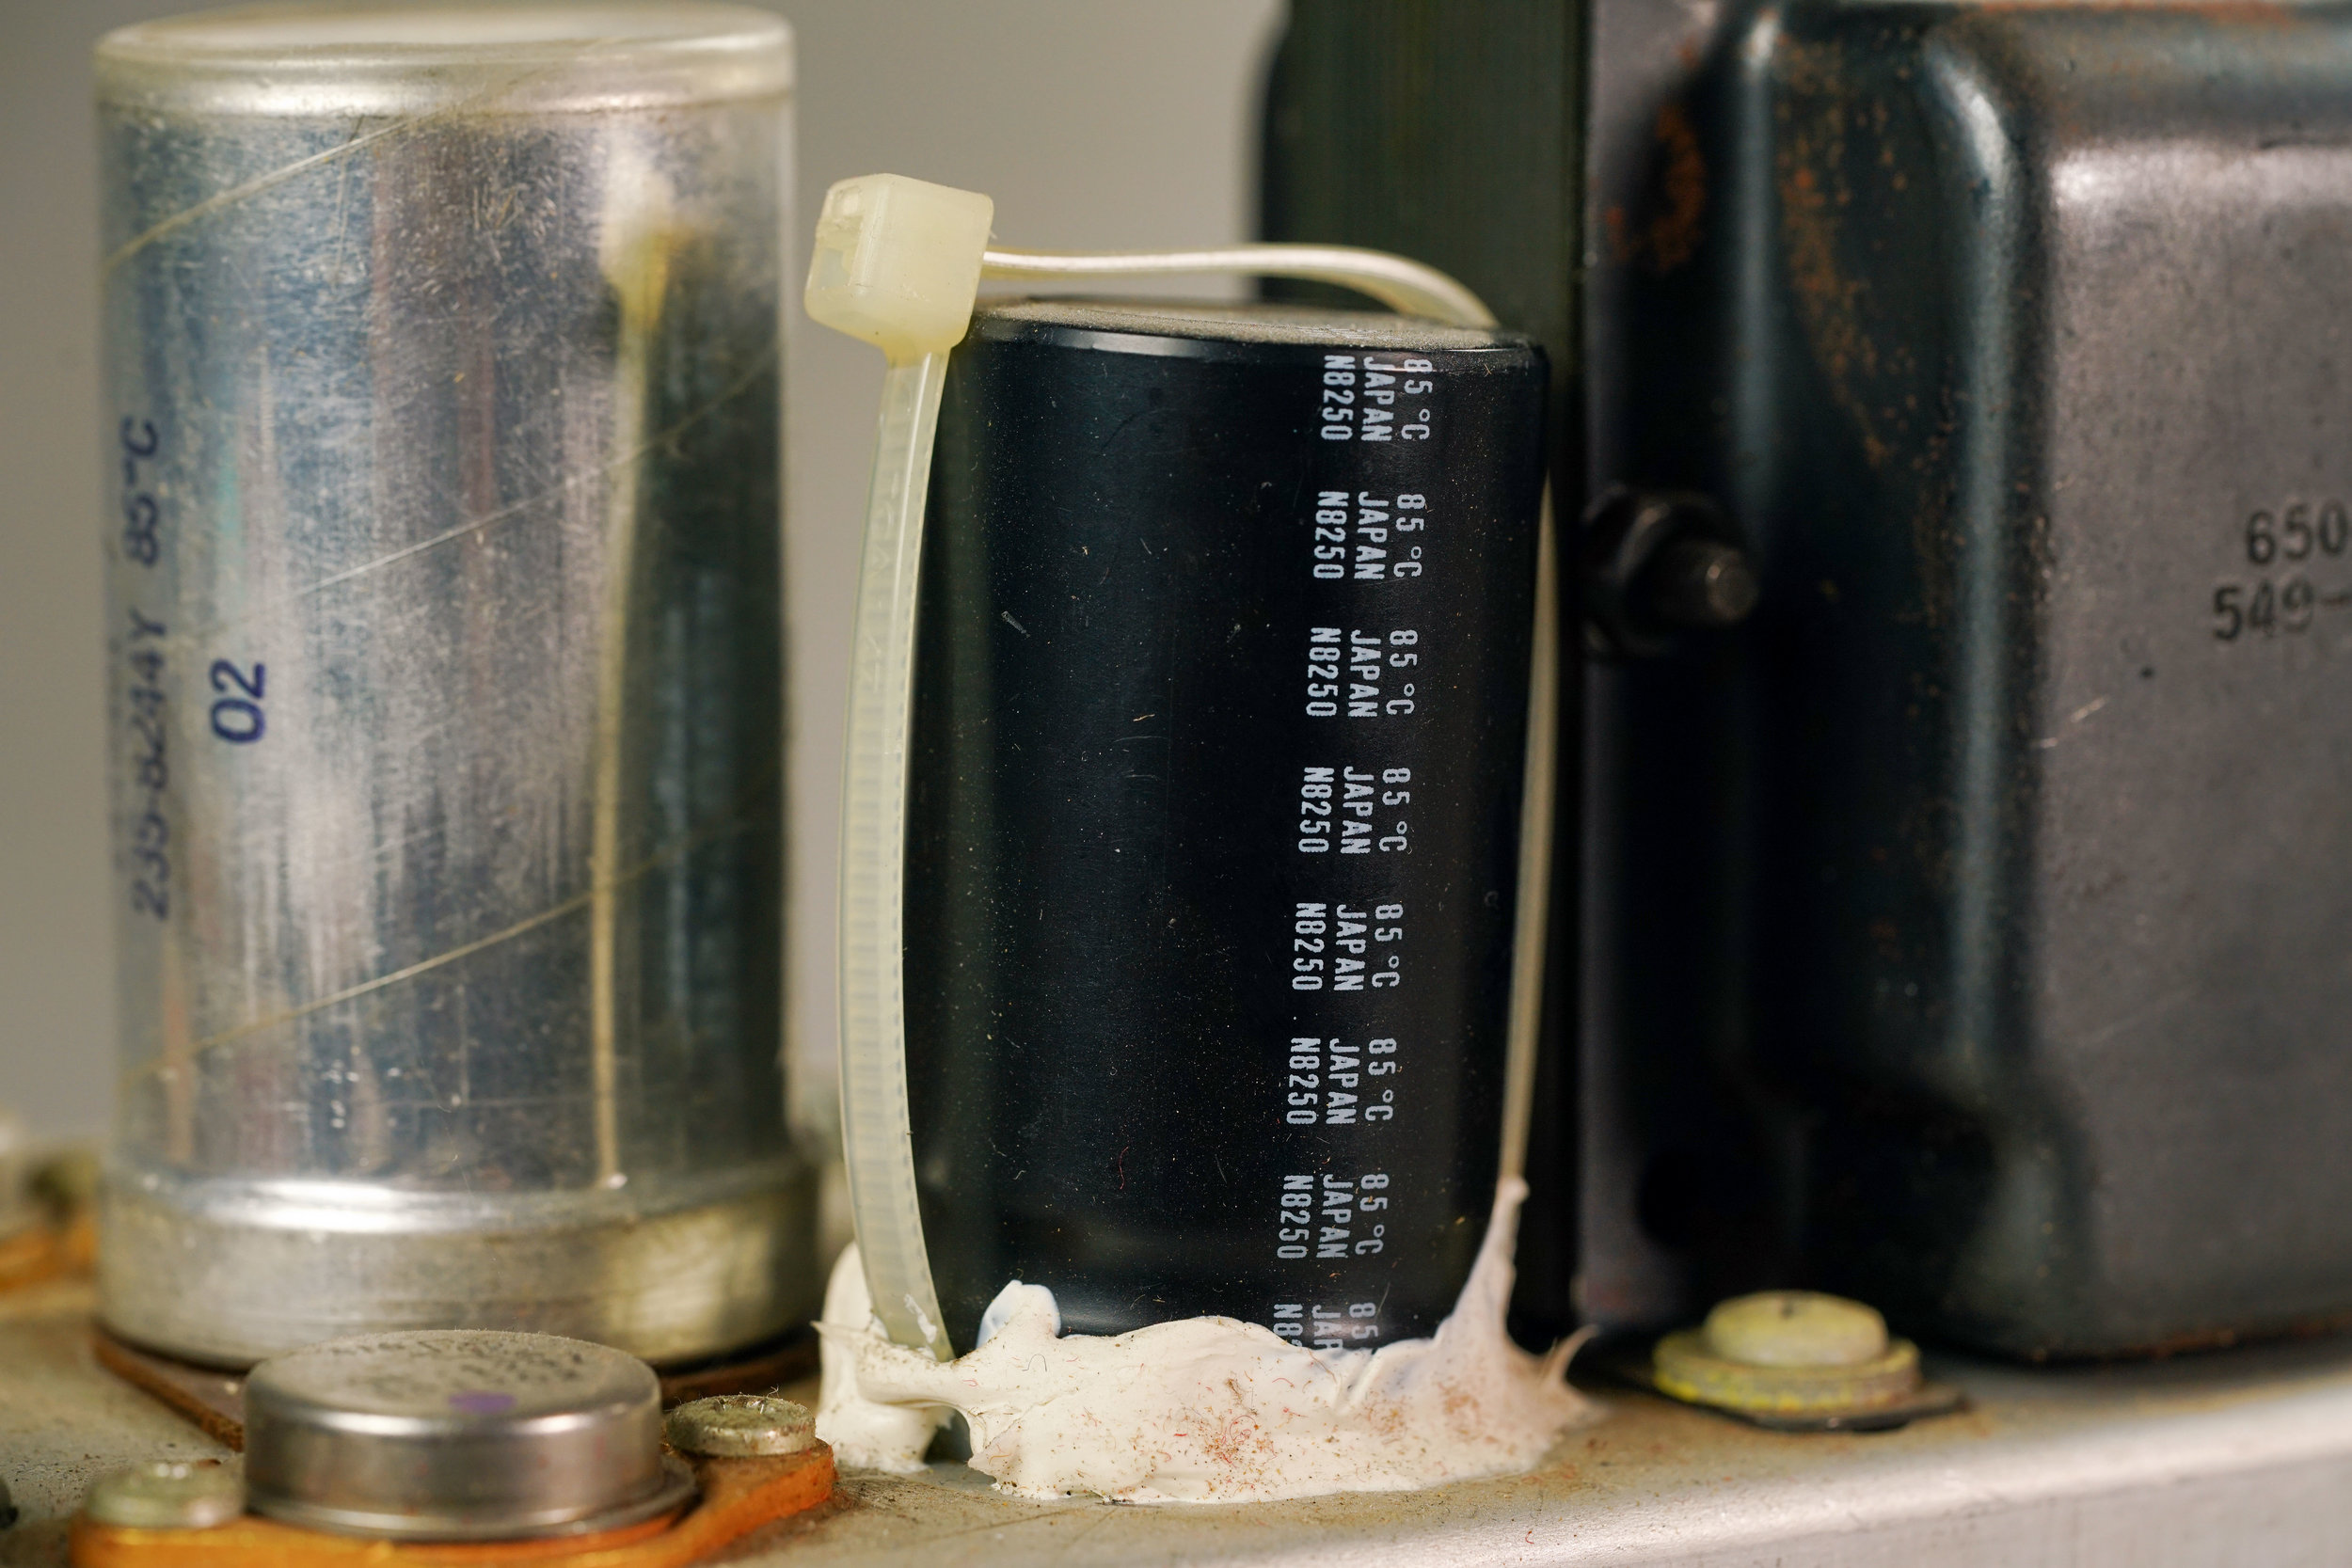
Filter capacitors in a vintage solid state Wurlitzer 140a amplifier. The one on the left is original. The one on the right is a replacement (not by us).
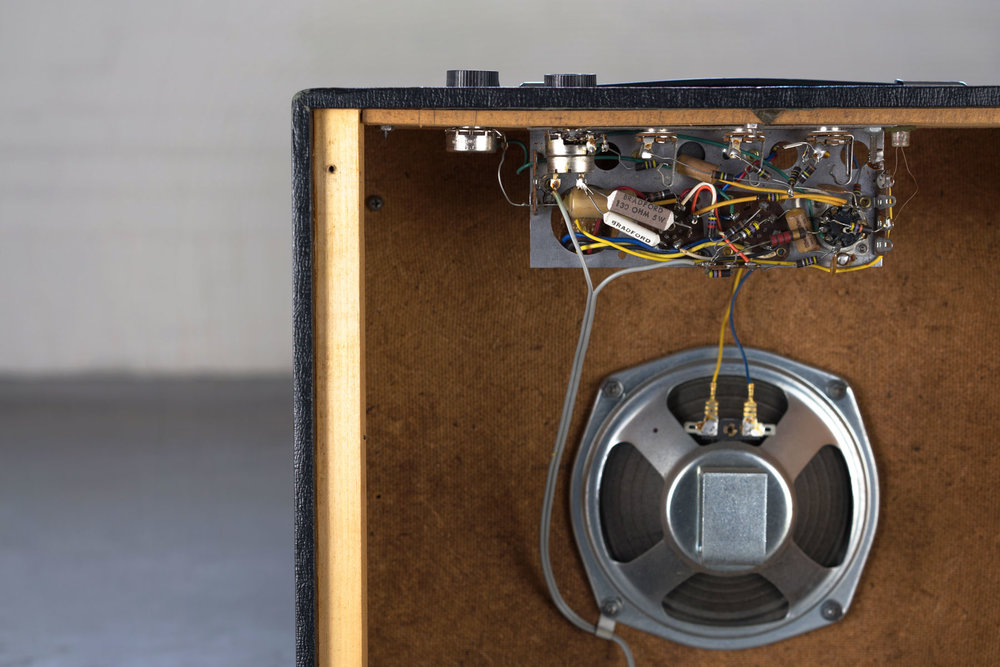
Replacing a vintage amplifier’s filter caps is a very routine service. For some people, replacing the filter caps is the first order of business when they acquire a new piece of old gear. As components in the power supply, filter caps are subject to the most stress and the highest voltages. For these reasons, filter caps have a reputation as the most likely suspect when anything in the amplifier goes wrong.
Always practice good electronics safety, including discharging the filter capacitors, before attempting to repair or modify any amplifier. If you need help replacing your amplifier’s filter capacitors, or with any other electronics repair, contact us.
What is a capacitor?
Capacitors are common electrical components. Open up pretty much any electronic device, and you’ll see capacitors - often dozens of them.
Capacitors work by storing and eventually releasing an electric charge. They are composed of two sheets of conductive material, separated by a thin layer of insulating material. When voltage is applied to a capacitor, the conductors inside become charged: one positively, the other negatively. Eventually, the conductive sheets (called "plates") cannot hold any further charge. They discharge, and the process begins again.
What is a filter capacitor?
A filter capacitor has a specific job: to filter DC ripple currents in order to prevent noise from entering your signal.
First, imagine a sine wave. That’s the AC power entering your amplifier from your wall. Once the AC power passes through your amp’s rectifier, it becomes DC power, which you can visualize as a straight line.
Think of the sine wave as noise and the straight line as a glorious source of silence. Where the AC power broadcasts it’s presence with a loud hum, as if to say, “Here I am!! Powering all the things!! ELeCtriCItY!!!11!1!!,” DC power knows that a job well done is it’s own satisfaction, and therefore doesn’t need to solicit your admiration on how hard it’s working by making obnoxious sounds. Unfortunately, your wall power can’t reach this level of wisdom by just passing through your rectifier tube.
That’s because the rectifier can’t churn out perfect DC. Post-rectifier, the current is no longer inverting, so it certainly isn’t AC, but it still has regular noisy spikes which we call ripple current. If this ripple current gets into your signal - in particular the sensitive signal close to the amplifier’s input - you’ll hear it as hum, because it will sneak past your coupling caps. But by storing and releasing charge at regular intervals, the filter capacitors smooth out the ripple and ensure that the rest of the circuit receives a more consistent level of power.
Will replacing the filter caps cure my amplifier’s hum problem?
Maybe. Filter capacitors are usually electrolytic, which tend to leak or dry out over time. Often, bad filter caps appear to be bulging or are visibly leaking. In that case, they should definitely be replaced. Even a capacitor without visible flaws may have drifted in value enough to malfunction. If in doubt, remove the capacitor from the circuit by lifting one of its leads and test it with a multimeter.
However, if the filter caps are more or less working correctly, replacing them probably won’t make a drastic change in your amp’s sound. That doesn’t mean that it’s not worthwhile to replace them, even if they’re not the ultimate source of your amp’s hum. Electrolytics dry out over time, and as this happens their ESR (equivalent series resistance) will increase. This can introduce high-frequency noise into the signal. Replacing the electrolytics will give your amp the reliability it had when it was first manufactured, and keep it sounding great longer.
Changing the filter caps is also a non-invasive way to subtly modify your amp. You can replace the filter capacitors with their original values, which would preserve the original character of the amp. However, in many cases you can optionally increase the filter capacitors, which could eliminate some voltage sag and tighten up the amp’s tone. Because big electrolytics used to be very expensive, many vintage amps have relatively small-value filter caps, so there’s often room for increasing them a bit. But not too much: tonally, there is a point of diminishing returns, and you should also take care that the caps physically fit in the chassis. Check the capacitor’s data sheet for its dimensions, and determine where you’re going to place the new component in the circuit before beginning any mods.
For instance, we once worked on a very early Gibson GA-5 that hummed apocalyptically and passed anemic, distorted signal. We opened it up and instantly noticed that somebody had changed all three filter caps (originally 8uf/8uf/16uf) to 50uf Spragues. You wouldn’t have had to be a Gibson historian to locate this mod: the Spragues were bright blue and so enormous that they barely fit in the chassis. And yet, despite the addition of very large and expensive brand-new capacitors, the amp performed as if the signal was actually being routed to 1947 and back before coming out of the speakers.
Why? Because the hum problem had nothing to do with the filter caps. One of the grounds in the input circuit had been disconnected. We replaced it and the amp sounded fine. Then we replaced the filter caps with lower values, since (1) the GA-5’s rectifier tube doesn’t like to see a 50uf as the input cap, and (2) the enormous size of the caps made the chassis pretty cramped.
Which brings us to our final point: if you choose to increase the values of the filter caps, a few notes of caution. First, have a plan before replacing the capacitors. If you’re trying to improve noise and reliability, replacing the caps with their original values is probably sufficient. If the amp still sounds like its malfunctioning, the problem is probably elsewhere.
Second, if you’re modifying the amplifier, there are two data points that you should be aware of. The first is the voltage rating of the original capacitors, which you must either meet or exceed. Power supply capacitors must be able to comfortably endure the amplifier’s full B+ voltage in order to avoid premature failure. Furthermore, the value of the first (aka input) filter cap cannot exceed your tube rectifier’s rating. To find this rating, check the data sheet.
Further Reading
Browse all of our articles on restoring vintage gear. Or, click on an image below.