In Restoration: Wurlitzer 145

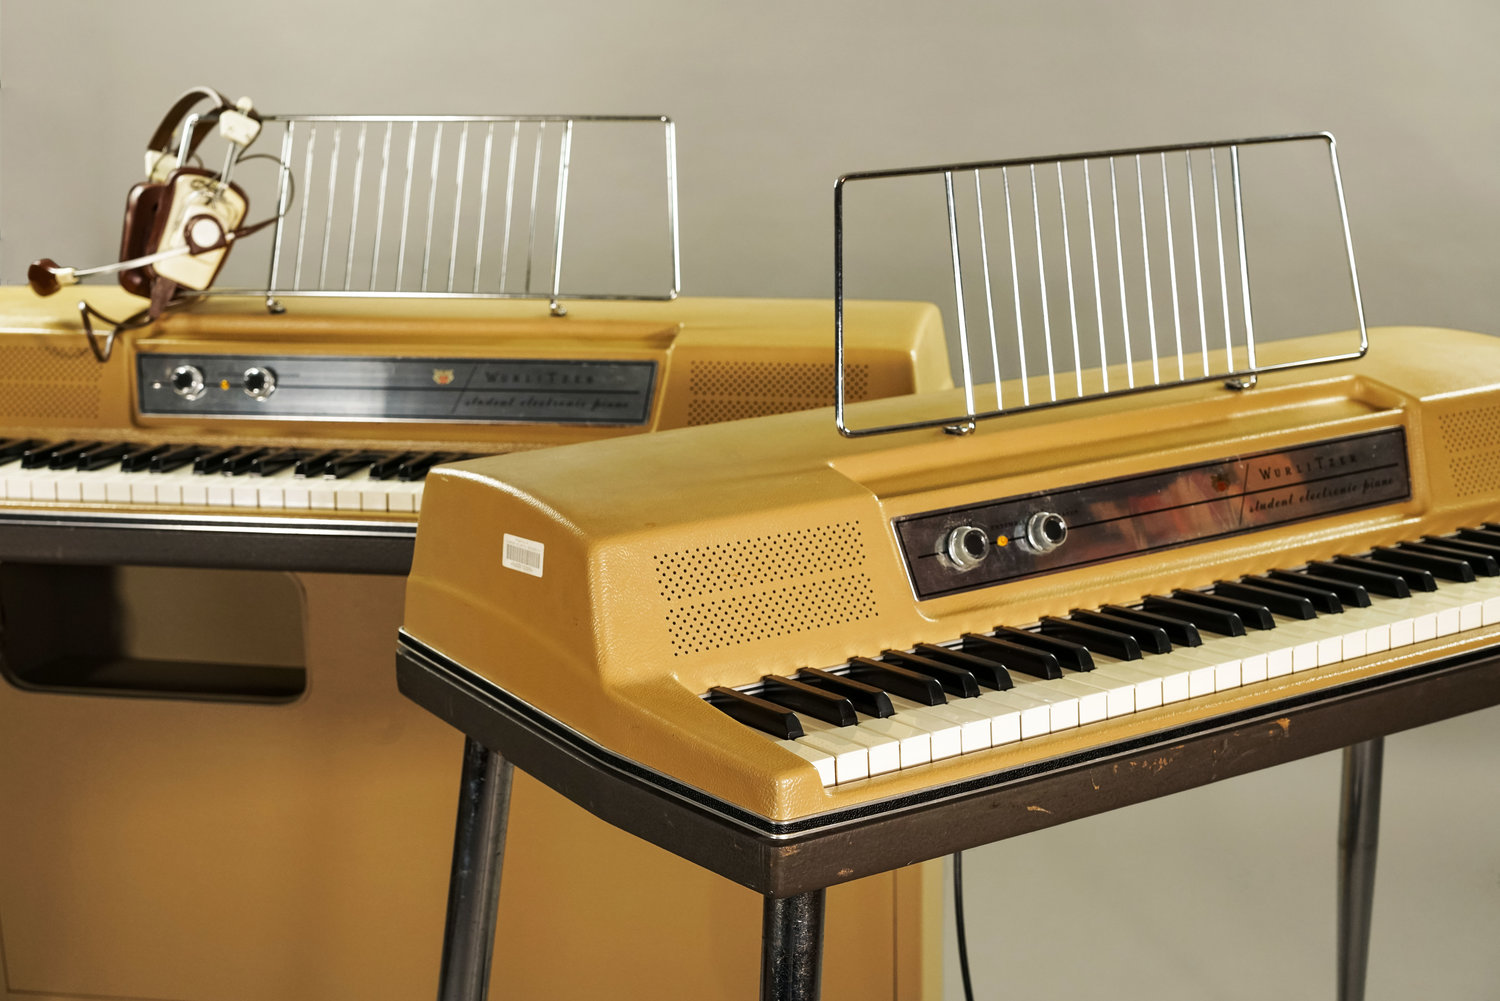
The Wurlitzer 145 after its restoration. We installed a new amplifier with a tube fx loop.
This Wurlitzer 145 was brought in by a customer, who had just purchased it from its original owner. The Wurlitzer was in a state of obvious neglect: the amp was noisy, the keys were sticky, and the entire unit was covered in a film of dust. It had been refinished many years ago and had developed an interesting patina, but it needed to be handled gently because the old paint was prone to chipping. The 145 is a rare model of Wurlitzer and this one in particular was truly one-of-a-kind. We were very happy to work on it.
Although we could have repaired the old amplifier, the customer asked us to install our new 145 replacement amplifier instead. He also requested an effects loop, so that he could use pedals with the Wurlitzer. This allowed us to install an improved, modded amplifier without making a single change to the original amp (which was, incidentally, in truly original condition and didn’t have a single replacement part). The customer also wanted the mechanical parts refreshed so that the Wurlitzer was once again playable.
When we turned on the Wurlitzer, it displayed just about every type of noise possible: voice coil rub, amplifier hum, reed bar debris, etc. The keys were sticky and the action was sluggish. Inside the amplifier, the filter caps were leaking. The keybed showed signs of water damage, which was unsurprising because the keyboard also smelled like mildew.
After a thorough cleaning, mechanical regulation and amp replacement, the Wurlitzer was once again in great playing condition. Here’s what we did.
Cleaning the Wurlitzer
The first thing we addressed was the physical condition of the keyboard. Restoring a Wurlitzer involves a lot of reaching inside and leaning into it, so we really need the Wurlitzer to be clean as possible before we get started. Basically we prefer to clean the dust before we inhale it all. (For more information on cleaning a vintage electronic piano, check out Part I and Part II of our guide.)
We first removed all of the interior parts of the Wurlitzer, being careful to note what screws go where. We unscrewed all of the damper arms and removed the harp, amplifier, and speaker. The next step is to remove the keys, which is always pretty gross. Dust can easily get into the keybed through the cracks in the keys, but nobody ever cleans under there because unscrewing fifteen lid screws and taking all the keys out is truly a pain. (Side note: you can minimize how dusty your Wurlitzer keybed gets if you keep your Wurly covered anytime it’s not in use.)
This Wurlitzer did not disappoint: it was, predictably, really gross under the keys. In this case, the best way to proceed is to remove a couple of keys, vacuum, and then repeat. The goal is to remove the dust without agitating it and releasing it into the room. If you can wet-vac, moisten the dust first, because even the force of the vacuum can kick the dust around. Water or Windex is okay, but don’t use an aerosol spray, because if you misfire it’s basically canned air and you’re shooting the dust into the atmosphere.
If the dust bunnies are truly magnificent, sometimes we’ll remove all the keys before doing any vacuuming, just for the photo op. It’s up to you if a dramatically gross photo is worth a little extra dust in your lungs. Remember to be gentle with the keyboard as you uncover more and more visible dust.
At this point, it was clear that something had been spilled in the keyboard. All of the paper shims and felts looked waterlogged, and the interior of the case and the keybed were obviously stained. Felt soaks up water like a dense sponge, and once it dries the fibers tend to get compacted, compromising the feel of the keyboard. These particular felts were also black with filth and had assumed the role of little mildew-scented air fresheners. Along with the shims, they went straight into the trash.
Using 400-grit sandpaper, we then sanded the water stains out of the keybed and the bottom of the case. This prevents the wood from further degrading and improves the overall smell of the keyboard. However, sanding too deep can affect the alignment of the keys, so we use a gentle touch here.
It’s convenient to clean the exterior of the keyboard once it’s empty. Usually that’s a pretty straightforward task, but this Wurlitzer’s paint job was a true DIY project. Whoever painted it had gone to town without sanding the original layer, putting down primer, or apparently doing any prep work at all. The result looked very cool, but where the paint was peeling, it was peeling off in chunks.
We wanted to preserve the original appearance of the keyboard as much as possible, but we clearly needed to scrub off the grime. Working outside, we first knocked off all the loose paint until the finish was more or less in stable condition. (Because of the age of the keyboard, we made sure to collect the paint chips in the trash and wore a respirator mask and gloves throughout this process.) Then, we scrubbed the grime using non-abrasive shop towels and a mild detergent. Amazingly, it came right off. Free from the yellow stains that had crisscrossed the keyboard for years, the white paint gleamed beautifully. We cleaned the legs and the lid using the same process.
If the Wurlitzer was intended for heavy-duty gigging or frequent travel, we might have recommended some sort of clear sealant to preserve the patina and prevent additional paint from chipping off. However, this keyboard was about to become a studio piece, and gentle handling would prevent any serious deterioration of its aging finish.
Mechanical Regulation & Other Adjustments
At this point, the keyboard was clean and free of dust, debris, and odors. The next step is to perform all mechanical adjustments. First, we lubricated all of the action points on the dampers, hammers, and whips. The felts on these moving parts sometimes collect dust bunnies, so we wiped them off with a pipe cleaner where necessary.
Next, we re-installed all of the parts we had previously removed, including the keybed. Because we had to throw away the mildewed paper keybed shims, we had to make new ones. Once upon a time, we used an original shim from a clean Wurlitzer to create a template. Our new shims are made from paper that is the same size and thickness as the originals.
We put the keys in last, lubricating the key posts as they go in. Because we had thrown away all of the old shims and felts, we also had to install the new ones. Felts are straightforward and come in one size, but shims are available in thicknesses ranging from tissue paper to cardboard. This allows you to fine-tune to key height for the most consistent feel.
Once the keys were in, we adjusted let off and lost motion. Lost motion is the screw on the end of the key. Adjusting it affects how much up-and-down motion the keys have before the hammer starts to move. It has a significant effect on the touch responsiveness of the keyboard. Too much, and the keys feel sloppy; too little gives them too much tension. Adjusting let off is done with the screw on the whips, and it more or less affects how hard the hammer hits. Both of these adjustments are very important to the feel and sound of the keyboard.
Replacing the Amplifier
Next, we moved on to the amplifier. Wurlitzer amps are extremely utilitarian. They were primarily meant to (1) amplify cleanly, and (2) fit into the back of the cabinet. To cut costs and save space, Wurlitzer always used the least amount of components in their amplifiers. You can see this in the Wurlitzer 120 amp, which had just one gain stage and a paraphase inverter. That’s a grand total of one preamp tube where your typical guitar amp would have two or three.
The Wurlitzer 145 also had one preamp tube, but instead of a 12AX7 it used a triple triode called the 6K11. The 6K11 was released by GE in a last-ditch effort to design a tube that was small enough to compete with transistors, but it never really caught on. To be fair, the 6K11 wasn’t exactly a marvel of miniature engineering. It was exactly like a 12AX7, except with three extra pins and half of a 12AU7 crammed inside the envelope.
While the 6K11 wasn’t going to win any prizes, but it definitely had Wurlitzer’s name all over it. Now Wurlitzer could design a tube amp that took up approximately the same footprint as a 120 amp, but left designers with a single extra triode to use in a tremolo circuit. One-triode gain. One-triode phase inverter. One-triode tremolo. Wurlitzer didn’t have to limit themselves to one triode in any of these circuits - in equivalent circuits, amps contemporary to the 145 used often used two or more triodes - but the 6K11 existed and Wurlitzer clearly liked lean circuit design.
Today, the 6K11 is no longer in production. And while we appreciate the extreme gain-hating minimalism that led to the final design of the 145 amp, we’re by no means bound to it. For that reason, we prefer to replace troubled 145 amplifiers with new replacement amps. This allows us to swap the obsolete 6K11 with readily available alternatives, and also mod the amplifier for extra gain or other effects.
In this case, the customer requested an effects loop. First, we built an extra-long chassis to account for the physical space that an extra tube would occupy. By increasing only the length of the chassis and keeping the width the same, we ensured that the chassis would still fit inside the back of the keyboard when we were finished building the amp. The effects loop was composed of several passive components, two jacks and a potentiometer to adjust the volume of the send circuit. We mounted the jacks and the pot on the chassis, in the space previously allotted for the external speaker jack. Because the send jack doubles as an aux output, an external speaker is less necessary. However, we wired the speaker output as a regular 1/4” jack instead of the original RCA plug. That way, if the customer ever gets tired of using the 6x9” oval speaker, he can easily remove it and, in its place, plug any 4 ohm cabinet into the amplifier, no adapters necessary.
Our effects loop uses two triodes, so once we insert it into the rest of the circuit (which uses three triodes, like the original), we’re still left with an extra half of a 12AX7 to work with. There are many things you can do with one triode - including grounding its three pins to take it out of the circuit completely. We decided to wire it in parallel with the input. This would provide a moderate amount of additional clean gain without requiring any additional components. (Space is at a premium in this chassis.)
Between the paralleled tube and the return circuit, the amplifier at this point had enough gain to actually overdrive. With a bit of tone shaping attenuation to keep the high frequencies in check, the Wurlitzer was now capable of an interesting and very unique crunch. We installed a master volume to allow the user to tap into the overdrive or, alternatively, dial it down and play with the 145’s original bell-like clean tone.
On this 145, the knobs were mounted in the front panel, so we could have easily added an extra hole for the master volume. However, the customer didn’t want us to modify the case of the Wurlitzer at all. He also didn’t want the headphone out, so we removed the headphone jack and used the existing hole to mount a concentric potentiometer. We used one pot for the master volume, and the second for tremolo speed.
Finally, we replaced the original blown speaker with a Weber Alnico 6x9”. It sounded great and fit perfectly, which was no surprise since Weber designed it to replace vintage audio 6x9” speakers.
Final Thoughts
In the end, the Wurlitzer looked great and played smoothly. Its new custom tube amplifier gave it a one-of-a-kind sound that truly complemented its unique one-of-a-kind appearance. it was a pleasure to make it musical again.
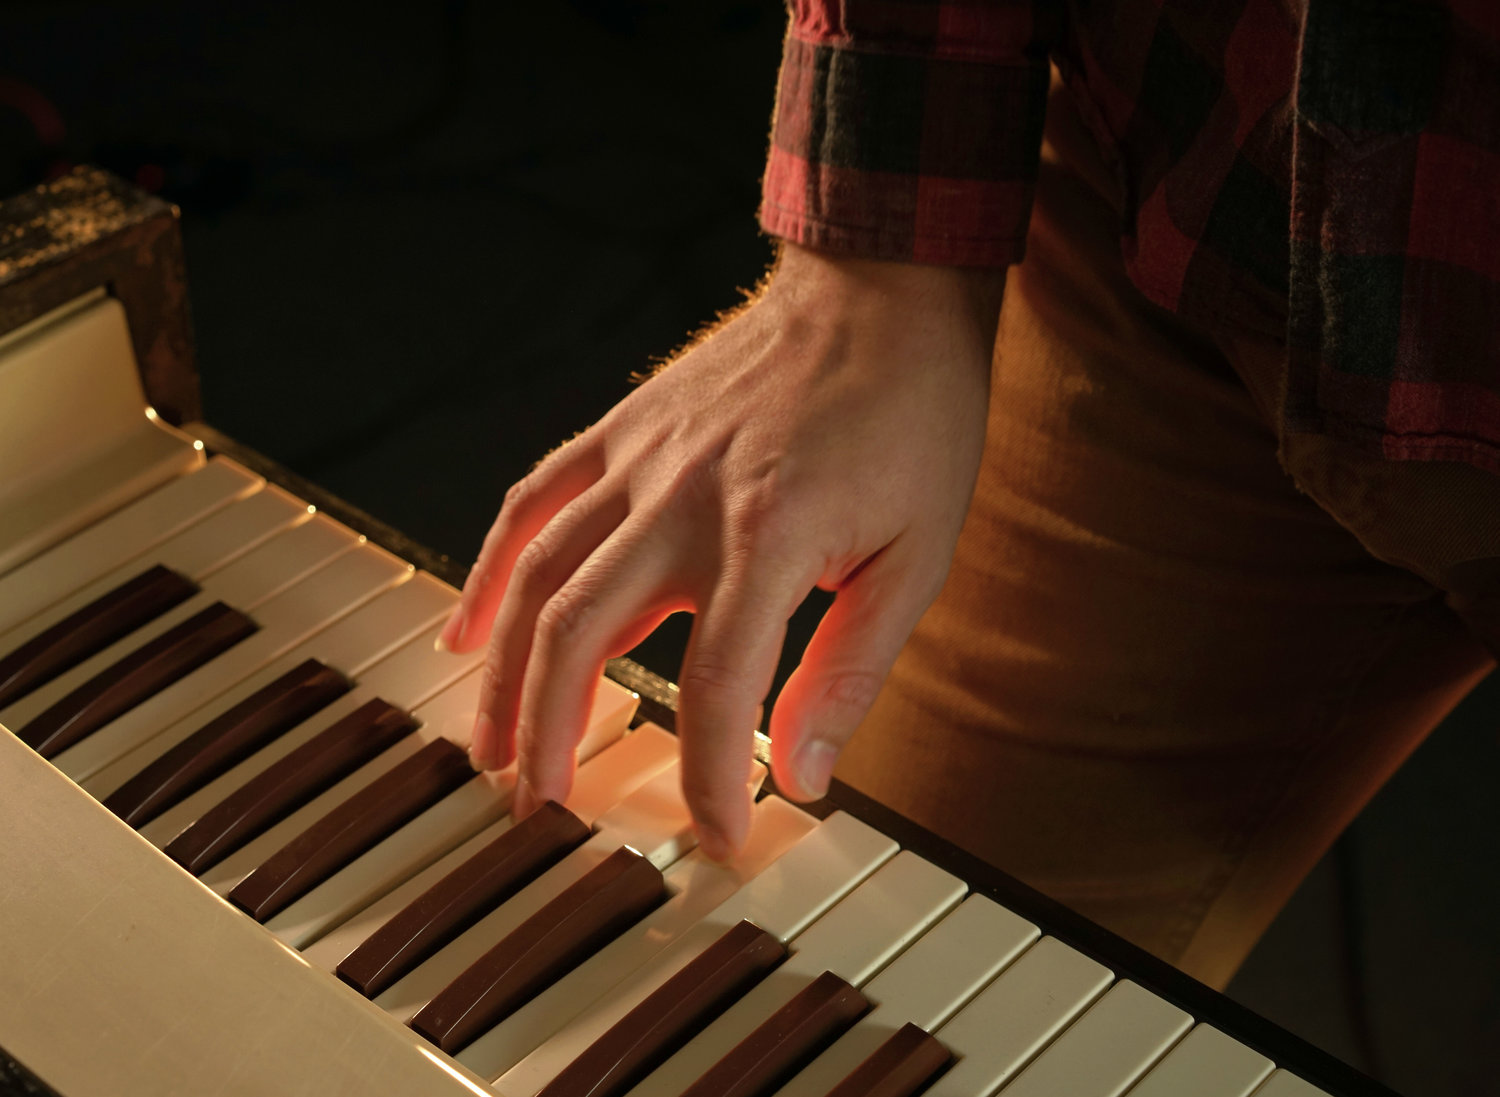
One thing that constantly amazed us throughout the Wurlitzer’s restoration was the keycaps. Although the rest of the keyboard was originally very dirty and covered in chipping paint, the keycaps were sparkling white from the beginning. They were honestly shinier than the keys on any other Wurlitzer we currently had in the shop. This was definitely an important detail, because if the keycaps were dull and yellowed they would have instantly become a mismatched eyesore after we cleaned up the paint. White paint requires bright keys.
If the keycaps were in poor condition and had to be replaced, we certainly could have done it. However, that requires a lot of labor hours and today’s plastic isn’t the same as it was in the 1960s. Original keycaps are also a little magical, since their smooth texture is partially due to the years of other musicians playing music on your instrument. It really goes to show that one of the most important features of a Wurlitzer is the presence of the original lid. Furthermore, this lid also had three of four latches - enough to keep the lid closed without tempting anyone to force it shut with duct tape - which the fragile finish would definitely not have survived.
It’s really the details that make a vintage Wurlitzer great - and this one has them all.
Further Reading
Browse all of our articles on restoring vintage gear. Or, click on an image below.