Checking and Changing the Fuse in Your Tube Amplifier

The rear panel of a vintage Fender Bassman tube amplifier.
If your tube (or solid state) amplifier is not “turning on,” the cause of this problem could be a blown line fuse. The line fuse, also referred to as a mains fuse, is the fuse that stands between the main AC power and your power transformer. In an otherwise functional amp, the main fuse can and will blow when there is a problem between the wall outlet and your power transformer (PT). A fuse can also blow when there is a short somewhere in the amp. In either case, the fuse is doing its job when it blows and is protecting the amp by stopping it from running when there is a problem present that could harm the amp’s circuit.
If you are using a wall power outlet that is known to be functional (and if you are using a surge protector, check that as well), if your amp has a working power cord, and yet the amp is not turning on, you should check your fuse. As with all amp inspection tests we talk about, make sure your amp is turned off and unplugged before trying to remove the fuse cap. Otherwise, removing the fuse is a shock hazard.
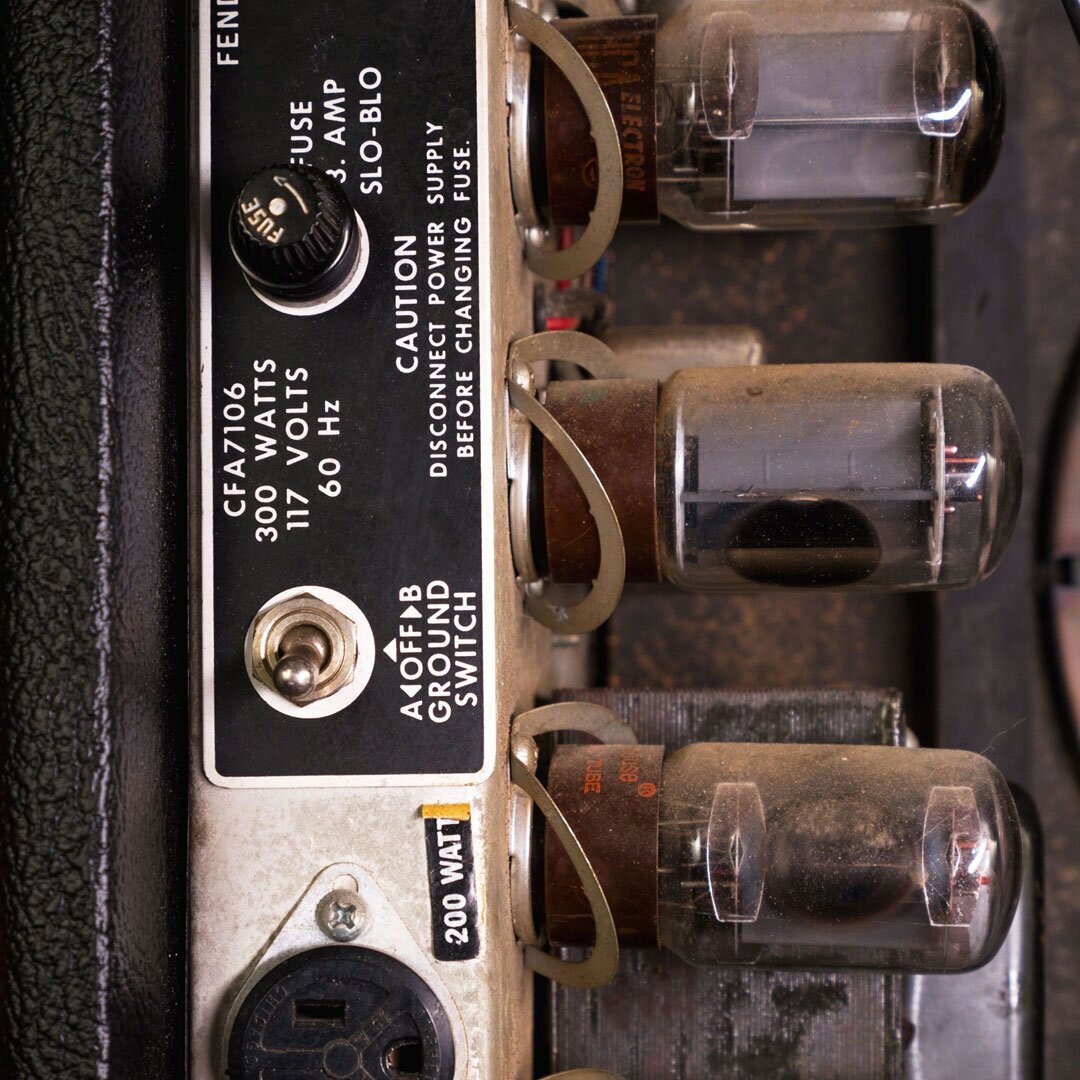
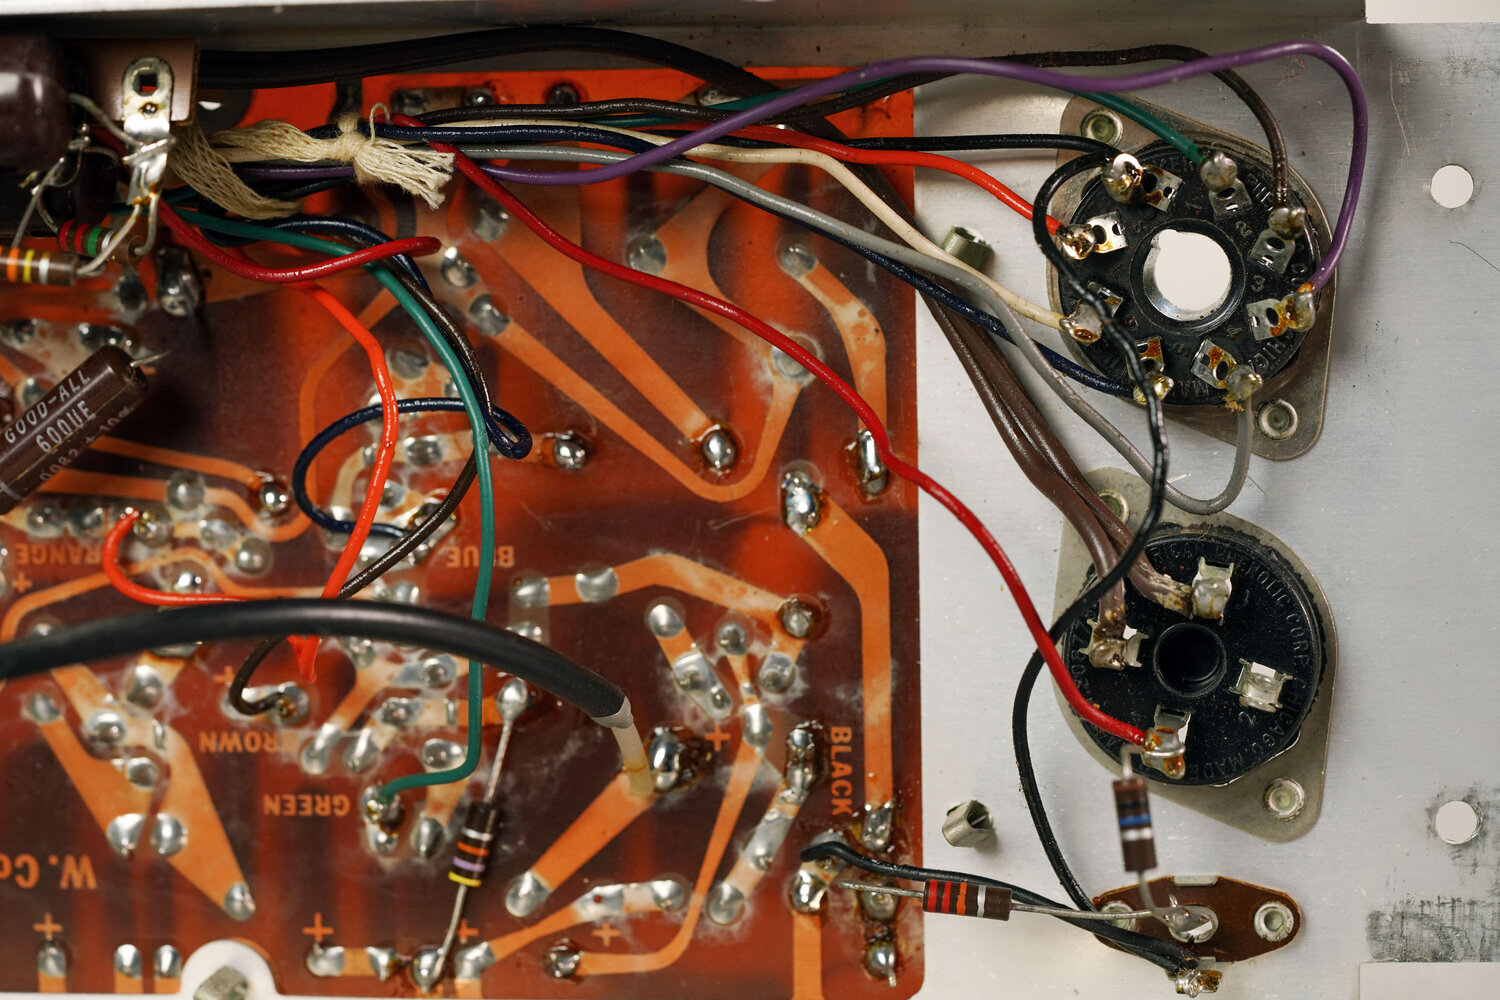
The back panel of a Fender Super Six chassis represents a pretty standard rear panel topology.
The fuse holder (pictured above in a Fender Super Six) is commonly located around the area where the power cord enters the amp. Almost 100% of the time the fuse cap will be a type that requires inward pressure before unscrewing (counterclockwise). If you do not apply inward pressure you might spin the fuse holder, twisting the main wires attached to it and potentially cause a bigger problem than you started off with. Think of the safety cap on most prescription drug or Advil bottles: fuse caps have the same feature.
Once you have gotten the fuse cap off, the fuse will typically be held in the cap by some slight spring pressure and stay in the cap. Your fuse will more than likely be a 0.25”x1.25” (or 3AG) glass cylinder slow-blow fuse in the rage of 1 to 3 Amps. Your fuse works by allowing power to pass through a thin filament within the cylinder under normal circumstances. When circumstances change and the fuse no longer likes what it sees, it will blow safely inside the glass cylinder cutting the power.
Enjoying this article? Subscribe to our newsletter for weekly repair tips & other vintage amplifier & electronic repair content!
Visually inspect the Fuse
You can visually inspect the filament within the glass cylinder if you have good eyes and a well lit space. Newer slow-blow fuses have an almost hair-thin filament, and if you look closely a blown fuse will be slightly charred and broken. Older (vintage) fuses have a spring that is outstretched when connection is present, and when blown will be more obviously disconnected (they actually will make a quiet snap sound when blowing).
Test the fuse with a Multi Meter
If you can’t see if your fuse is blown you can switch a multi-meter to the Continuity setting (the symbol for this looks like a modern wireless symbol or a ‘sound/audio wave’ symbol) and touch the probes to both ends. If you hear the continuity beep, you’ve got a working fuse. No beep means no connection and the meter will read “OL” in this case.
That’s it: those are the only two ways to check a fuse. I suppose if you don’t have a multimeter, and you really can’t see the filament, you can hook it up to a potato or something, but I’ve never tried that. Honestly if you really can’t see it, and you don’t have a multi-meter…um…I don’t know what to tell you…buy a multi-meter. And while you’re at it, grab a few fresh fuses.
If you have determined that your fuse is still good and has continuity, check out our article on common tube amp malfunctions for help narrowing down the specific issue your amp is having.
Changing the Fuse

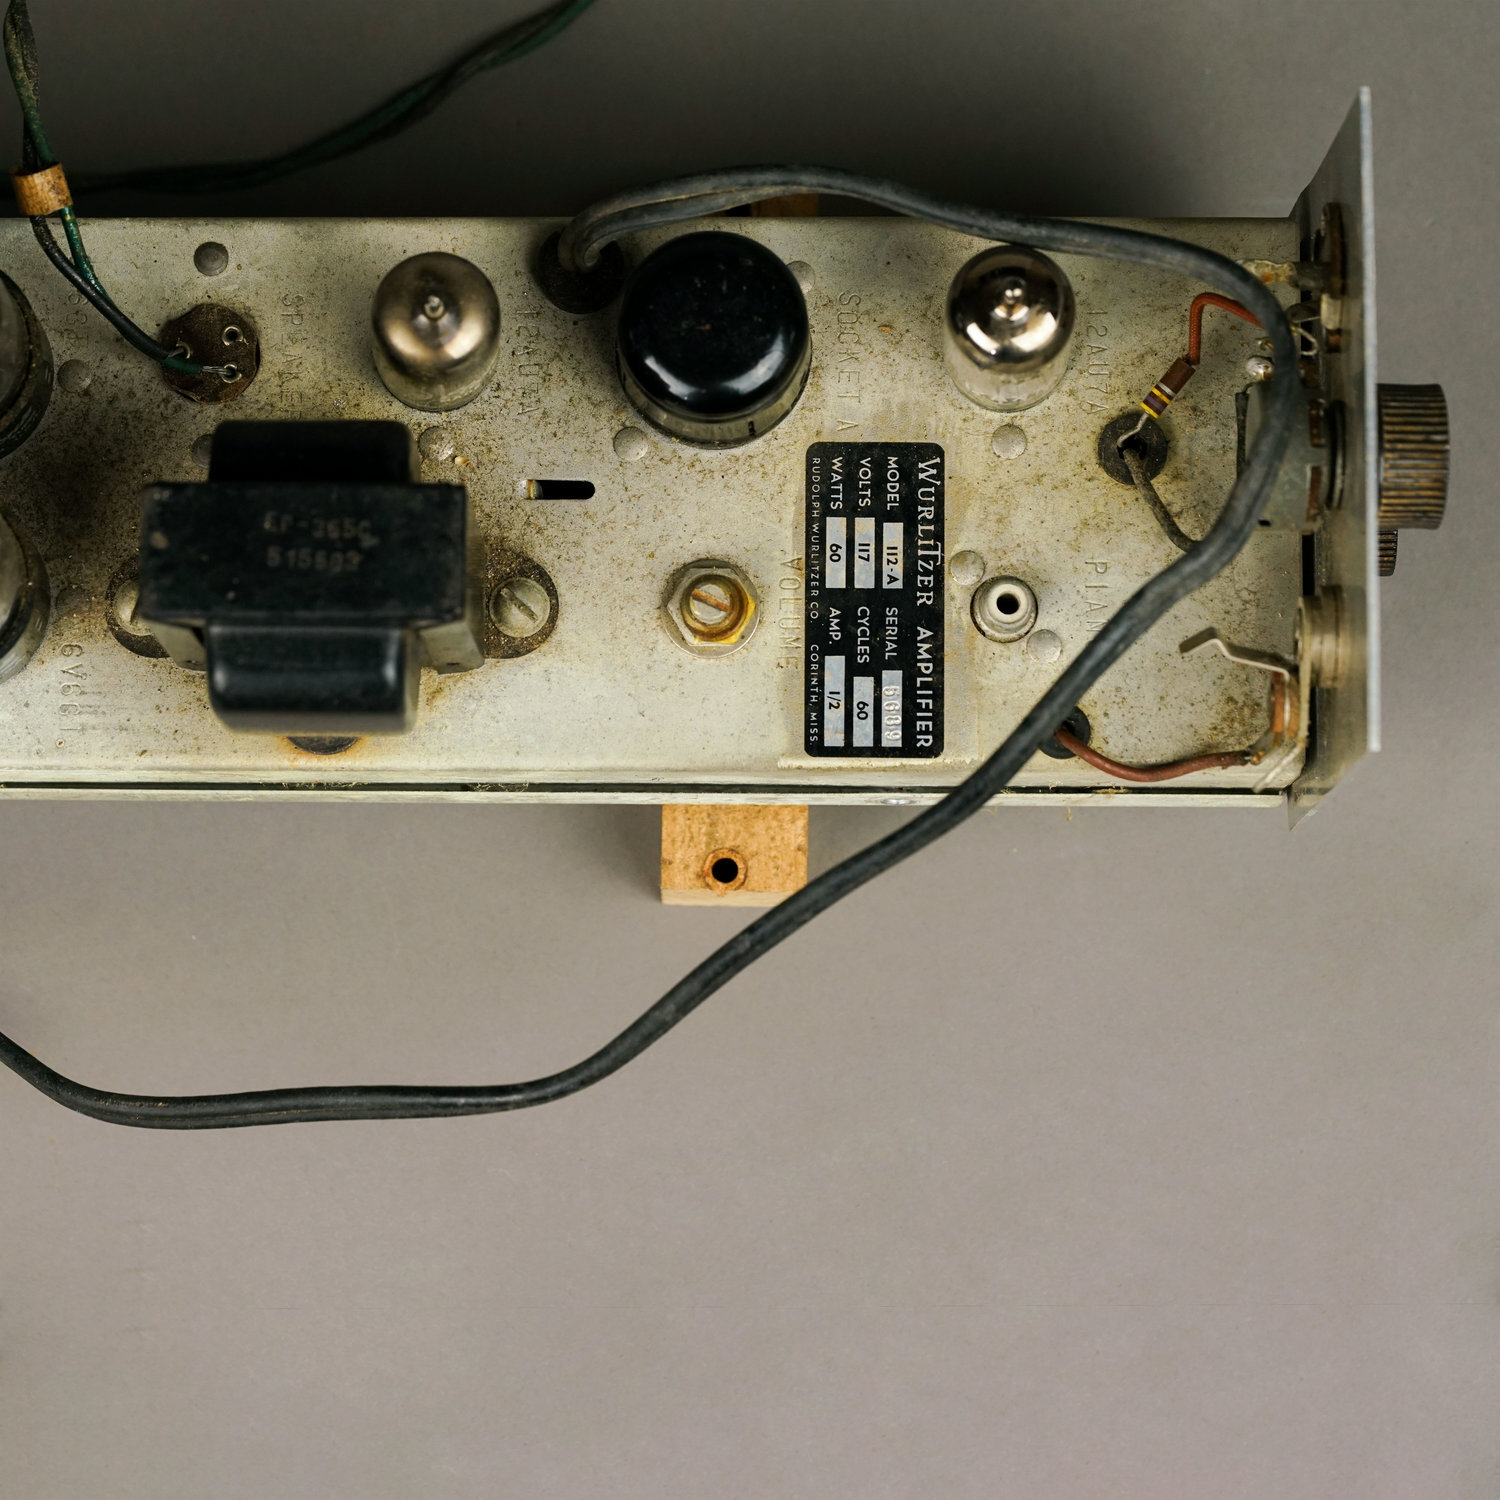
This Wurlitzer 200a has two fuses on the amp board. You can see one mounted right above the blank space on the circuit board. The fuse is encased in a twisted copper wire that must be unsoldered before it can be swapped for a new one.
If you have determined your fuse is no good, always replace it with a fuse that has the same amperage rating. The fuse amperage is usually written on the chassis next to the fuse holder. If there is no fuse size information written on the chassis, the schematic would be the next place to check. Finally, if the schematic is not available, the fuse itself has the amperage stamped into one of its metal ends. Note that if you are going by the fuse size written on the fuse itself, and cannot otherwise definitively confirm the fuse size either on the chassis or the schematic, there is a possibility that the fuse that blew was an out-of-spec replacement that a previous tech or owner put in there in pinch. It can be harmful to, for instance, replace a 1 Amp fuse with a 3 Amp because, in the event of a problem, the 3 Amp will not blow as quickly as the amp designer intended.
What if an internal fuse blows in your amp?
Small single ended vintage amplifiers will almost all have only one fuse: the mains fuse. Larger wattage, more complex, or push-pull amplifiers will often have one or more additional fuses inside the amp chassis. These will be inline fuses that are either board mounted, or in a specialized in-line fuse holder. These are designed to protect a specific area of the circuit. When one of these fuses blow, only a certain portion of your circuit will go down. So your amp will still turn on and the pilot indicator light will remain on. The amp may not make sound anymore, or it might continue operating with distorted sound.
Knowing if one of these fuses has blown will be less visually straightforward from the amp’s exterior. However, you will use the same methods and principles to check these fuses for continuity. Some of these fuses may be hard-wired into the amp’s circuit, but the continuity check will still work when they are in circuit. As always, working inside of an amplifier’s chassis requires that you be sure the capacitors are properly drained and be double sure that the amplifier is of course unplugged. If you are not comfortable safely inspecting the inside of your amplifier, this might be a good task to hand off to an experienced tech.
Further Reading
Browse all of our articles on restoring vintage gear. Or, click on an image below.