How to Tune a Wurlitzer Electronic Piano Reed

The five highest notes in a 200-series Wurlitzer (in this case, a 207a) do not have dampers, so the reeds are exposed at all times. As you can see, these high-pitched notes have very small reeds.
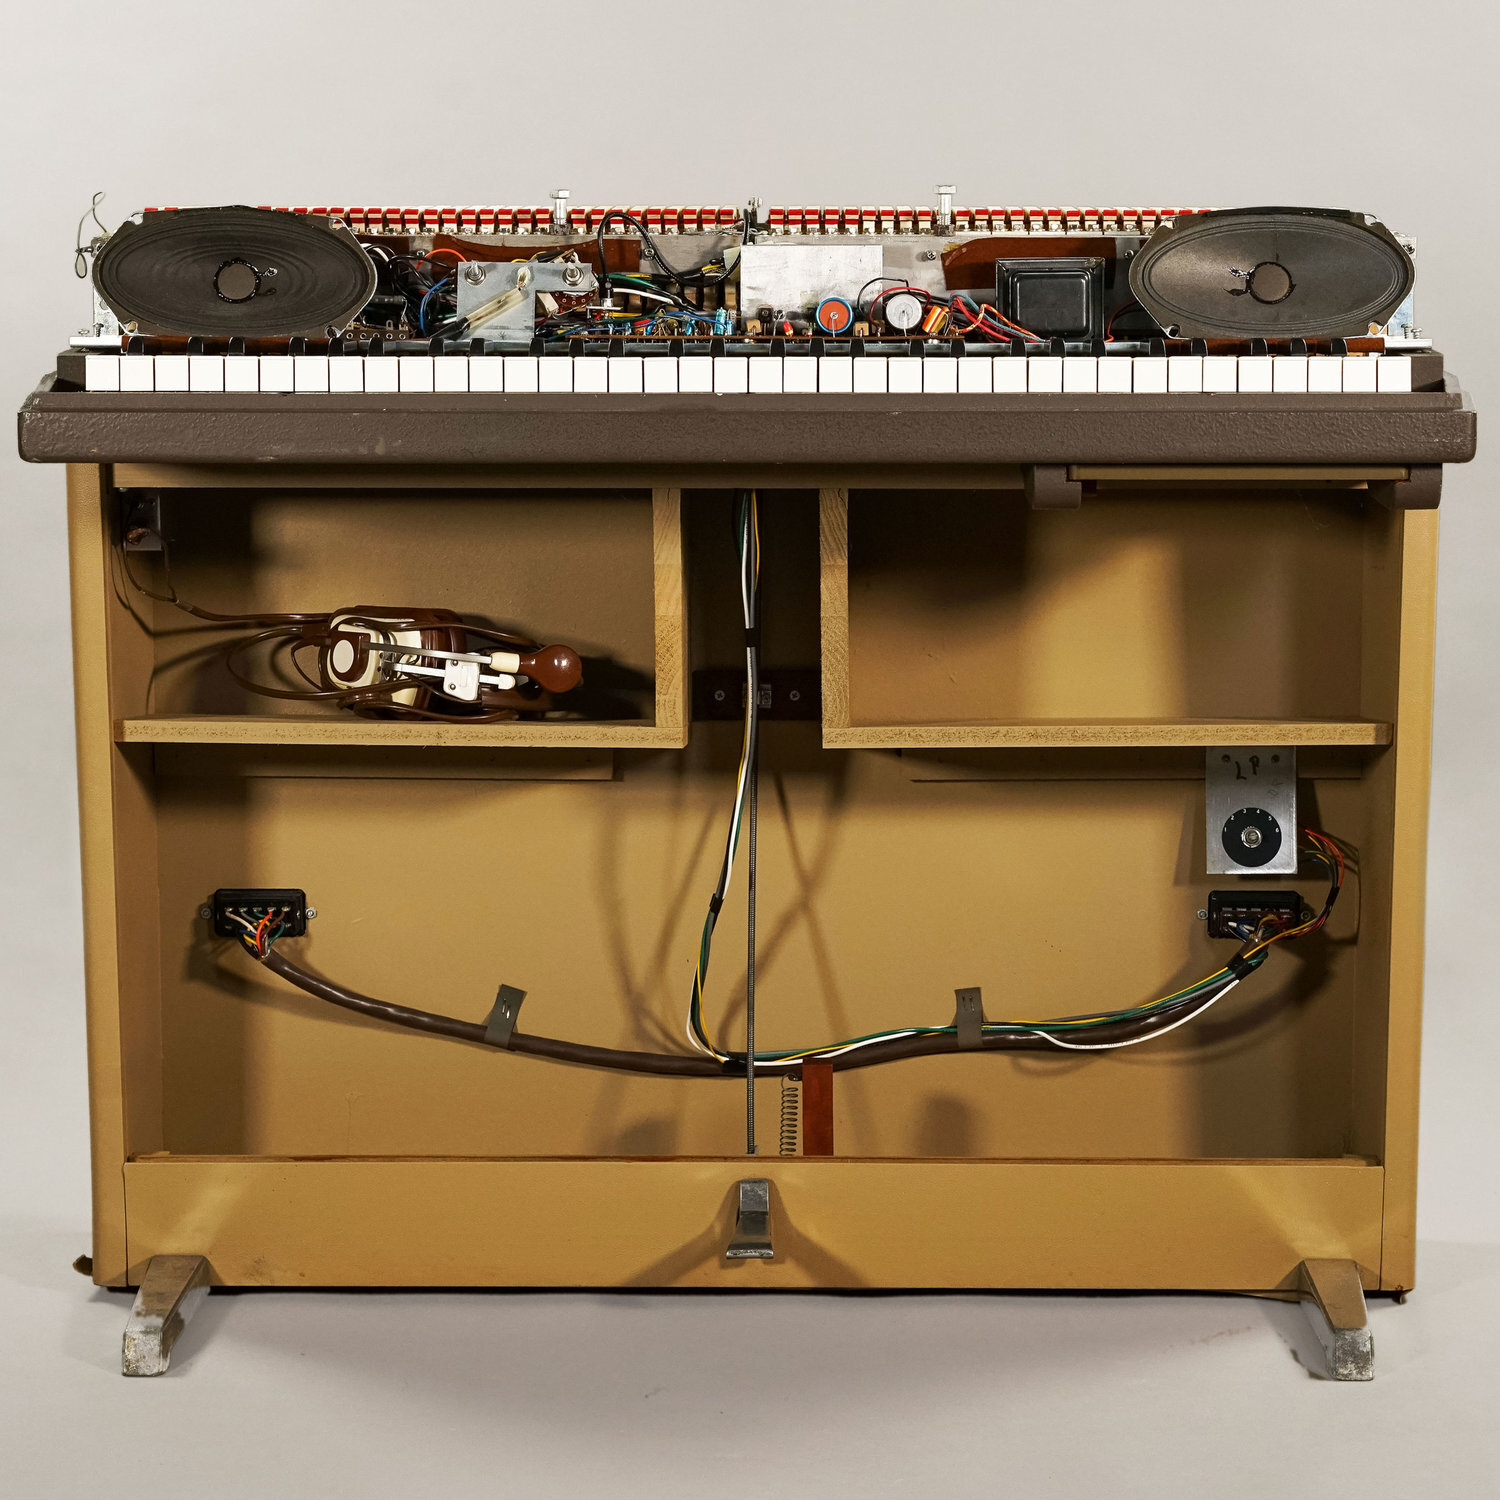
A Wurlitzer electronic piano is a unique instrument that uses a piano-like action assembly to strike metal reeds of various pitches to make sound. Like traditional acoustic pianos, a Wurlitzer electronic piano (or EP) has an action assembly with wooden hammers, keys, whips and dampers. However, the tone is generated when the hammer strikes a metal reed, whereas on acoustic piano a string is being struck. One simple principle remains the same though: longer or larger tone generators make lower-pitched notes, and shorter or smaller tone generators make higher-pitched notes.
In the case of a Wurlitzer EP, the reed’s length and mass is how each pitch is achieved. The reed is a thin piece of metal about 1/32” thick and roughly 3/32” wide. Reed lengths become incrementally shorter as you progress up the harp. The length of the reed helps to achieve a rough ballpark pitch for each note. Fine tuning of the reed is accomplished with a predetermined pyramid of solder added to the tip of each reed, which is applied with a reed mold. After the solder is added to the reed, it is lightly filed smooth. Next, it is installed on the Wurlitzer and checked for its intonation.

In this image, the harp of the Wurlitzer is visible because the damper assembly has been removed. You can see that the reeds are longer towards the bass portion of the keyboard.
How to raise the pitch of notes that are flat
In keeping with the principle that longer or larger tone generators make lower-pitched sounds, a flat reed will need to be made smaller in order to become higher in pitch. This is done by filing or scraping away metal from the solder mound on the tip of the reed. Do not file away metal from the reed itself because this is irreversible and compromises the structure and resonance of your valuable tone generator. Try to only file the solder pyramid.
If you are filing the reed’s solder while the reed is installed, be sure that all metal shavings are cleared from the pickup before turning the Wurlitzer on. Clear the solder shavings away using a fine paintbrush, a vacuum, and by running a piece of paper between the reed and the pickup. Metal shavings that land between the pickup and the reed will create a short. Shorts make a loud popping sound and could potentially damage the onboard amplifier.
If you are unsure if you can safely file the reed while it is installed, you can remove the reed to do so. When re-installing the reed make sure the the reed is perfectly centered within the pickup. A reed that is installed off-center can make contact with the pickup causing a potentially harmful short. Additionally, installing a reed off-centered will play louder than other notes or alter the timbre of the note in an undesirable way.
How to lower the pitch of a reed that is sharp
There are three ways to lower the pitch of a reed that is sharp. For best results we recommend the first or third way, but the second method below is often acceptable if you are short on time.
Reposition the reed. If you are lucky and your reed is only a few cents out of tune you may reposition the reed. To do so loosen the reed screw and shift the reed either forwards or back. This will only give you a cent or two of pitch adjustment, but it may just be all you need. To lower the pitch of your reed, shift the reed forwards or away from the reed screw. To raise the pitch of your reed shift the reed backwards or towards the reed screw. Then, retighten the reed screw and check your work.
Add solder to the reed. If a reed is sharp, in a pinch, you can add a tiny drop of solder to the tip. This needs to be done carefully, so the solder that is already on the reed doesn’t melt out of shape. Additionally, you want to be sure that your newly added solder is firmly bonded. Then, the solder should be filed back into it’s pyramid shape, in order to be certain no new solder is at risk of making contact with the pickup during the reeds motion when struck. If this happens, you will hear a loud popping sound.
Redo the solder pyramid. If you have a reed mold, you can melt the old solder off the reed and re-form the solder pyramid by adding solder to the reed in its correct slot in the reed mold. After adding the solder, lightly file the solder into a pyramid shape, clean any shavings off the reed, install the reed and check its intonation. If the reed is flat, follow the instructions above for raising the pitch. When adding new solder, is it good to make sure there is no extra solder on the side of the reed opposite the solder pyramid. If there is, gently remove this solder with a file or sand paper, being careful not to file the reed itself.
Further Reading
Browse all of our articles on restoring vintage gear. Or, click on an image below.