What to consider when recording a voice-over or podcast.

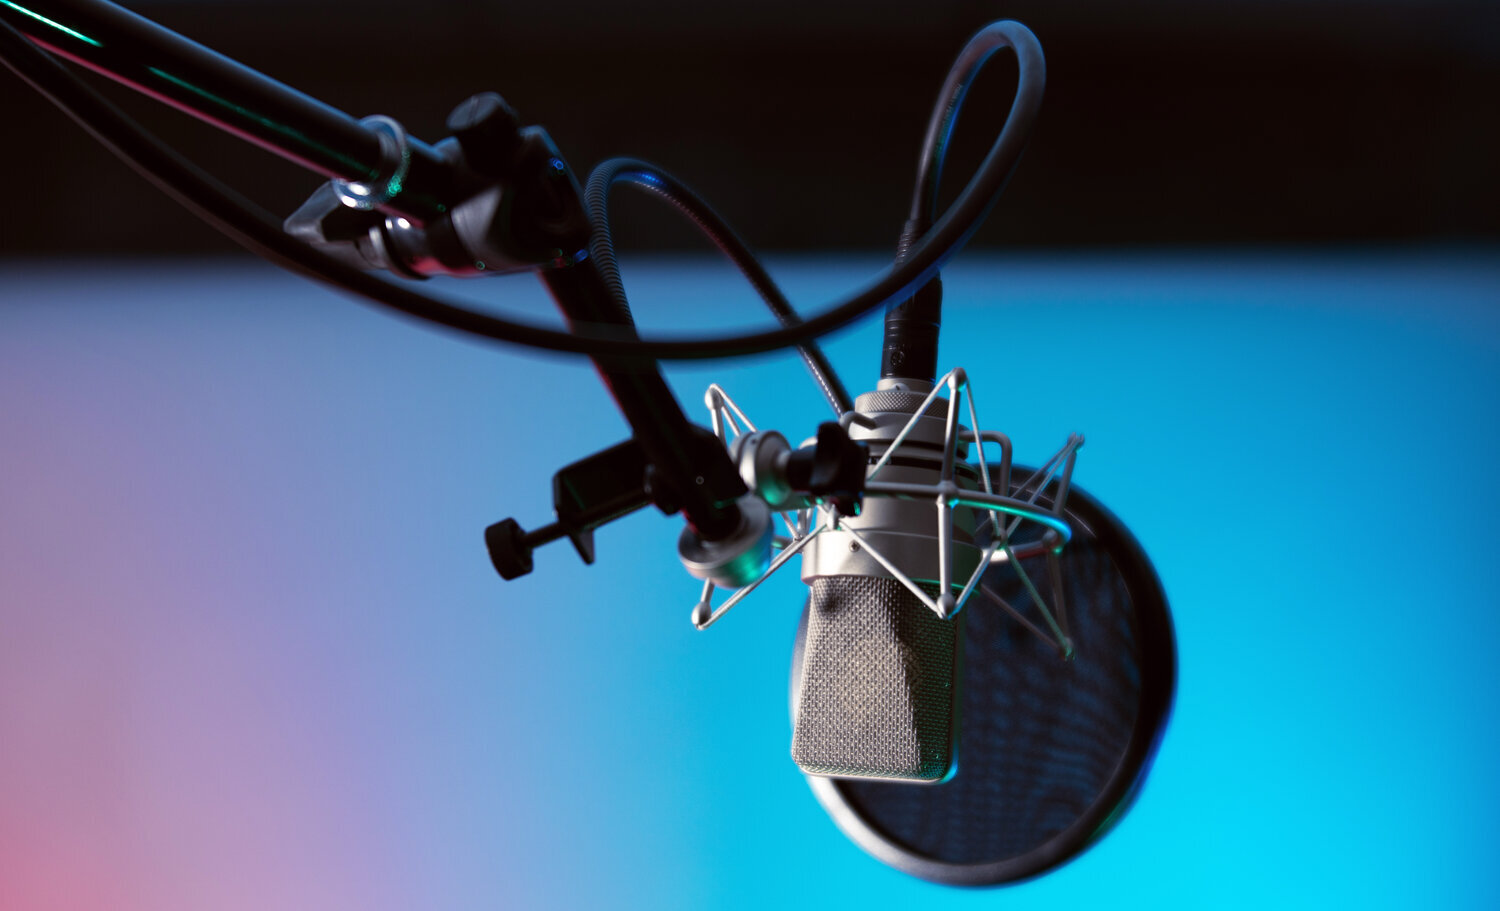
A condenser microphone with a pop filter accessory to reduce and prevent plosive mouth sounds.
When recording vocals for voice-over or podcast, a realistic and detailed reproduction of the voice is desirable. Most radio hosts, DJs, voice talent, strive to achieve a quality of sound that showcases their work and is appealing and engaging to their listeners. In the same respect, poor sound quality can be distracting and less captivating. In order to produce the best vocal recording, you should sort out your acoustics, recording space, microphone and your delivery.
THE SPACE AND ACOUSTICS
Outside noise needs to be minimized because unwanted sounds are difficult to remove from a vocal take. If an unwanted noise is picked up during a gap or silence in your recording it can be wiped without a trace. However, if an unwanted external sound occurs right on top of your audio content it is almost impossible to separate the two without harming your content even with the best audio repair software, like Isotope.
With that in mind you should choose the most isolated spot possible to record your content. For this reason a professional recording studio may be preferable. But if you are limited to recording at home or on your own, choose a room with no outside noises. Of course, if your goal is a live sound where outside noises are welcome this may not apply to you quite as much.
After you have your isolated recording location, the quality of acoustics within your space should be generally free of reverberation. Ideally, a little reflection is nice to ‘liven’ up the audio, but if you had to pick between a completely reflective space and a completely absorptive/diffusive space, the later would be much more preferable. Ideally a smaller room completely covered in absorptive acoustical foam (such as a vocal room found at a recording studio) is a good choice for vocals. This gives your vocals focus and clarity. If some live-ness (or reverb) on your vocal take is preferred it can be added afterwards, but typically this is not desirable.
YOUR MICROPHONE
Typically a dynamic microphone is a great choice for recording vocals. Dynamic microphones tend to reject peripheral sounds and focus the voice of a stationary subject nicely. However if you are in a fully acoustically treated room where outside noise is not a concern, you can experiment with condenser microphones which have a lot of clarity to offer. To learn a little more about the differences between condenser and dynamic microphones check out our article: Should I use a Dynamic or Condenser Microphone.
STAMINA AND PREPaRATION
One of the most common issues we run into when recording vocal talent is how prepared the reader or voice talent is to produce their content. If you have just a short piece to record this may not be an issue, but if you are recording an audio book for instance, this is definitely a concern. For long readings, if you do not take breaks and keep water handy, you can wind up with a recording that sounds more energetic in the beginning and potentially worn out and horse towards the end. Practicing reading your content, setting aside enough time to accomplish your reading knowing your limitations will help you to have a successful recording.
Further Reading
Browse all of our articles on restoring vintage gear. Or, click on an image below.