Key Height, Key Dip and My Wurlitzer
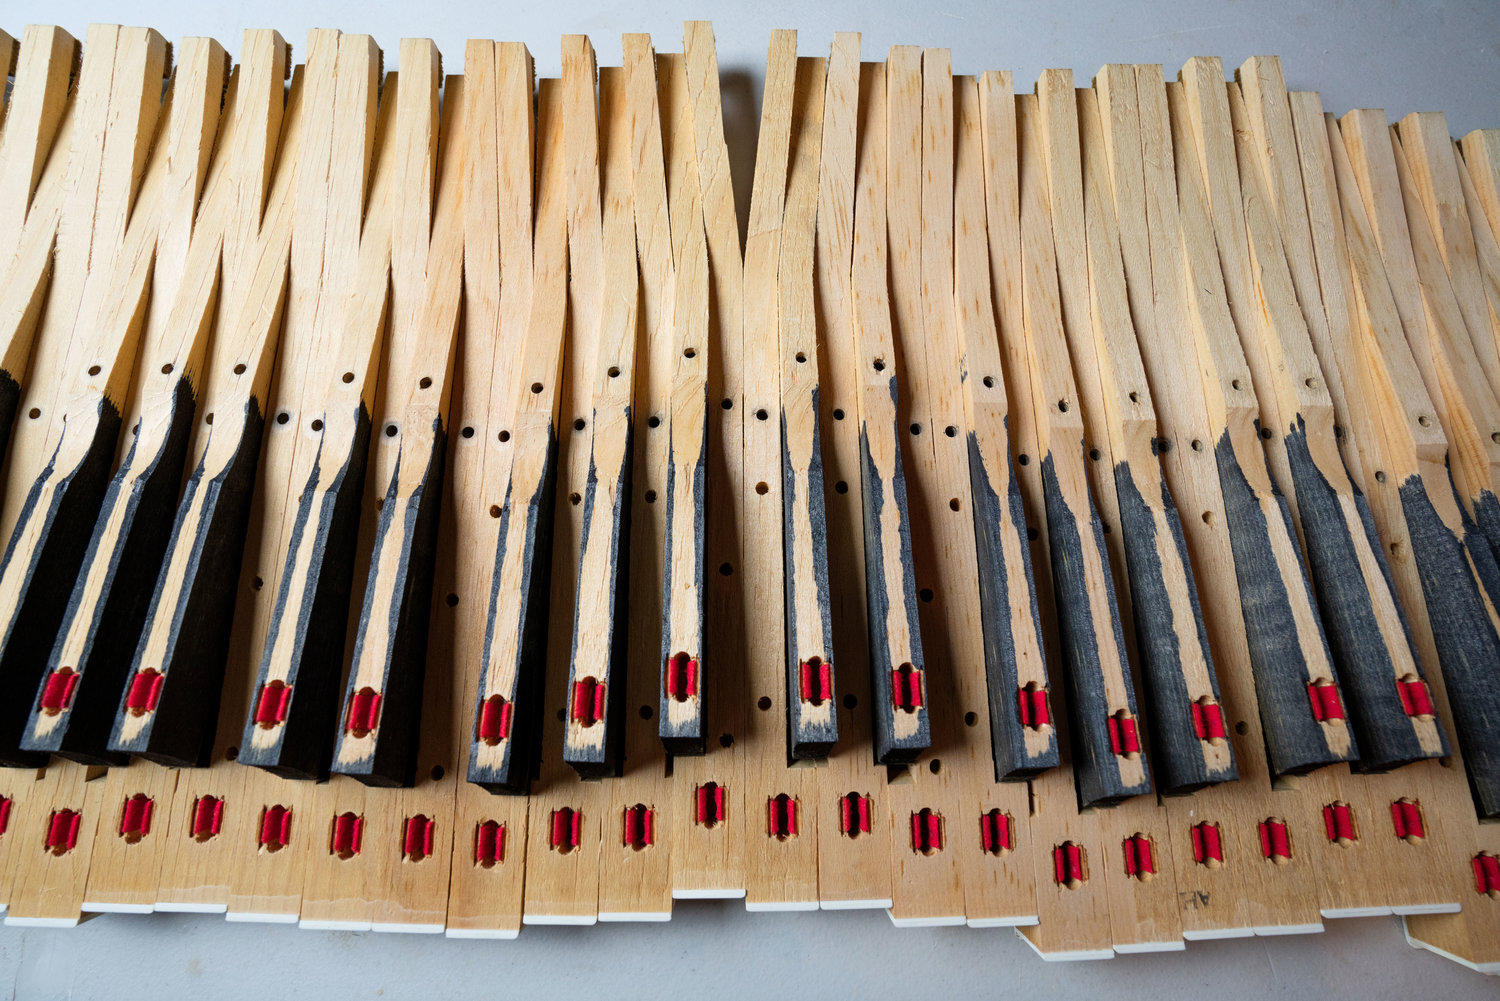
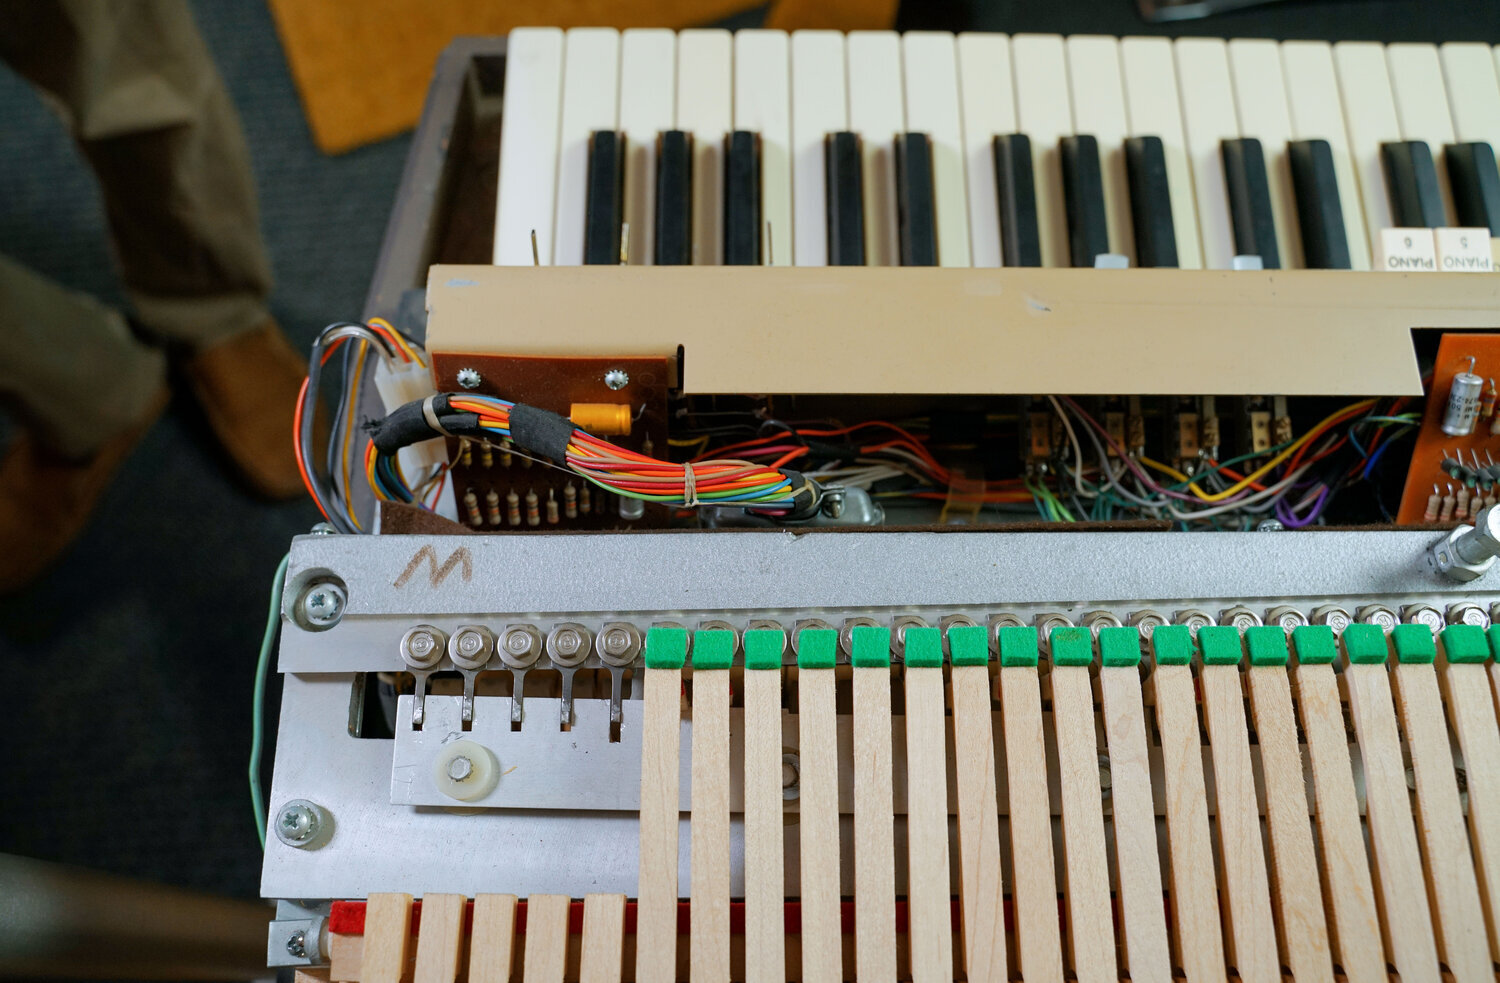
Part of what makes a Wurlitzer electronic piano feel so great (and so piano-like) to play is its action design. Unlike the simple action of a Rhodes keyboard (which merely consists of a key and a hammer) a Wurlitzer’s action has multiple points of contact and moving parts all working together to smoothly transfer the motion of the player’s touch to the hammer striking tone generator. Like all other pianos, a Wurlitzer electronic piano’s complex action assembly is driven by the key. This sounds obvious, but it is important to note that the key sits on two felt punchings and it is at these points where the first critical action adjustments are done.
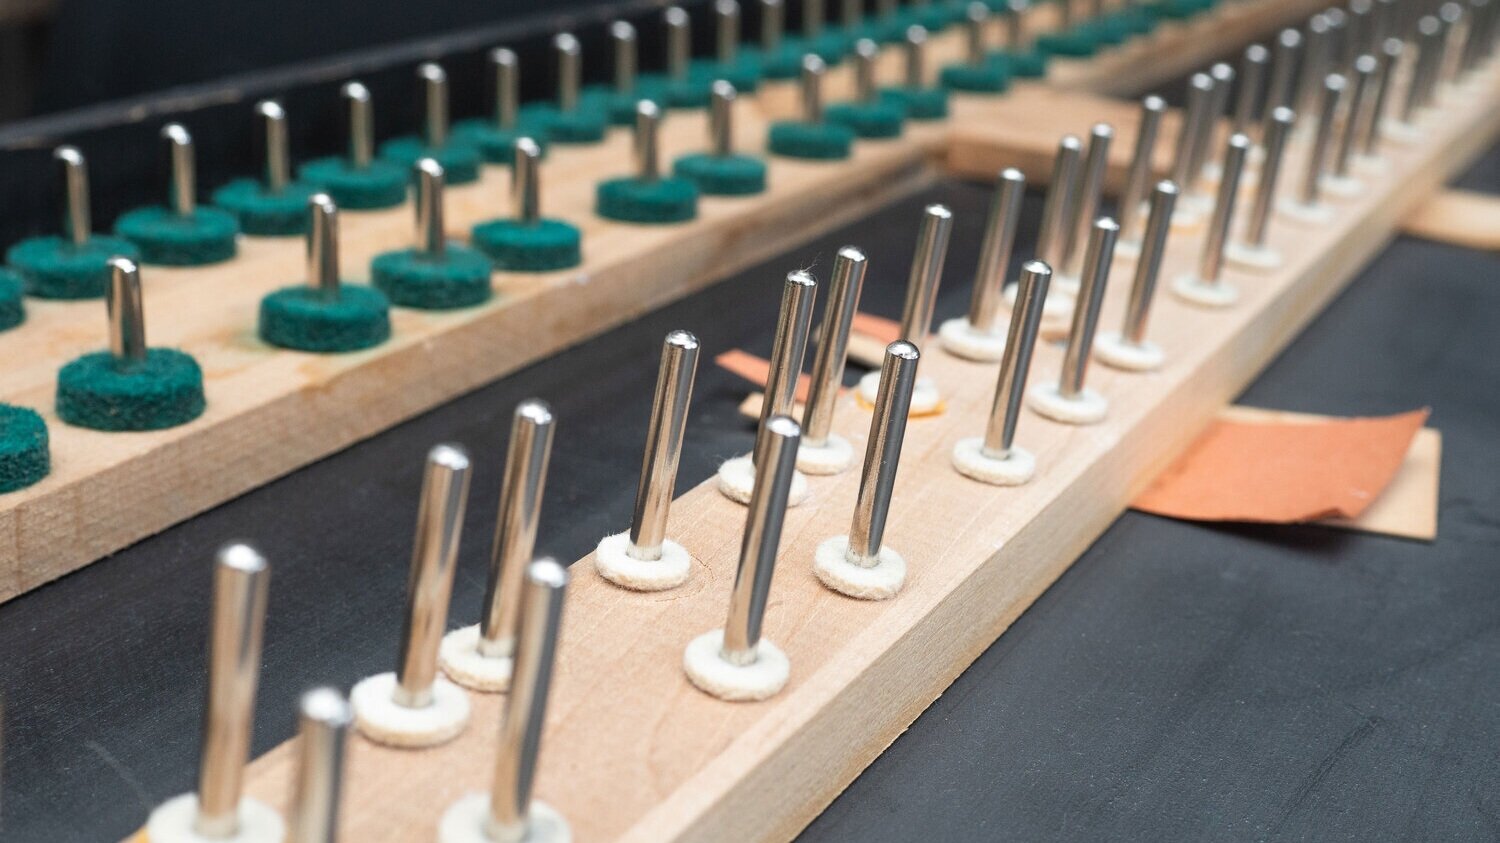
The Balance Rail Felt
The rear felt punching is smaller and white and is called the balance rail felt. This felt comes in varying thicknesses and will often have paper shims under it. The thickness of felt here is chosen to achieve your proper key height, which should be as close to 2” (to the underside of the white key lip) as you can get it. Old compacted balance rail felts can cause keys to lose height and will make the key movement rough and uncomfortable. Because the key is constantly rocking (or balancing) on this felt it is important for this felt to be in good shape. Think of the sole of a comfortable pair of running shoes - it is the only thing sitting between your feet and the pavement and a good fresh sole just makes movement easier - this is a lot like the job your balance rail felt has.
The Front Rail Felt
The front felt punching is larger and green and is referred to as the front rail felt. This felt also comes in varying thicknesses and will also have paper shims under it to achieve the desired height. This felt should be adjusted so that when the key is pressed, the felt stops it at a depth of 3/8”. If you are going for an overall excellent playing experience, the condition of this felt is important as well. Like the balance rail felt, the front rail felt can become compacted over time which will increase the key dip and even harden the felt. When you press a key all the way down (which is pretty much always how a key is pressed) it will come in contact with your front rail felt. Having a fresh, non-compacted front rail felt will make the key stop on surface that is just the right hardness (or softness) resulting in a better playing experience.
Key Height
Key height is important for a few reasons. Firstly, because changing the key height on it's own will affect your keys relationship to the action center (notably the lower capstan) it changes the action setup and therefore should be set before adjusting the rest of the action. Secondly, if your key height is significantly off it can affect how much key dip you can potentially have.

It is important to note that the larger paper shims (these are cut into “V” shapes and look like trousers…or slacks…khakis?) that are situated under each screw of the the key-frame are in place to get your key height ‘in the ballpark’ and the balance rail felts & shims are intended to fine tune an even key height across the entire keyboard. Again, as mentioned in the Wurlitzer electronic piano manual, the target key height is 2” measured from the key-bed to the underside of the white key’s lip.
Finally, a well set key-height will create a smoother playing experience. That is to say that with all the keys at the same height, as your hands move left-to-right there will be no obstacles created by a slightly higher key.
Key Dip
Key dip is the travel distance of the key from it’s resting position (up) to its pressed position (down, touching the front felt). This should be set to 3/8” by shimming the front rail felt (as we stated above). If a key has a shallow key-dip it will become very obvious to the player and will feel as if a key is stopping short or is getting stuck. For this reason it is good to check for even key dip across the keyboard if a comfortable playing experience is important to you.
Pro Tip
If you open your Wurlitzer up to embark on setting key heights and checking your felts under the keys, you might discover an even more important first-First step, and that’s cleaning the key-bed. This cleaning step is fairly straight forward but if you would like a few tips on this, check out our article, How to Clean an Electronic Piano, Part I.
Further Reading
Browse all of our articles on restoring vintage gear. Or, click on an image below.