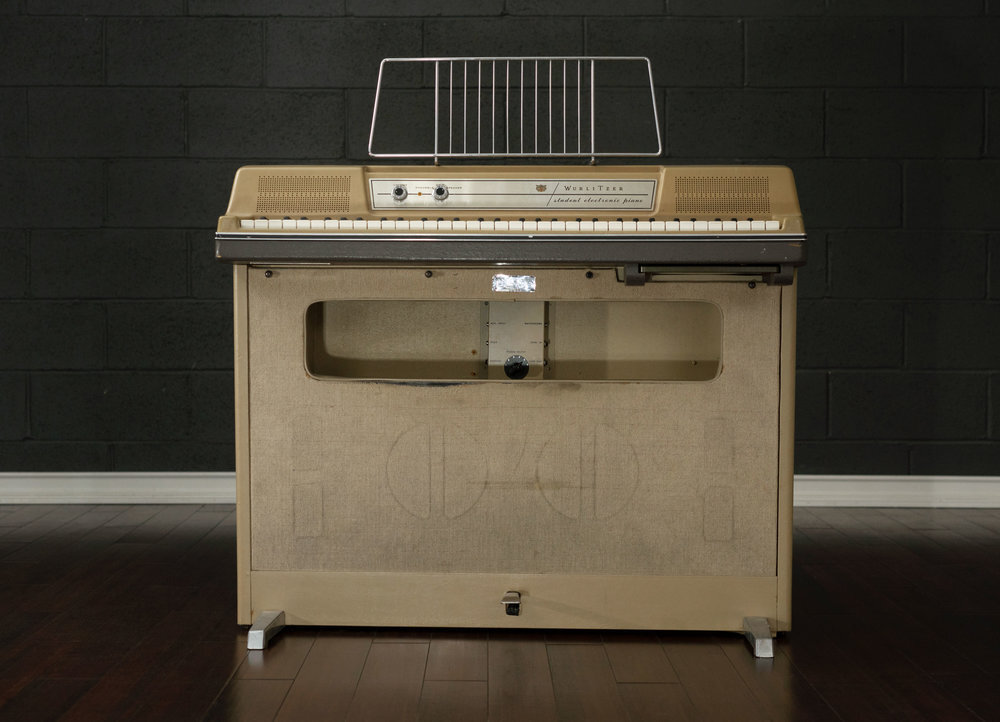
In Restoration: Wurlitzer 207a

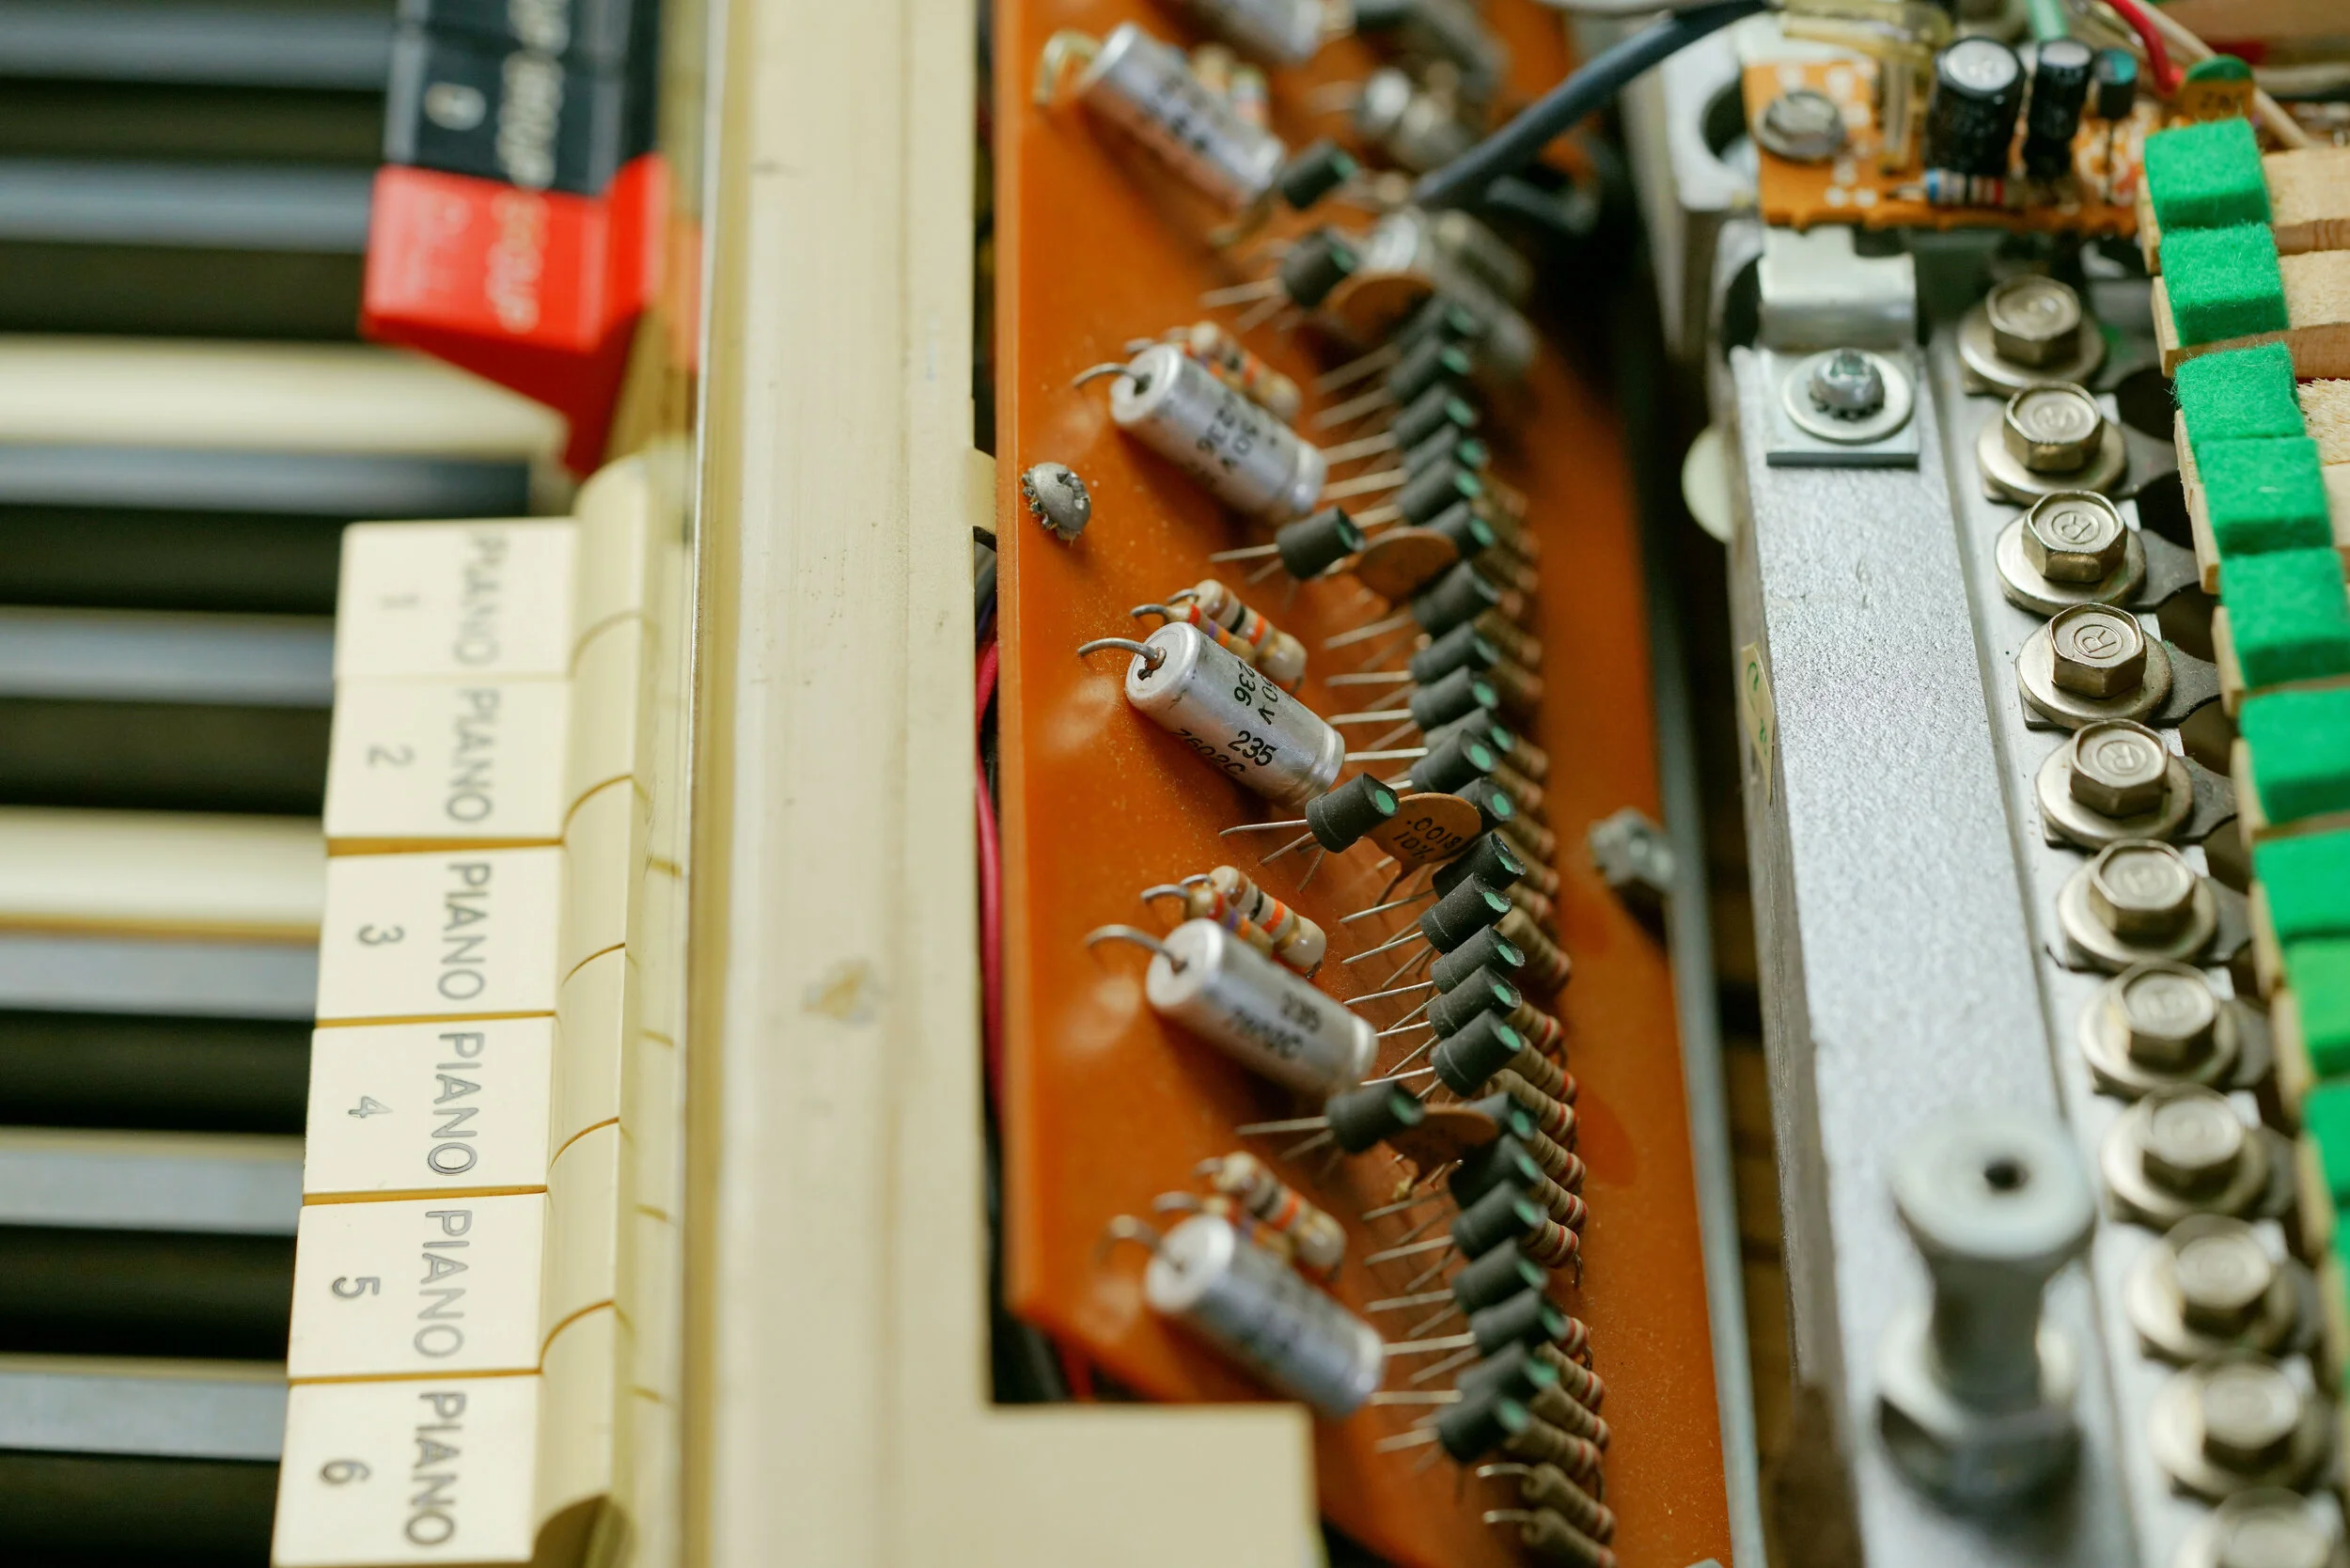
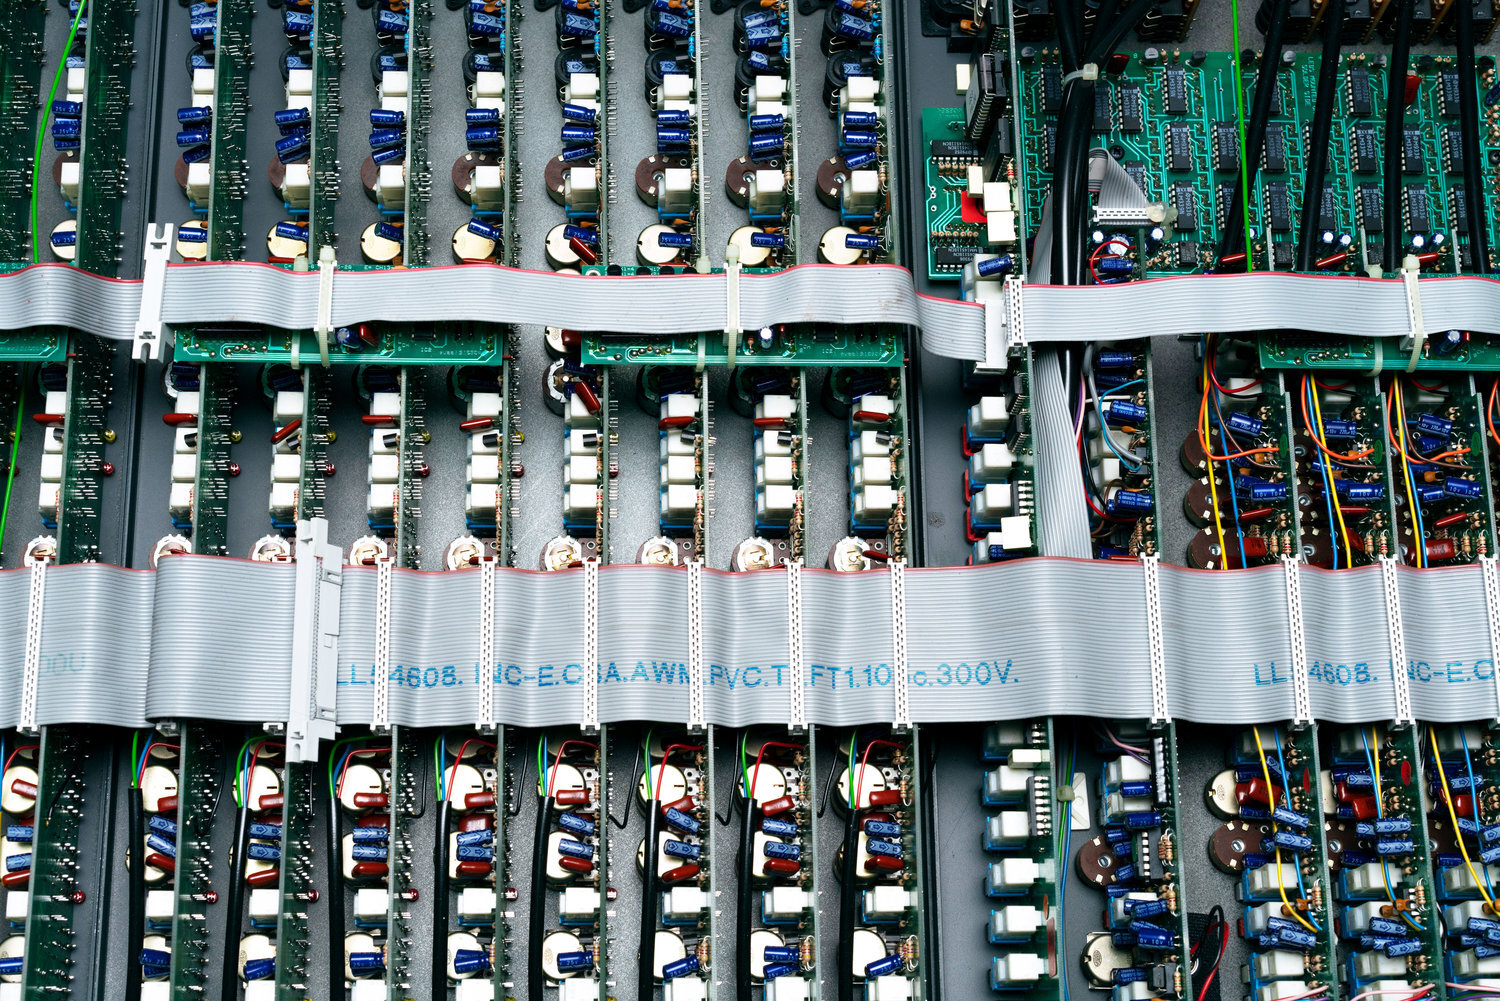
At this point, we have only opened up this Wurlitzer 207a in order to clean it. However, we did take a thousand pictures of the very cool (and completely untouched) circuit boards inside the keyboard. So we thought we’d do a quick post to share the disassembly process.
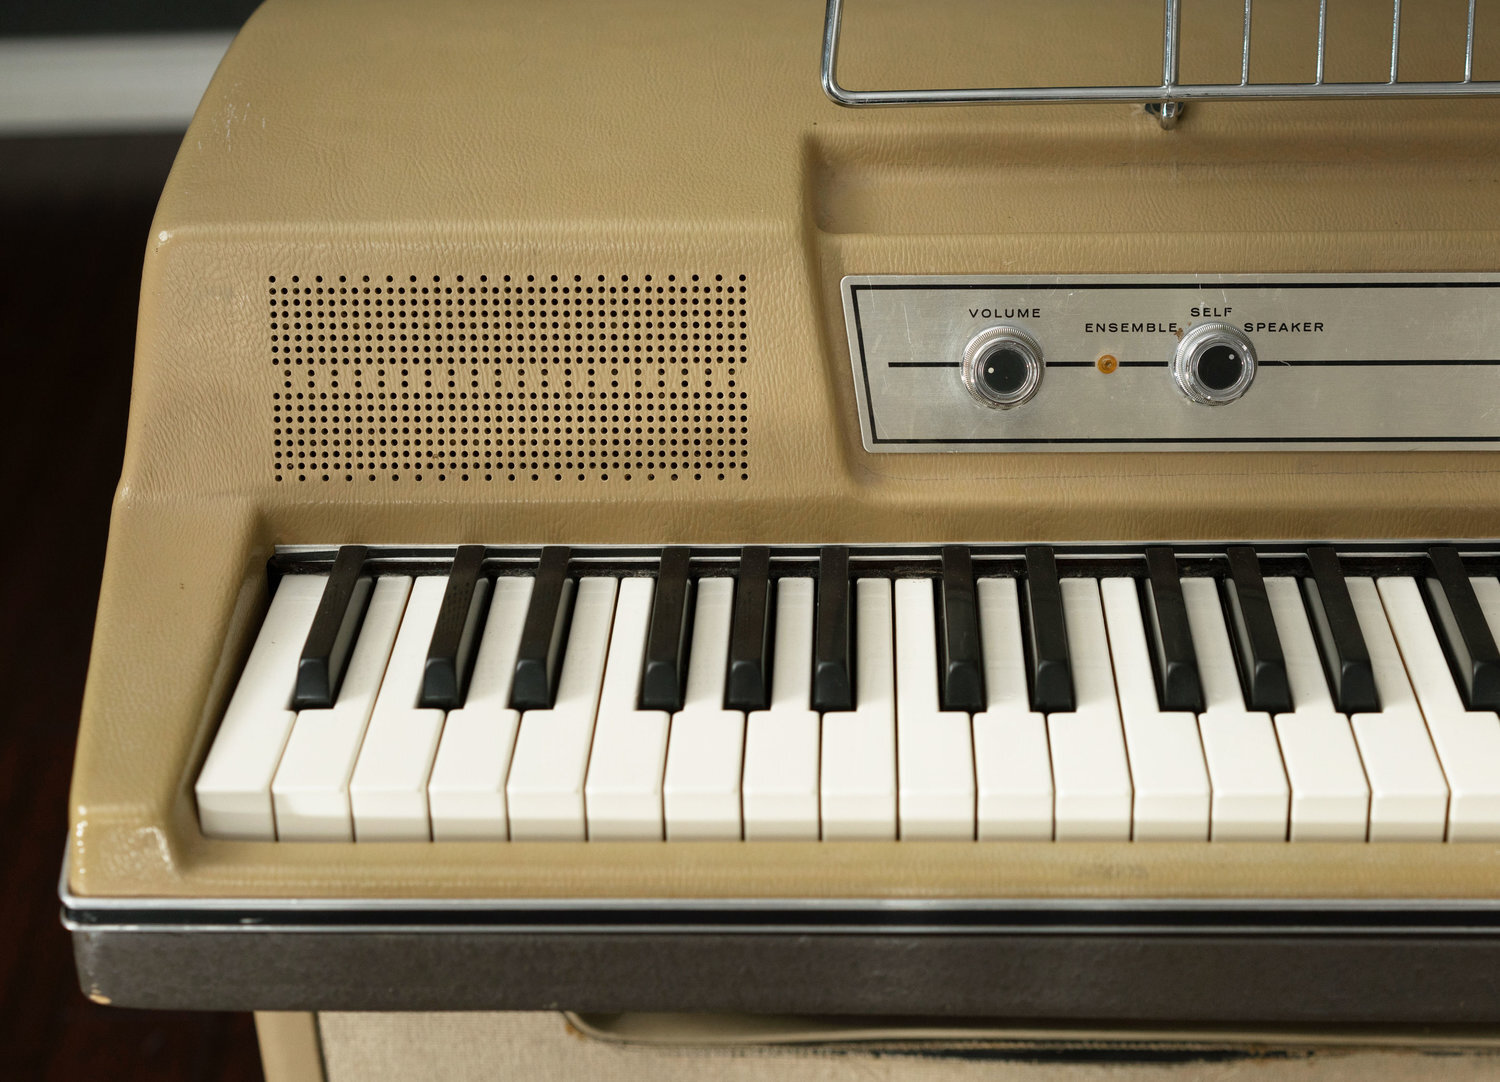
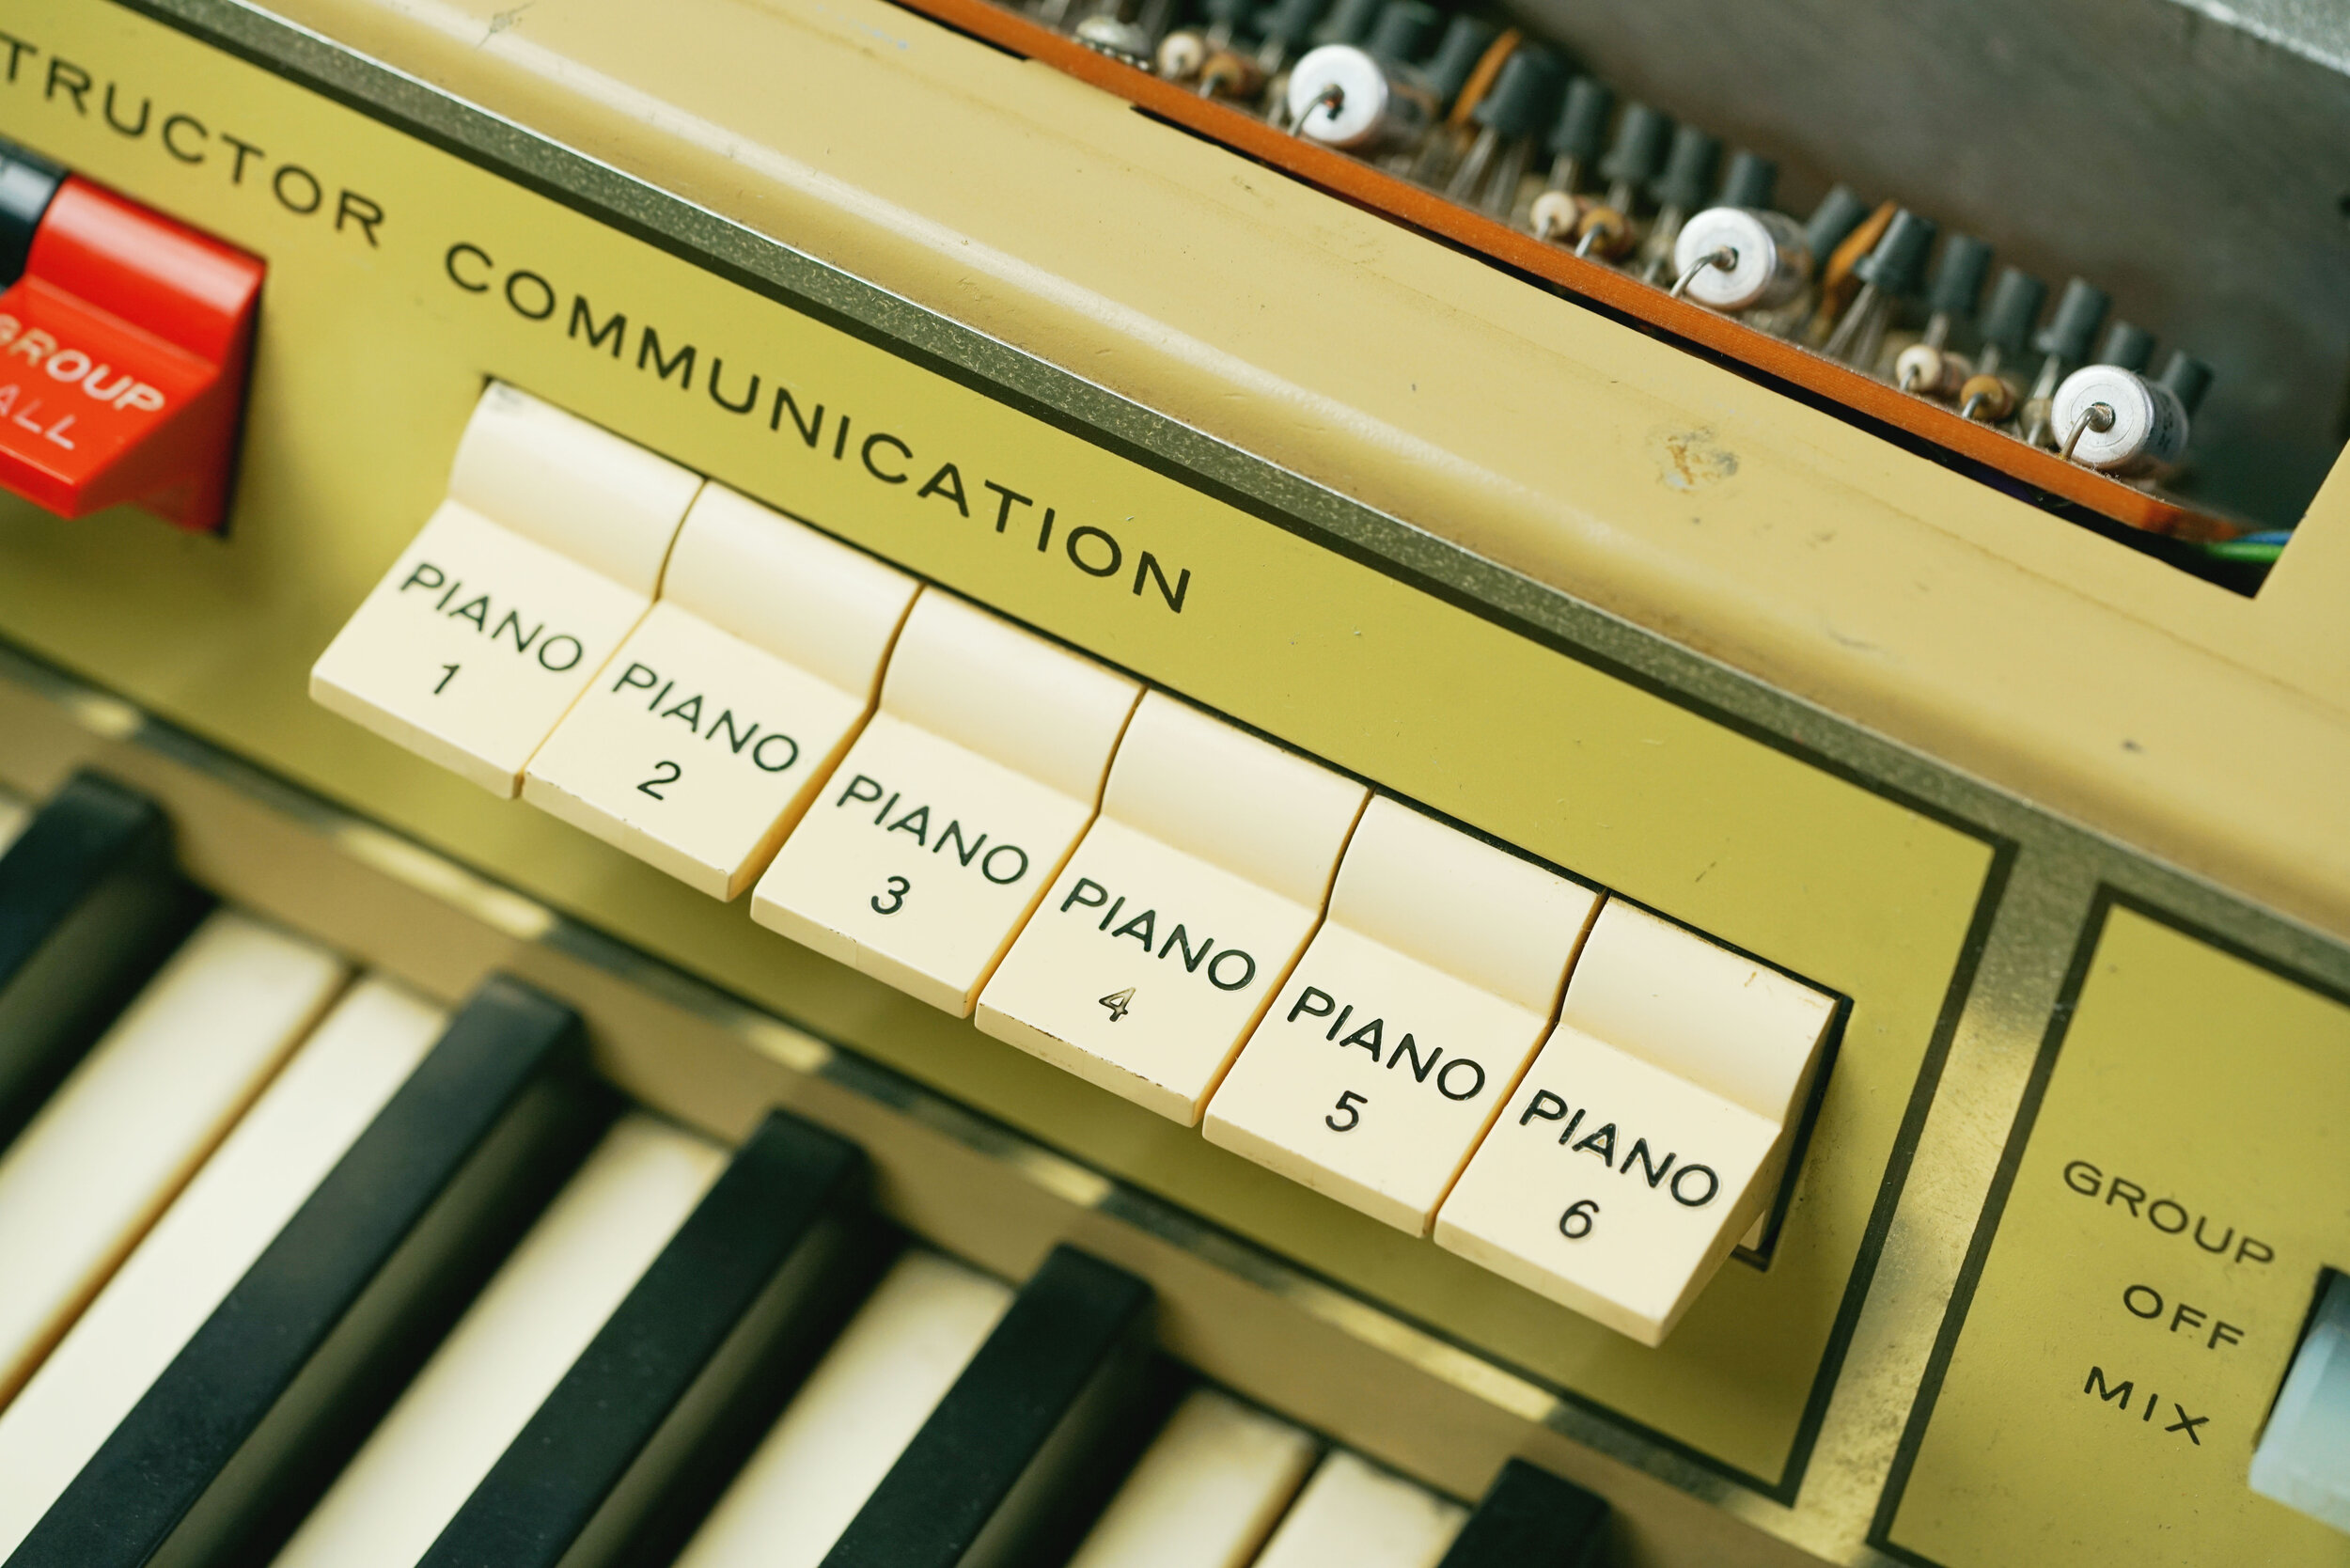
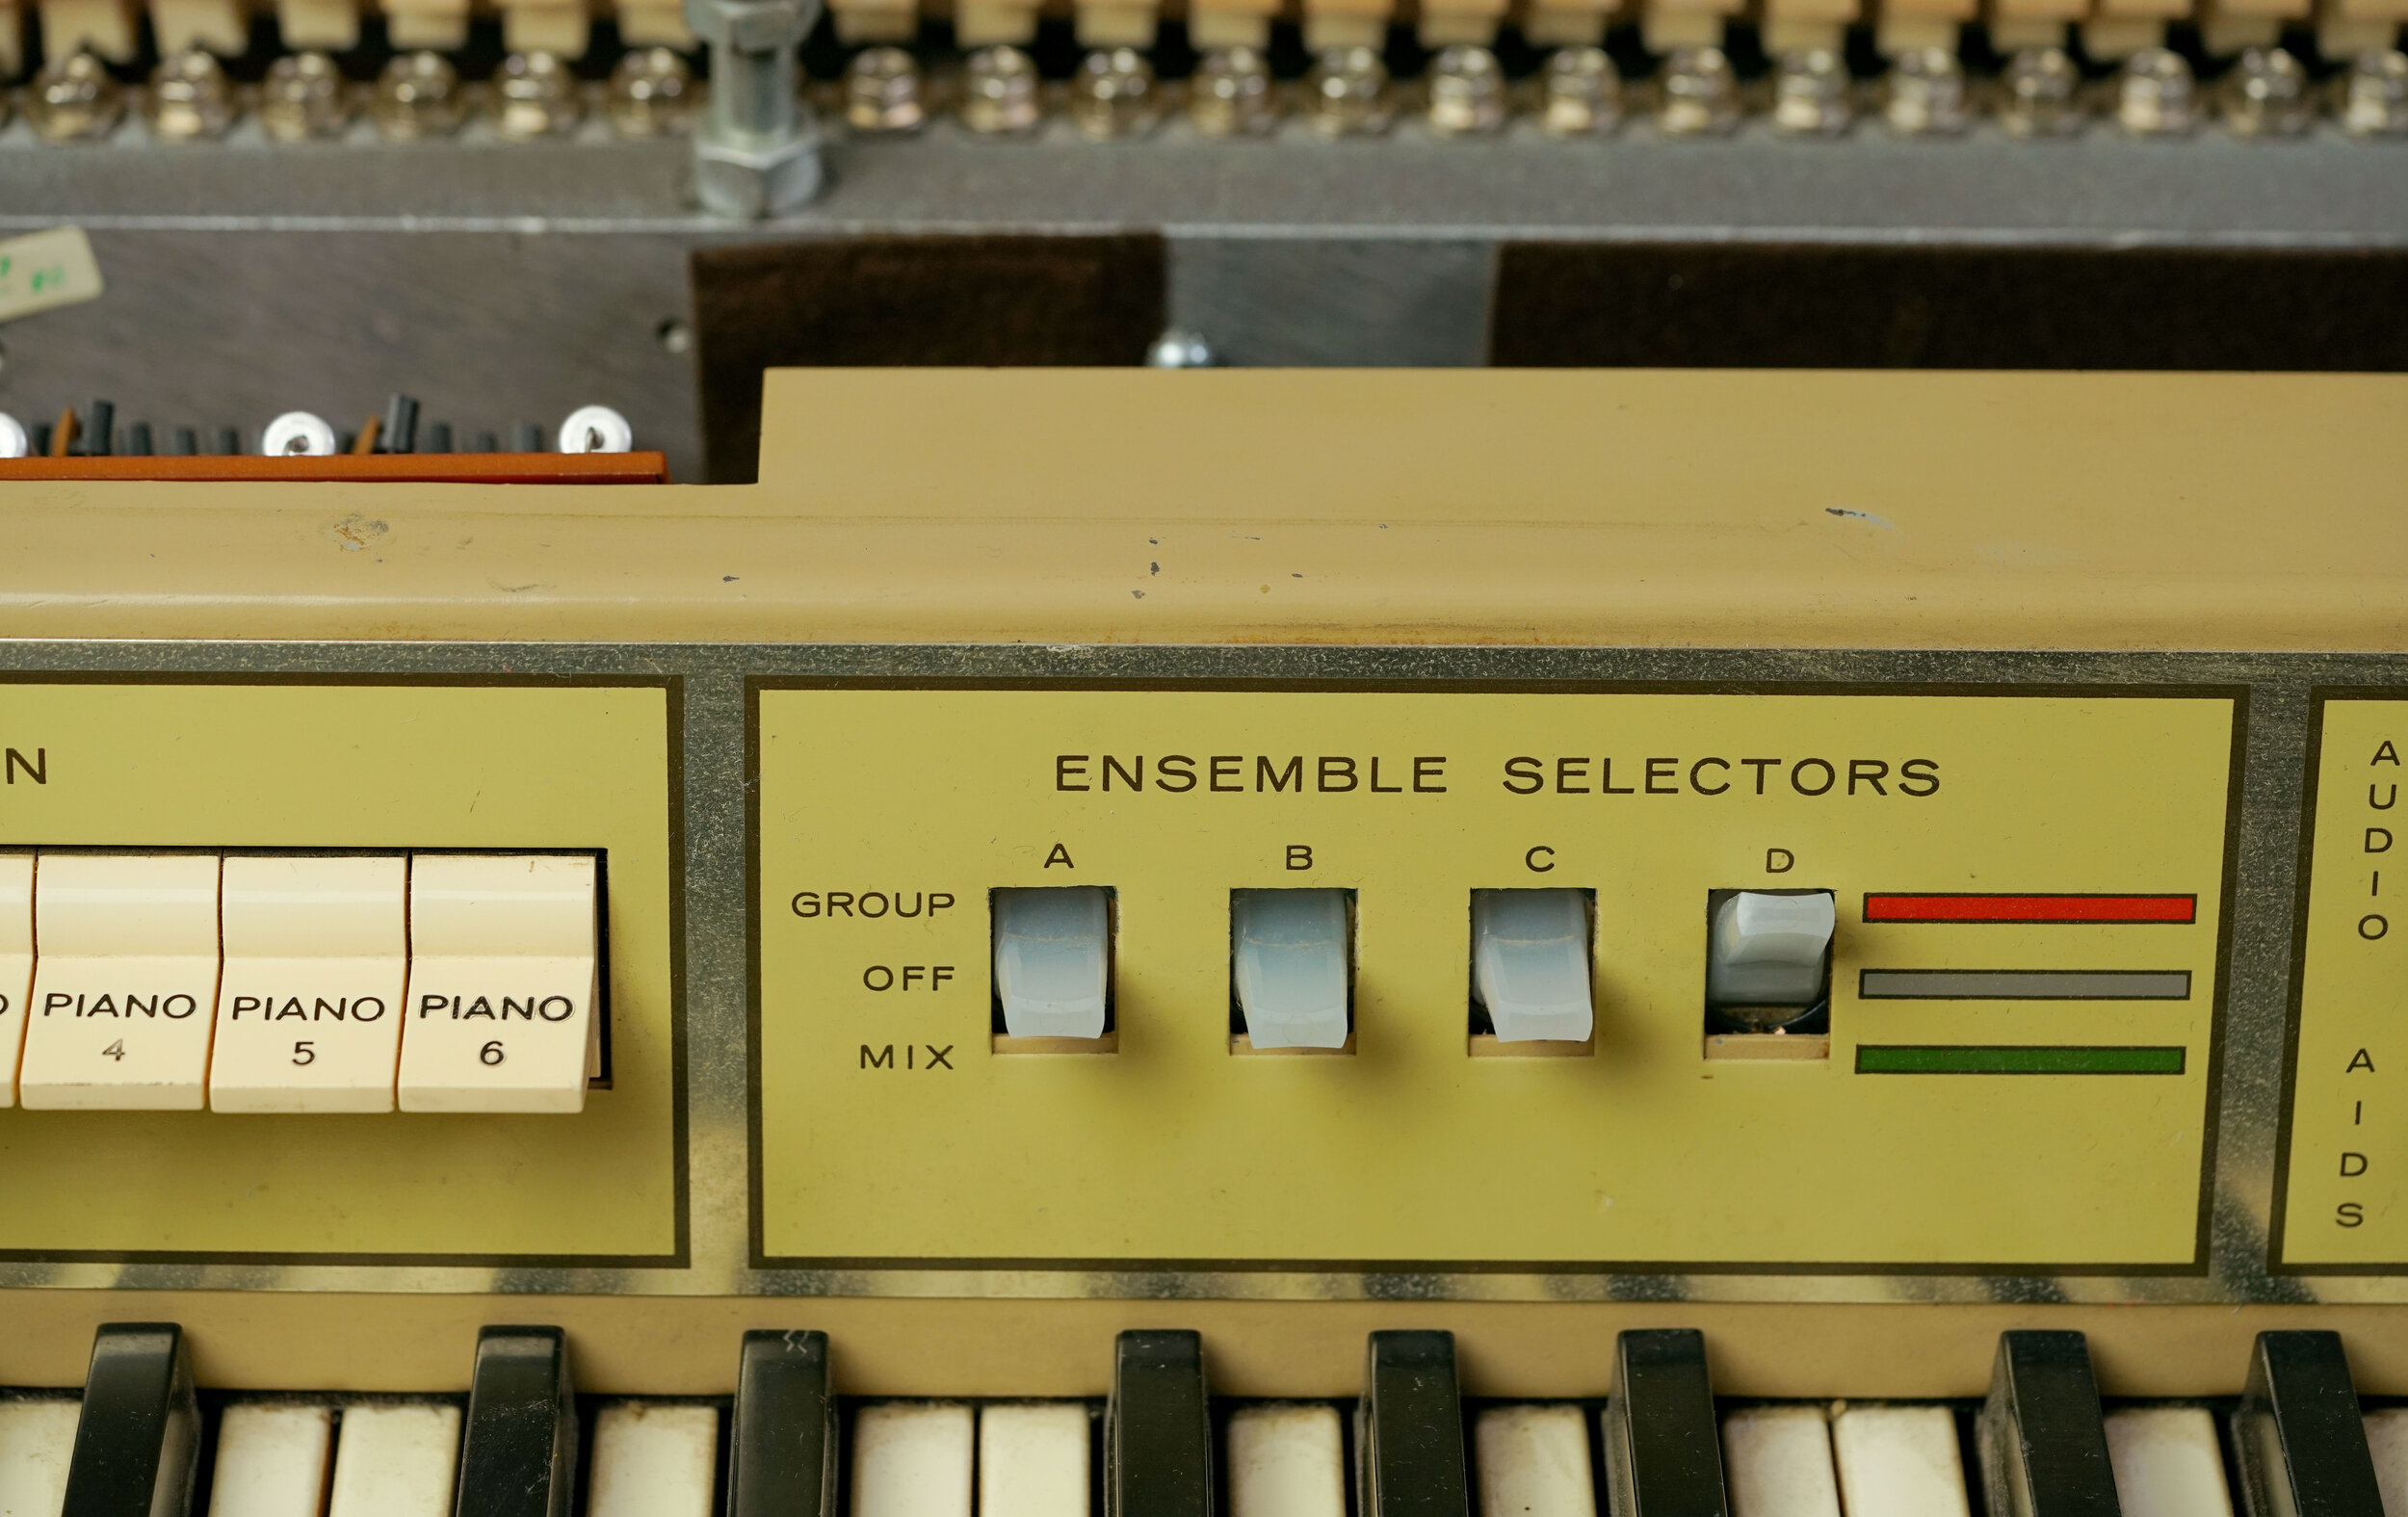
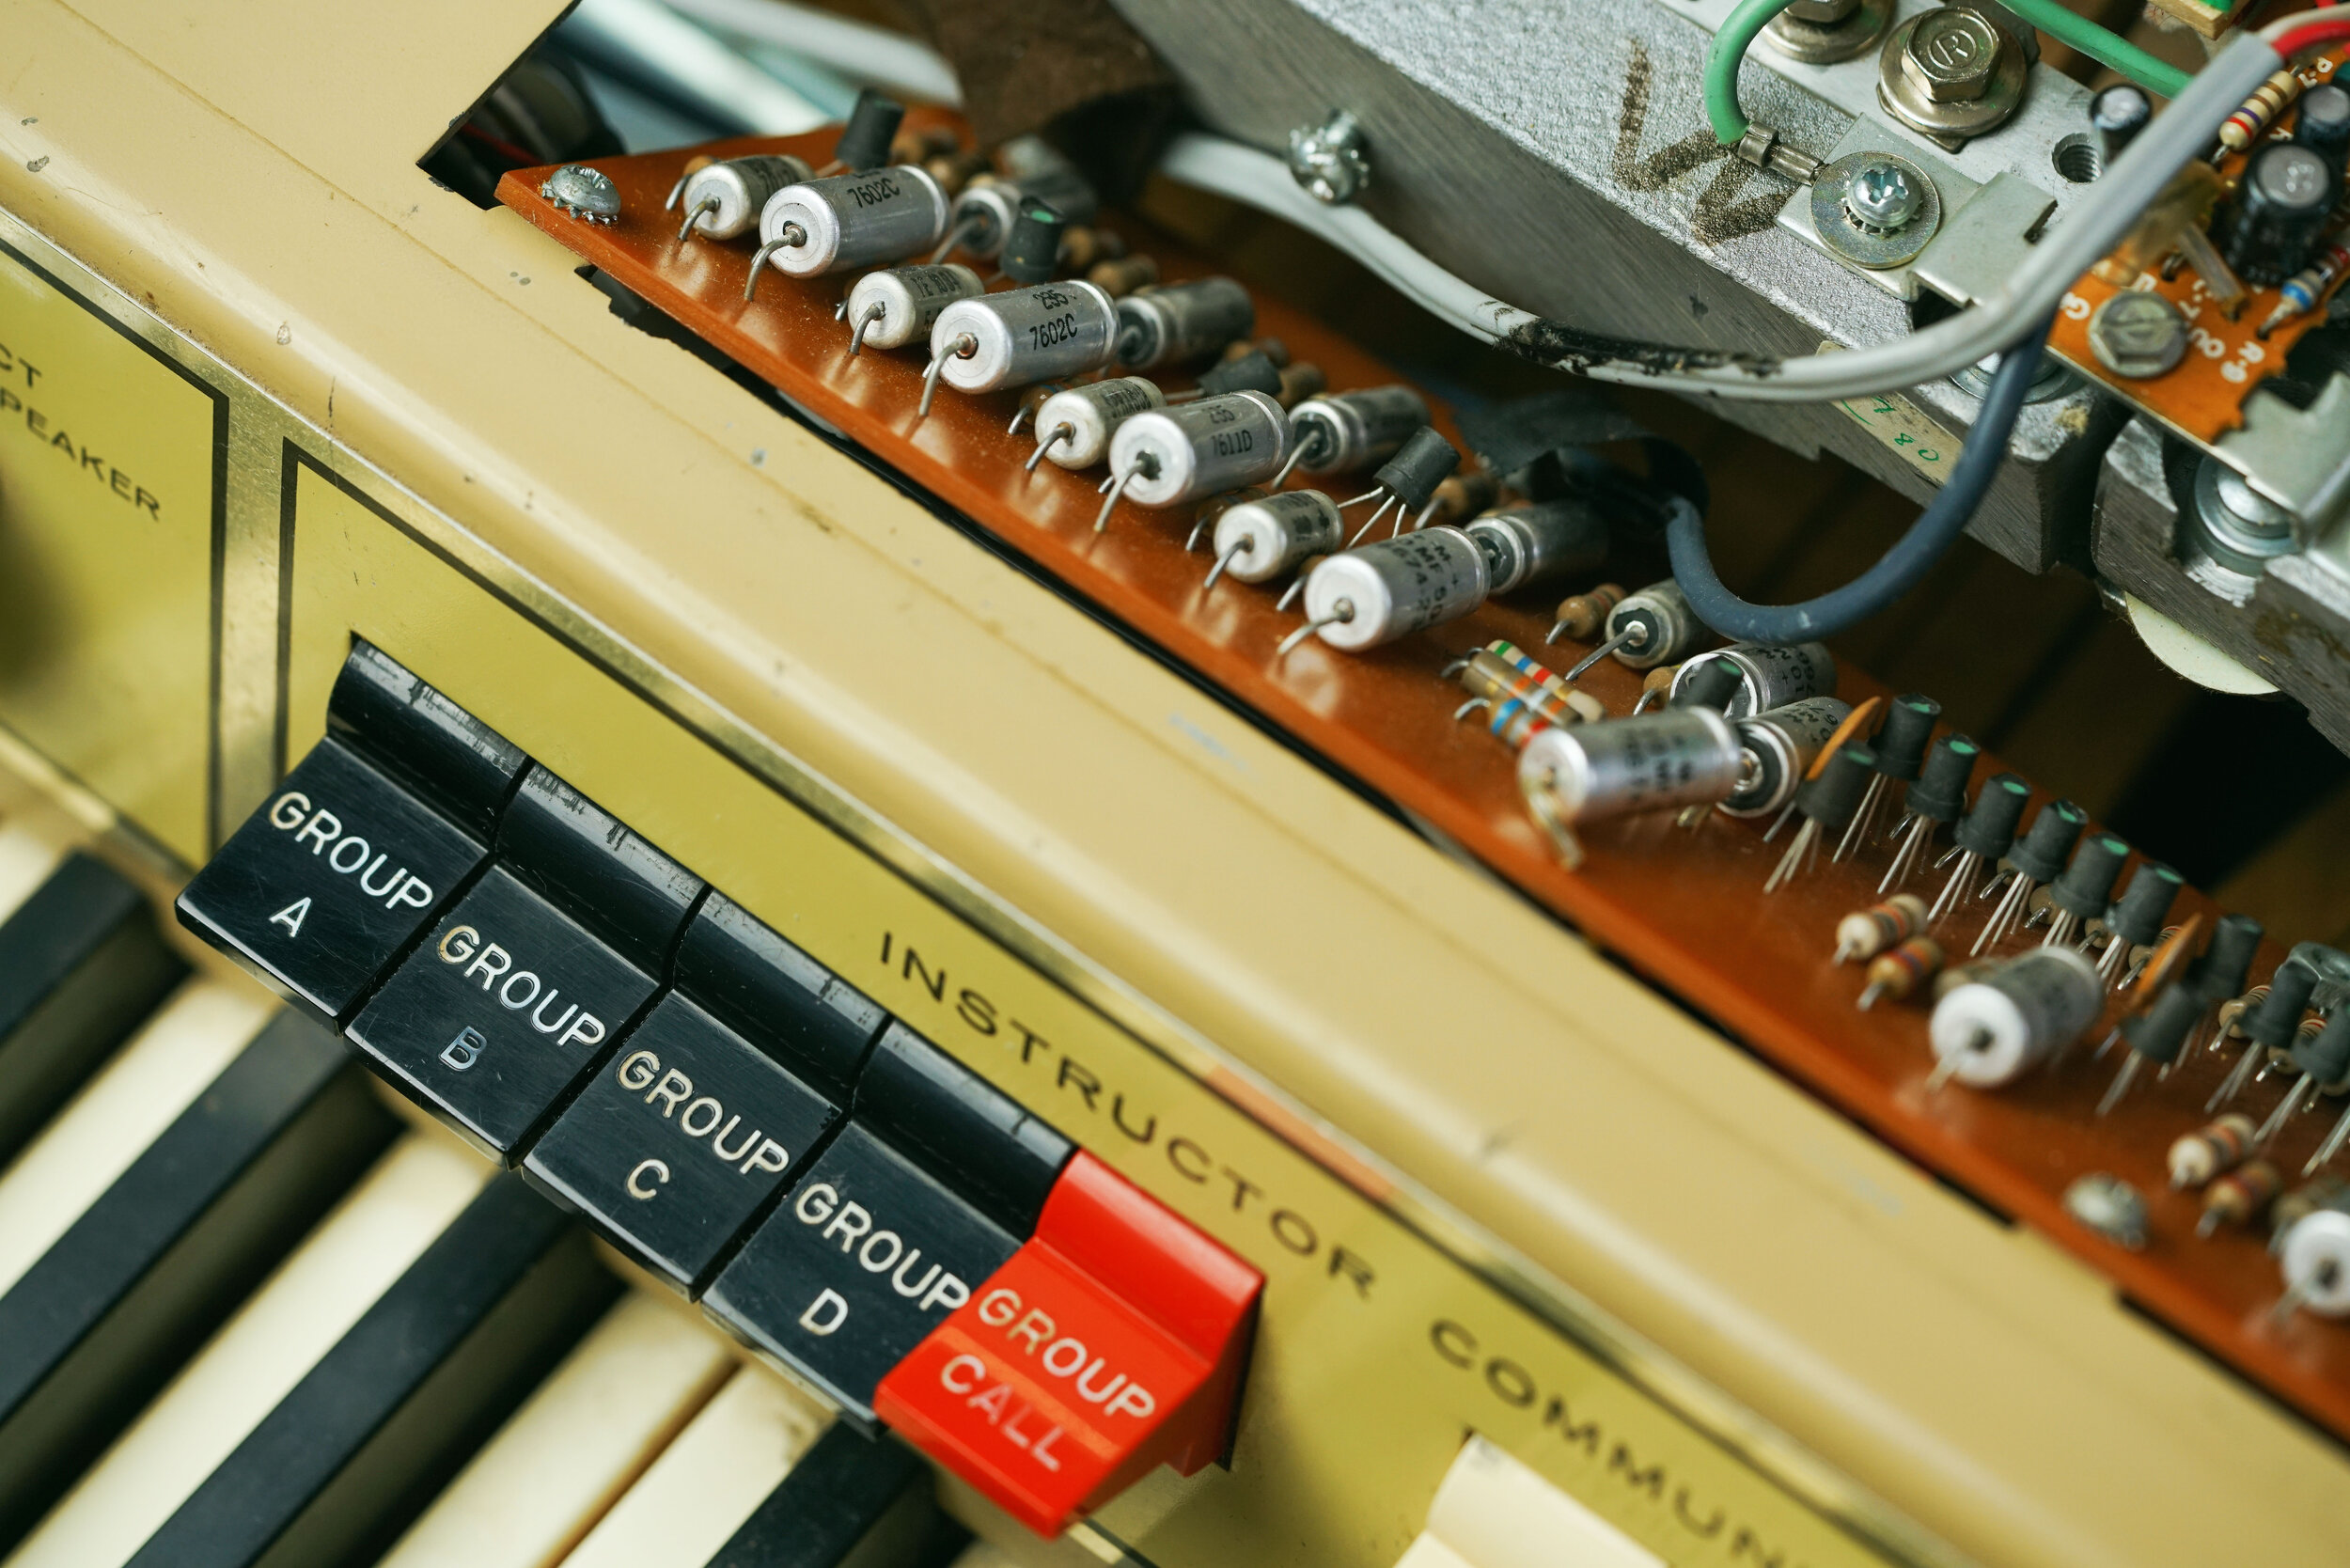
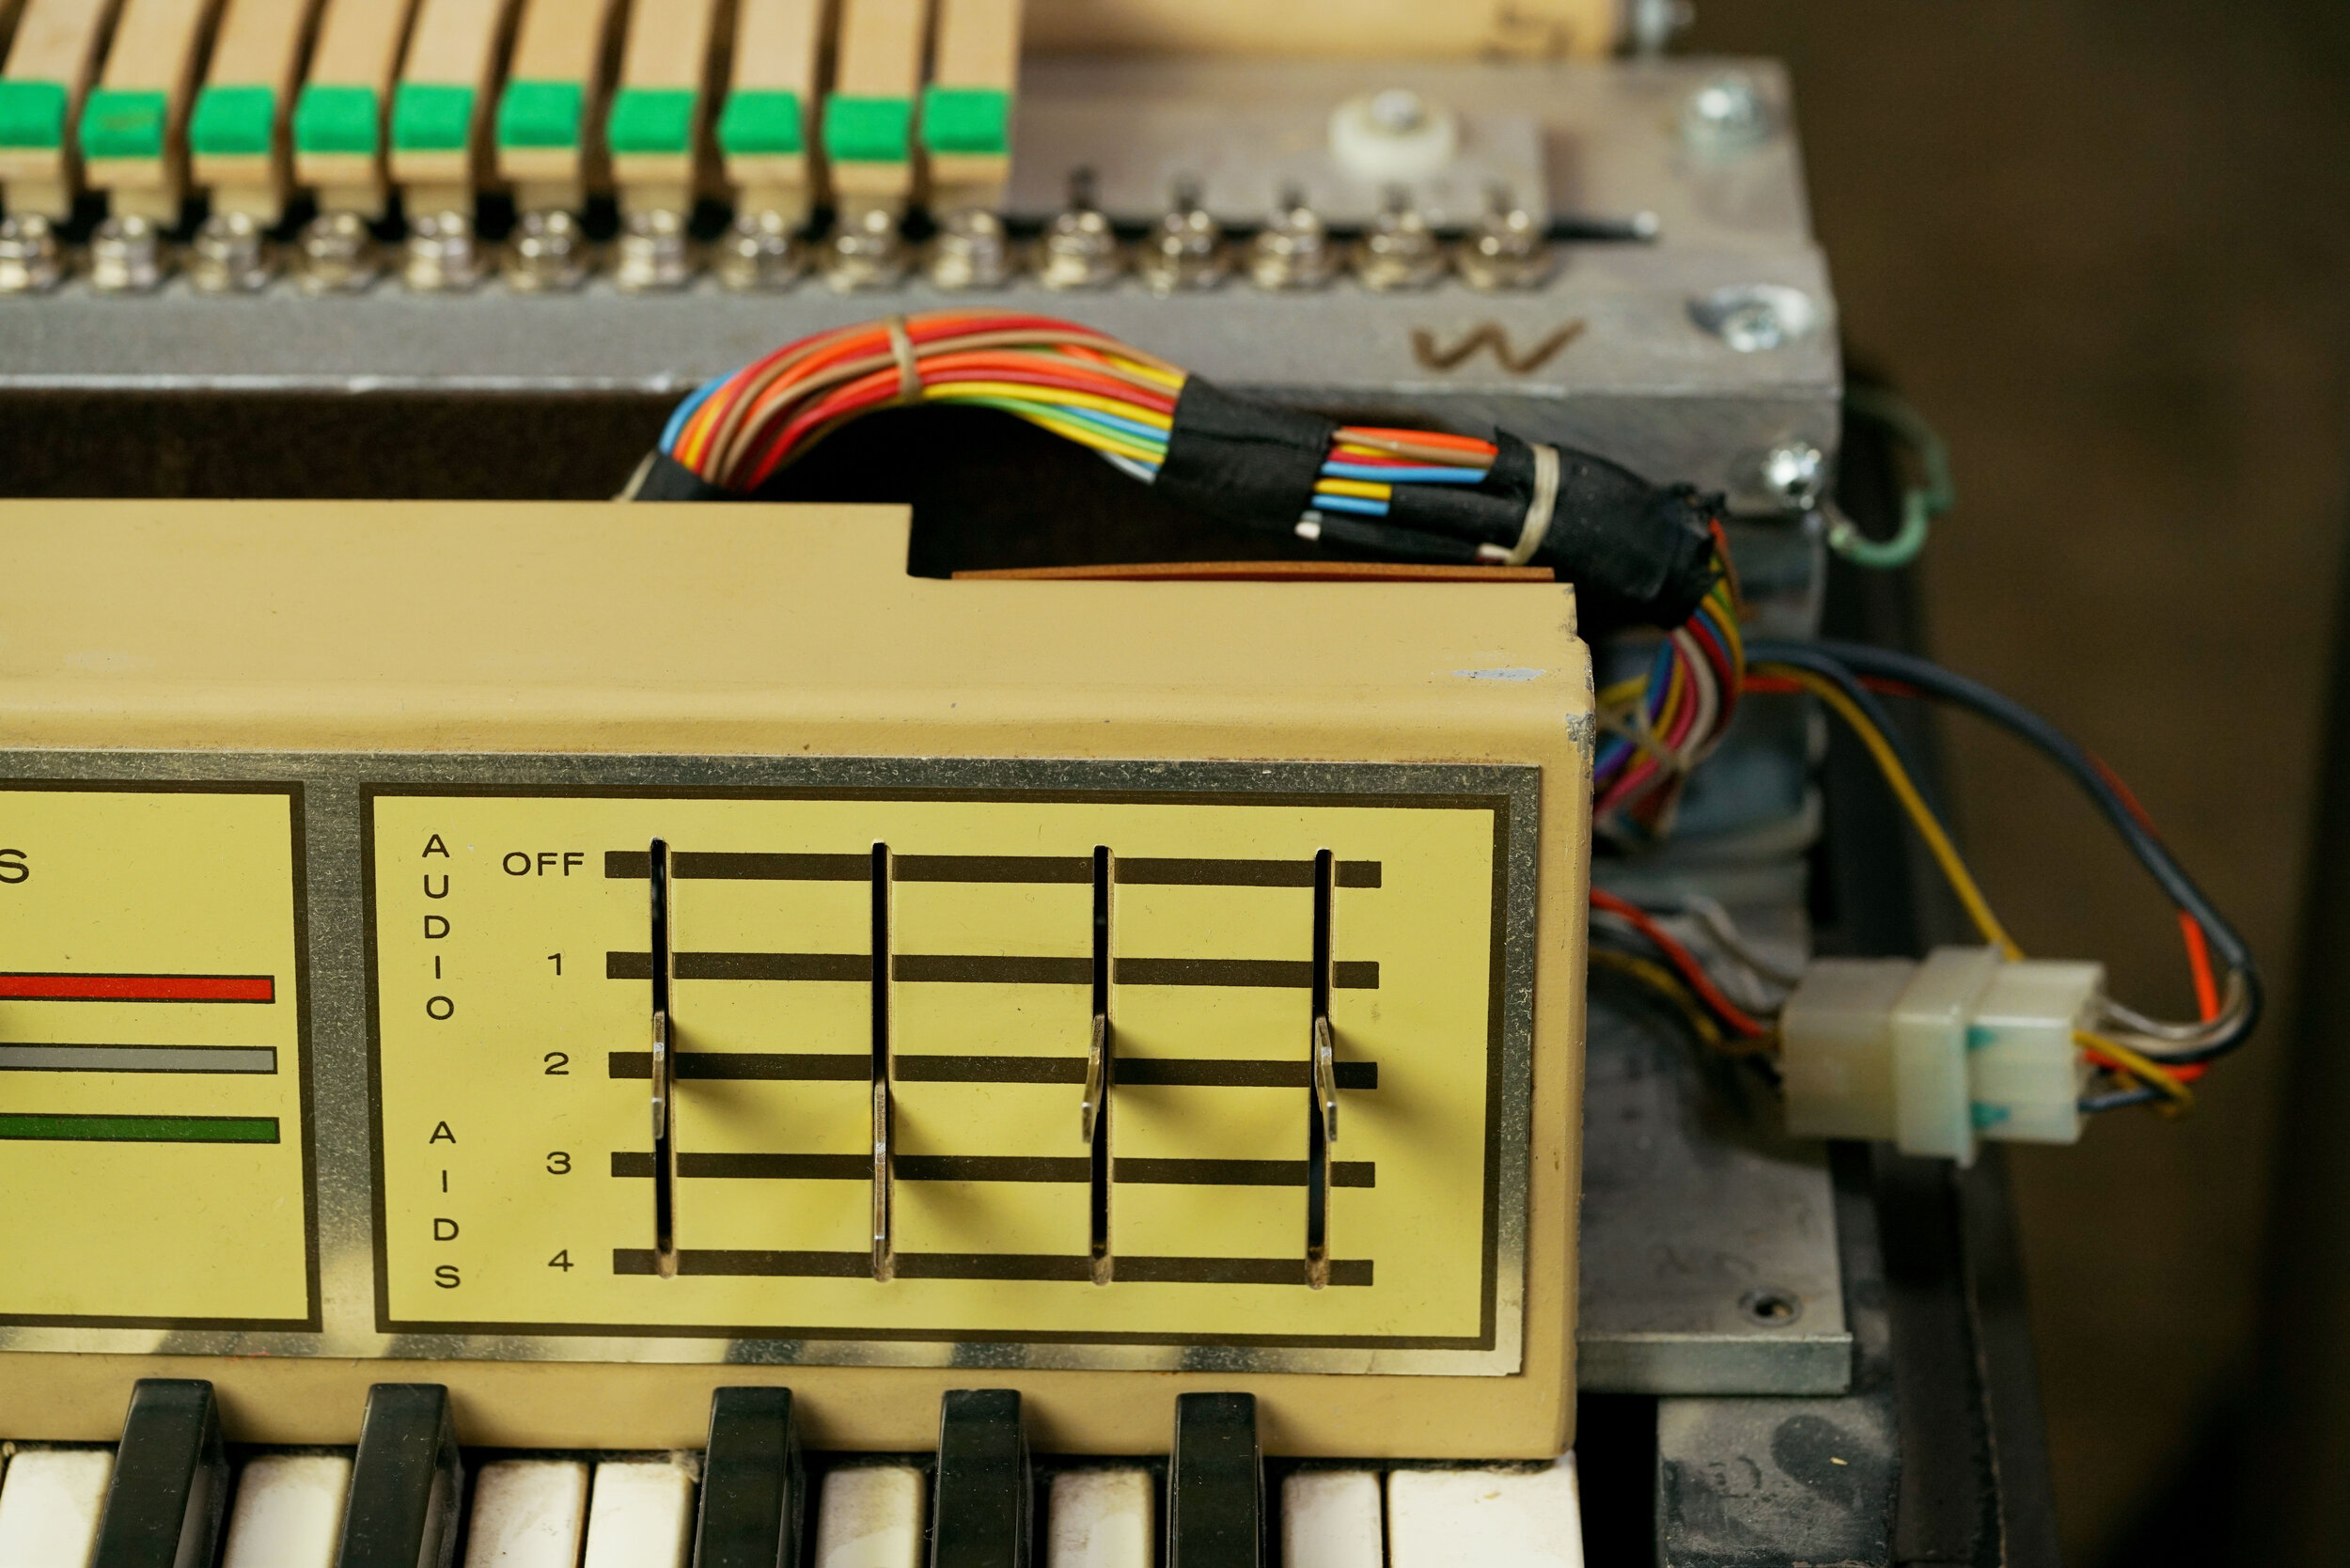
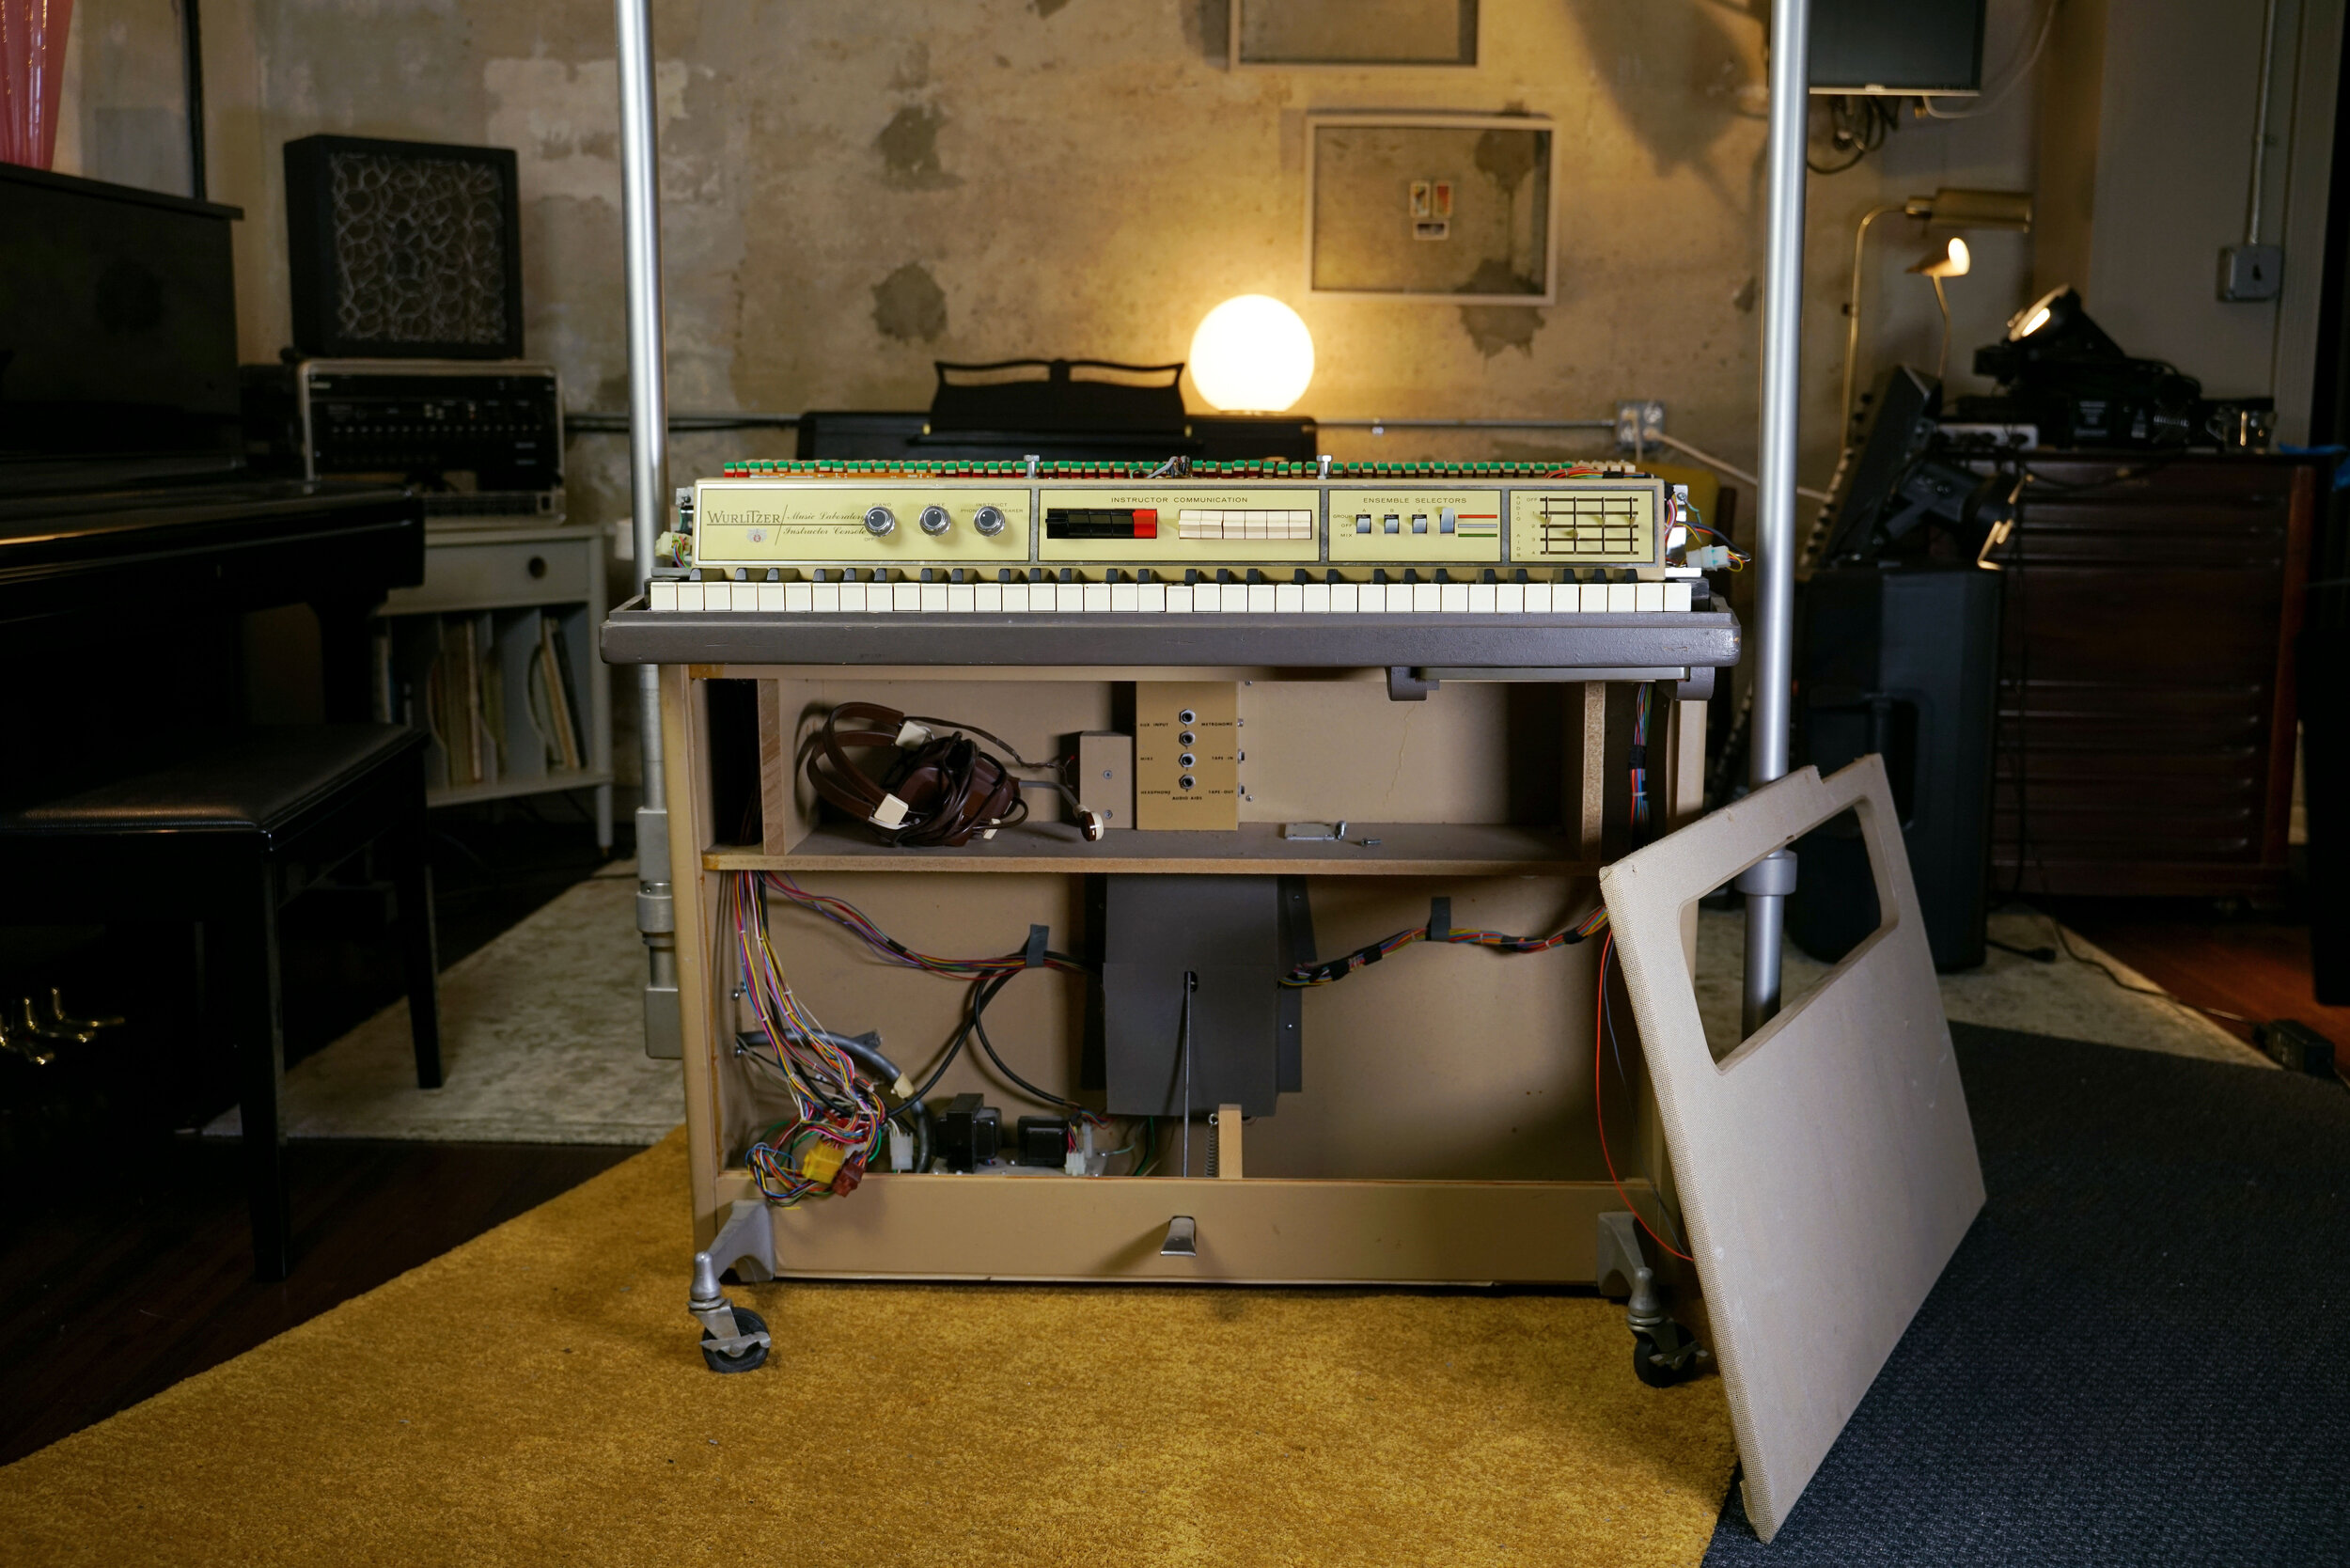
The Wurlitzer 207a is the teacher version of the 206a (itself the student version of the 200a). Instead of the regular faceplate, this keyboard has a control panel spanning its width. The primary feature of this panel are a series of switches that allow the teacher to listen in on students’ playing, either individually or per six-student group. When the 207a is connected to the Keynote Visualizer, notes played by the teacher light up the staff and the keyboard diagram. More information on student and teacher models here.
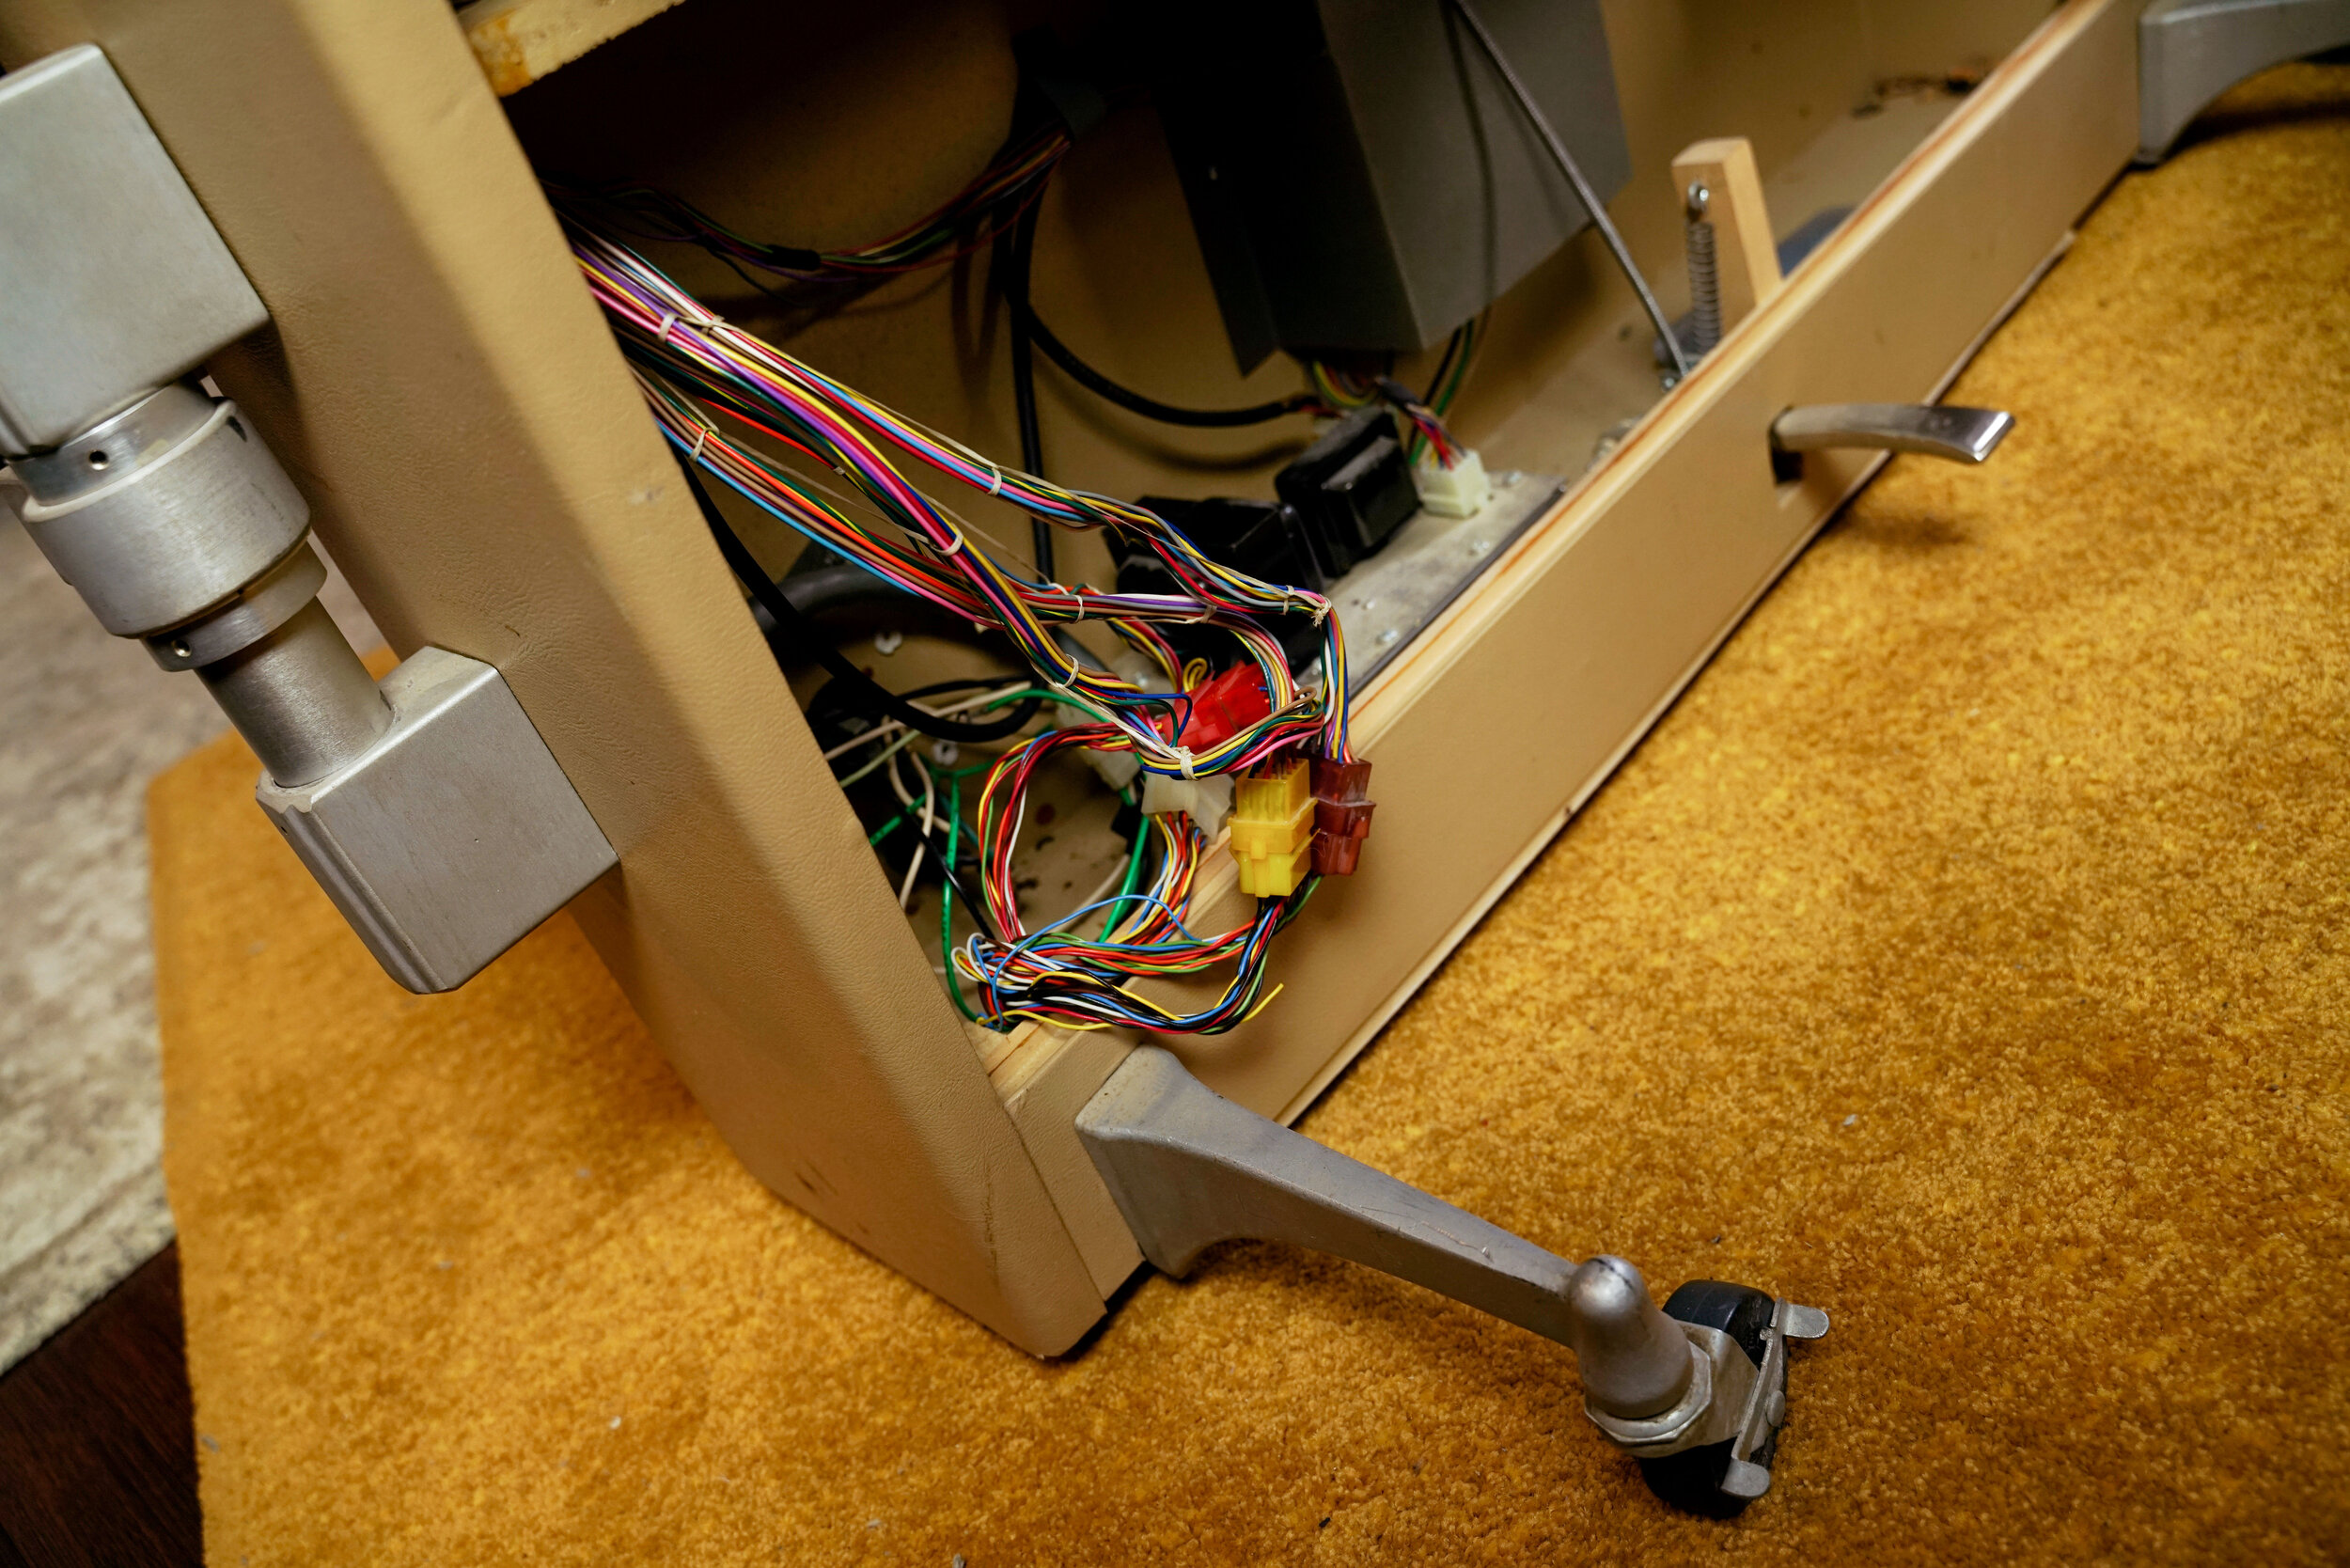
In order to fit all of the instructor controls, some of the usual 200a circuitry has been moved around. The amplifier is mounted vertically, to the left of the keyboard, and the power transformer has been relocated to the bottom of the cabinet. Typically, 200a amps are mounted horizontally in the center of the amp rail, and the power transformer is mounted to the right of the circuit board.
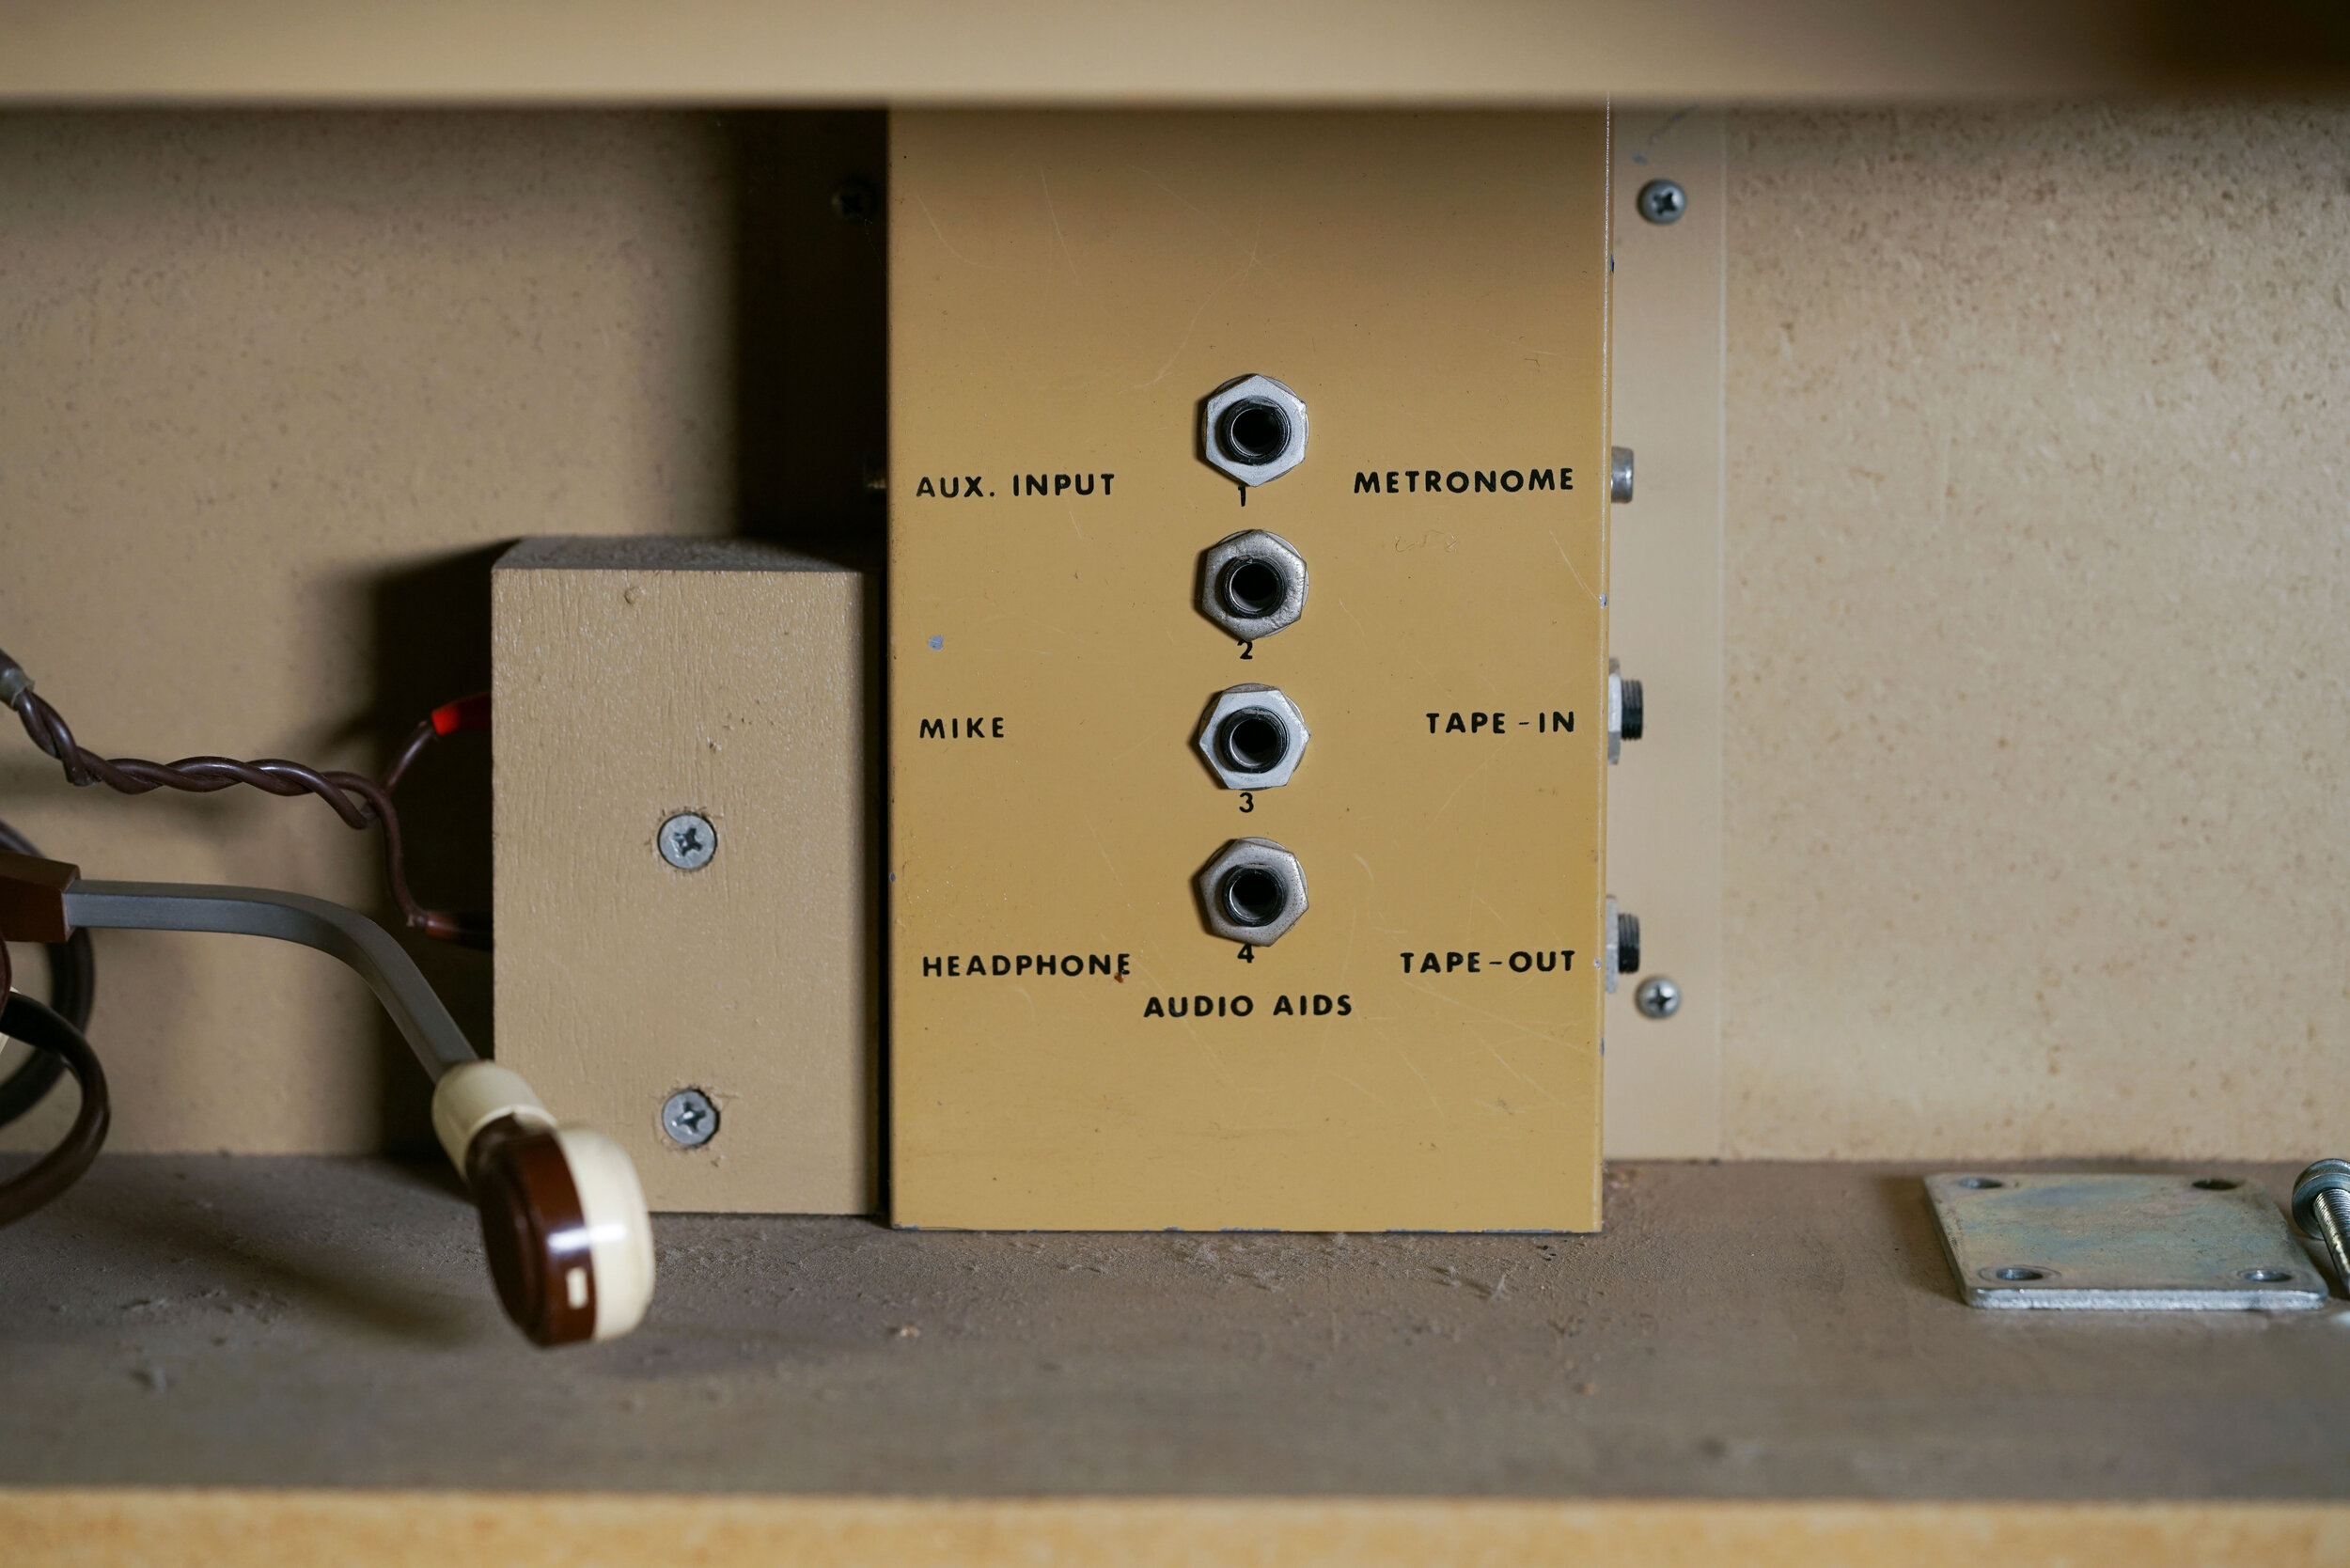
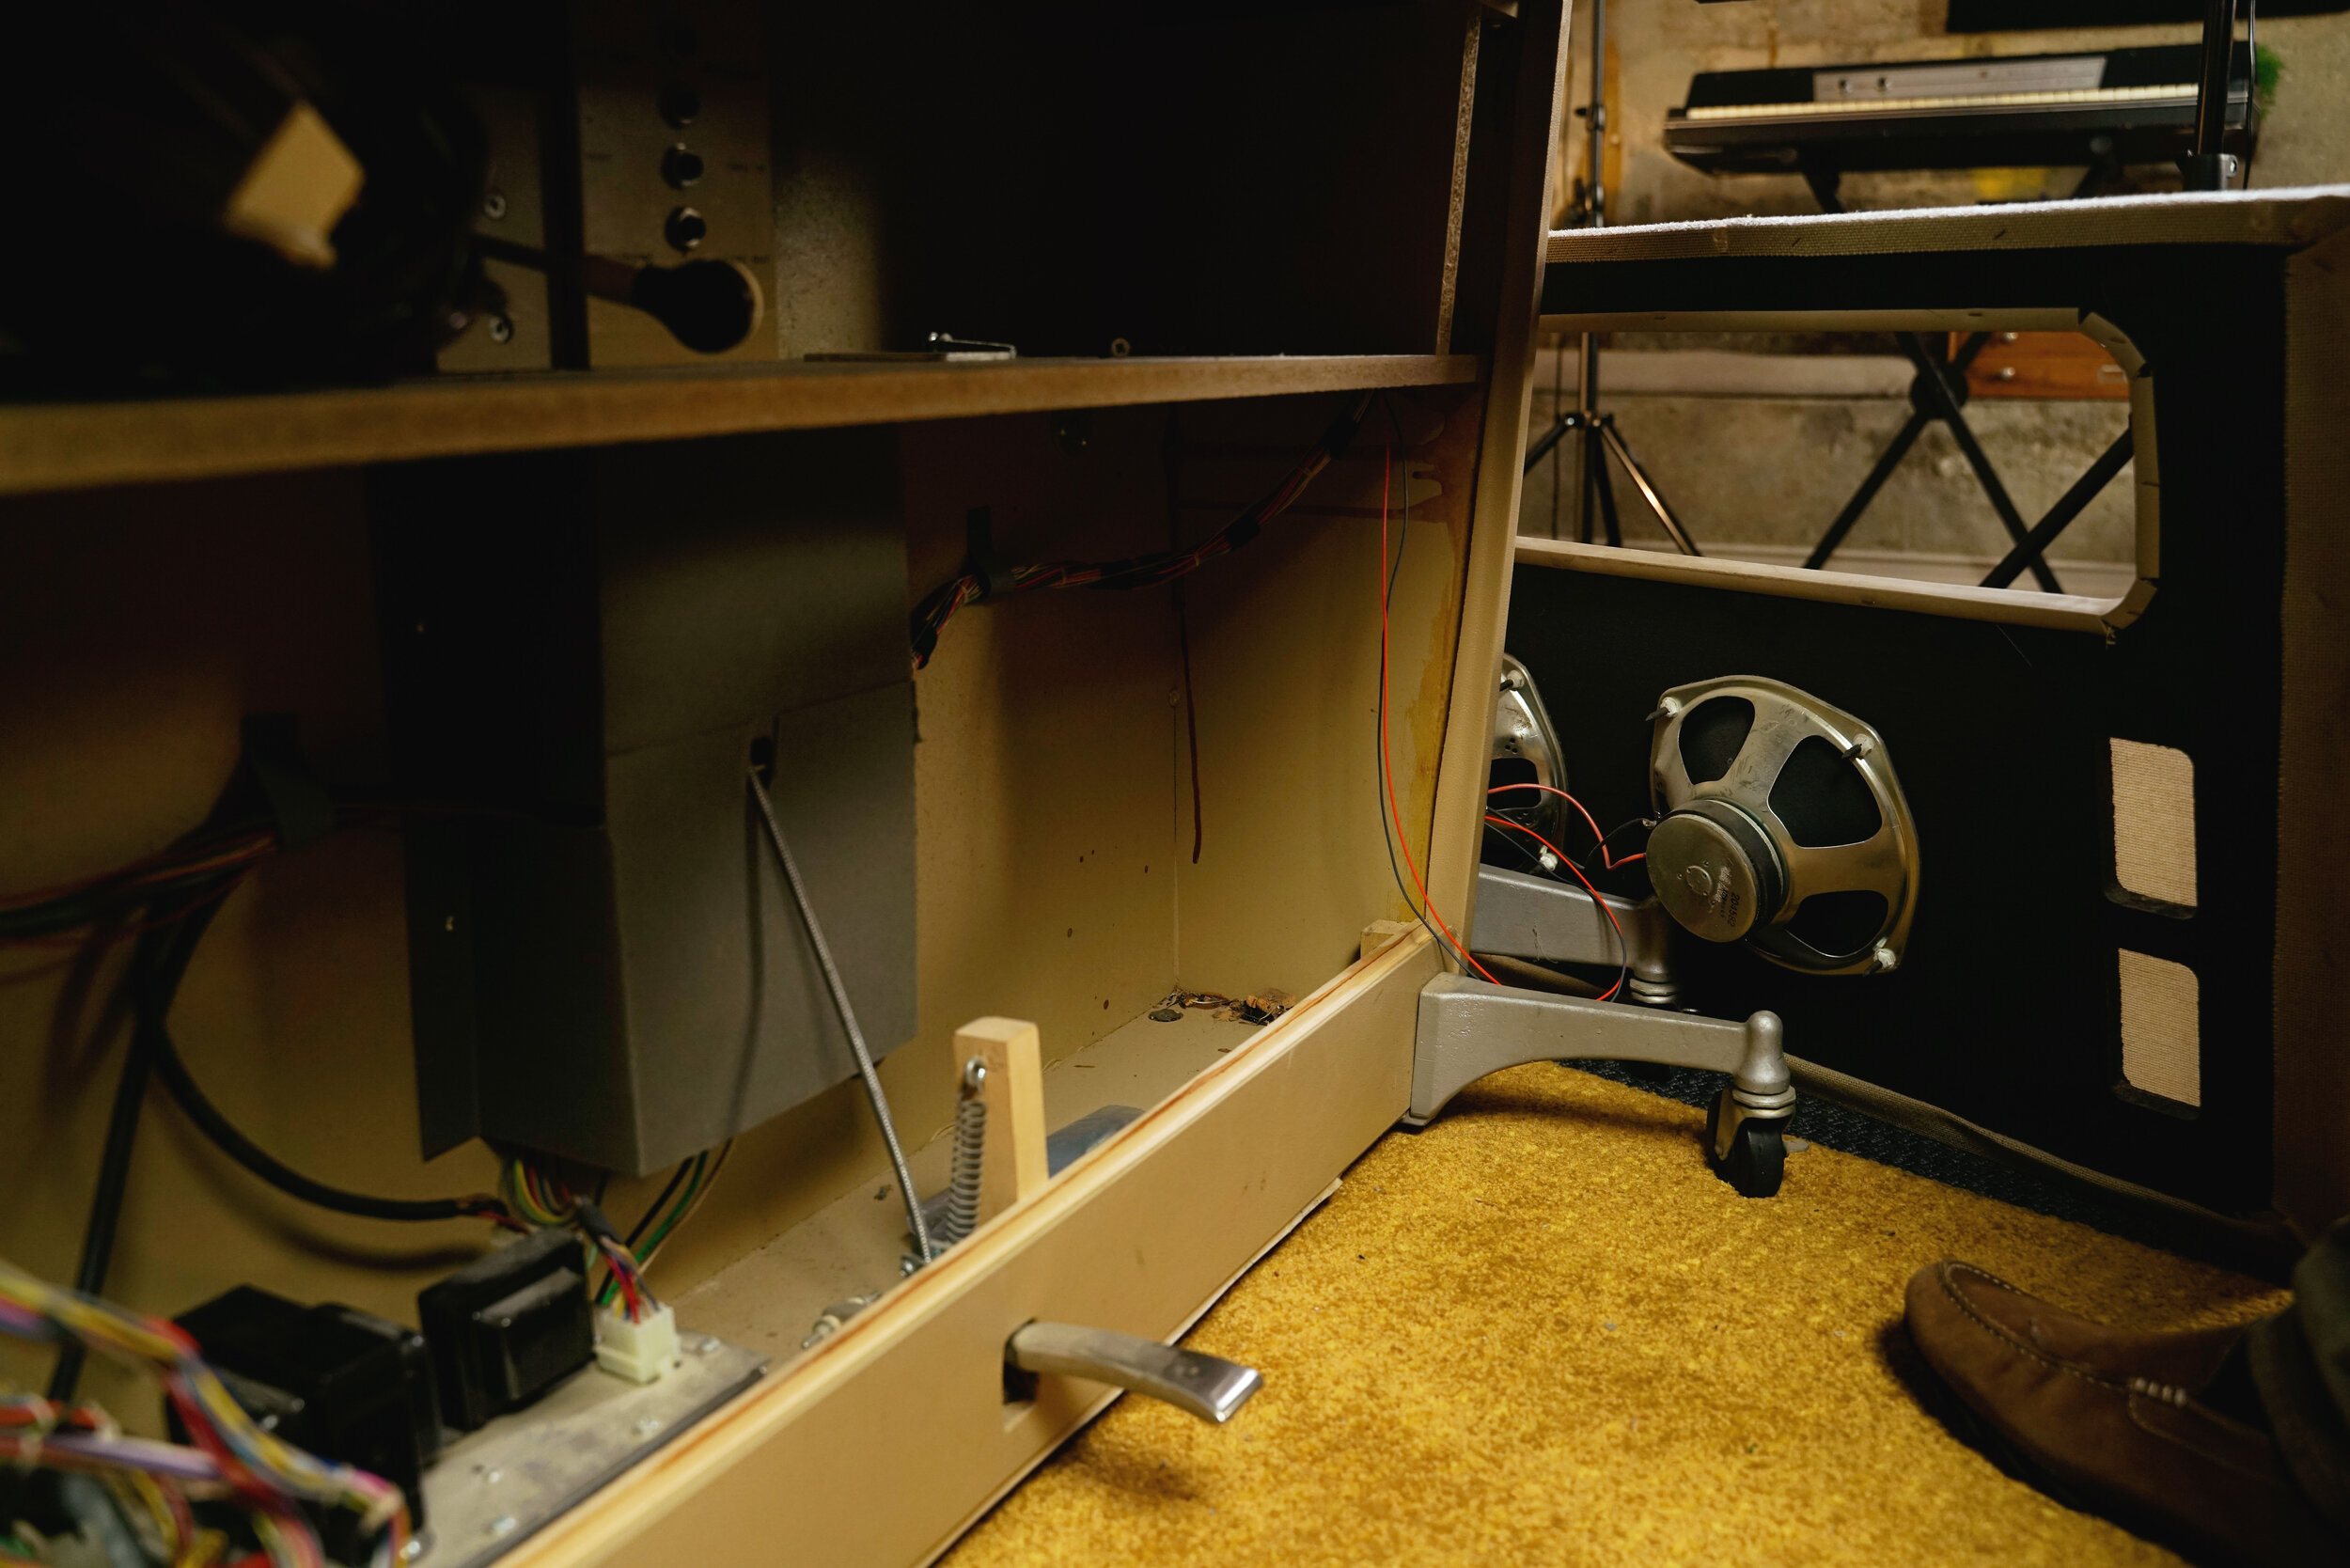
Like the 206a, the 207a has two speakers mounted in the front baffel, facing the user. Above the speakers, there is a shelf where the teacher’s headphones are stored. Like the 206a, there is a series of jacks inside of the shelf which provide inputs and outputs (although in the 207a, these jacks have a different configuration). Finally, on the back of the keyboard, the 207a has four ports instead of just two. This allows up to four groups of six 206a keyboards to be connected to the 207a.
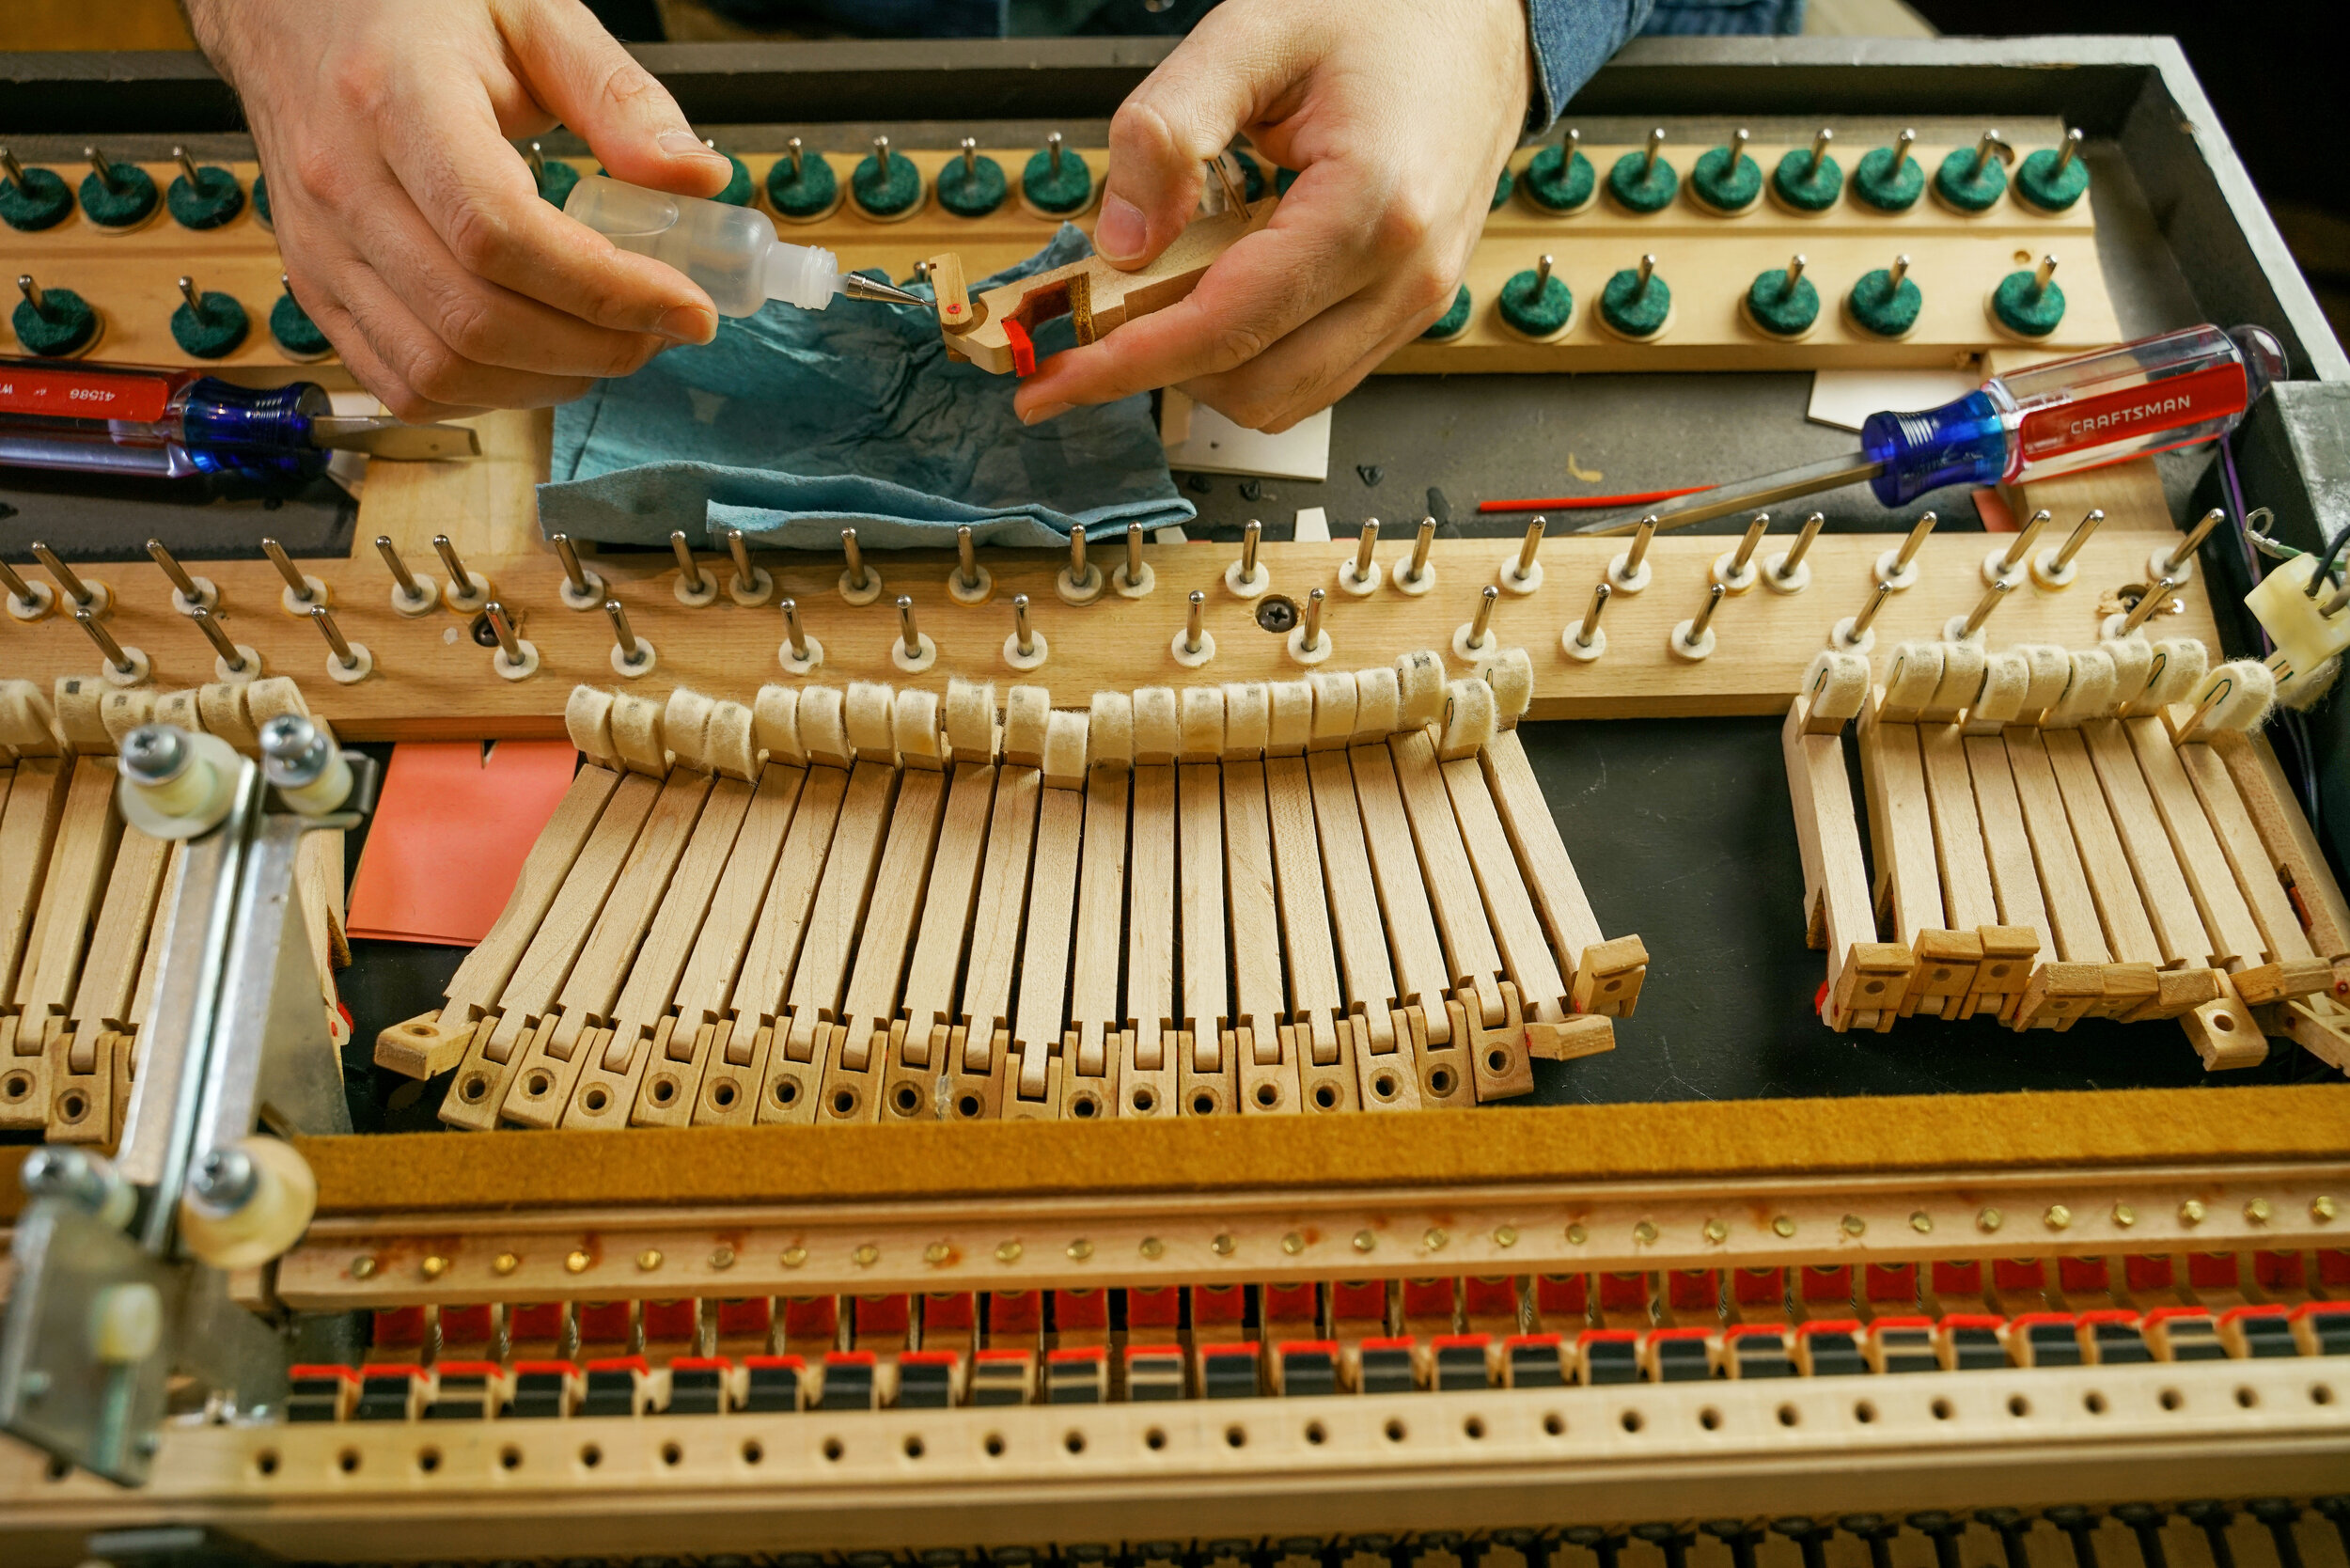
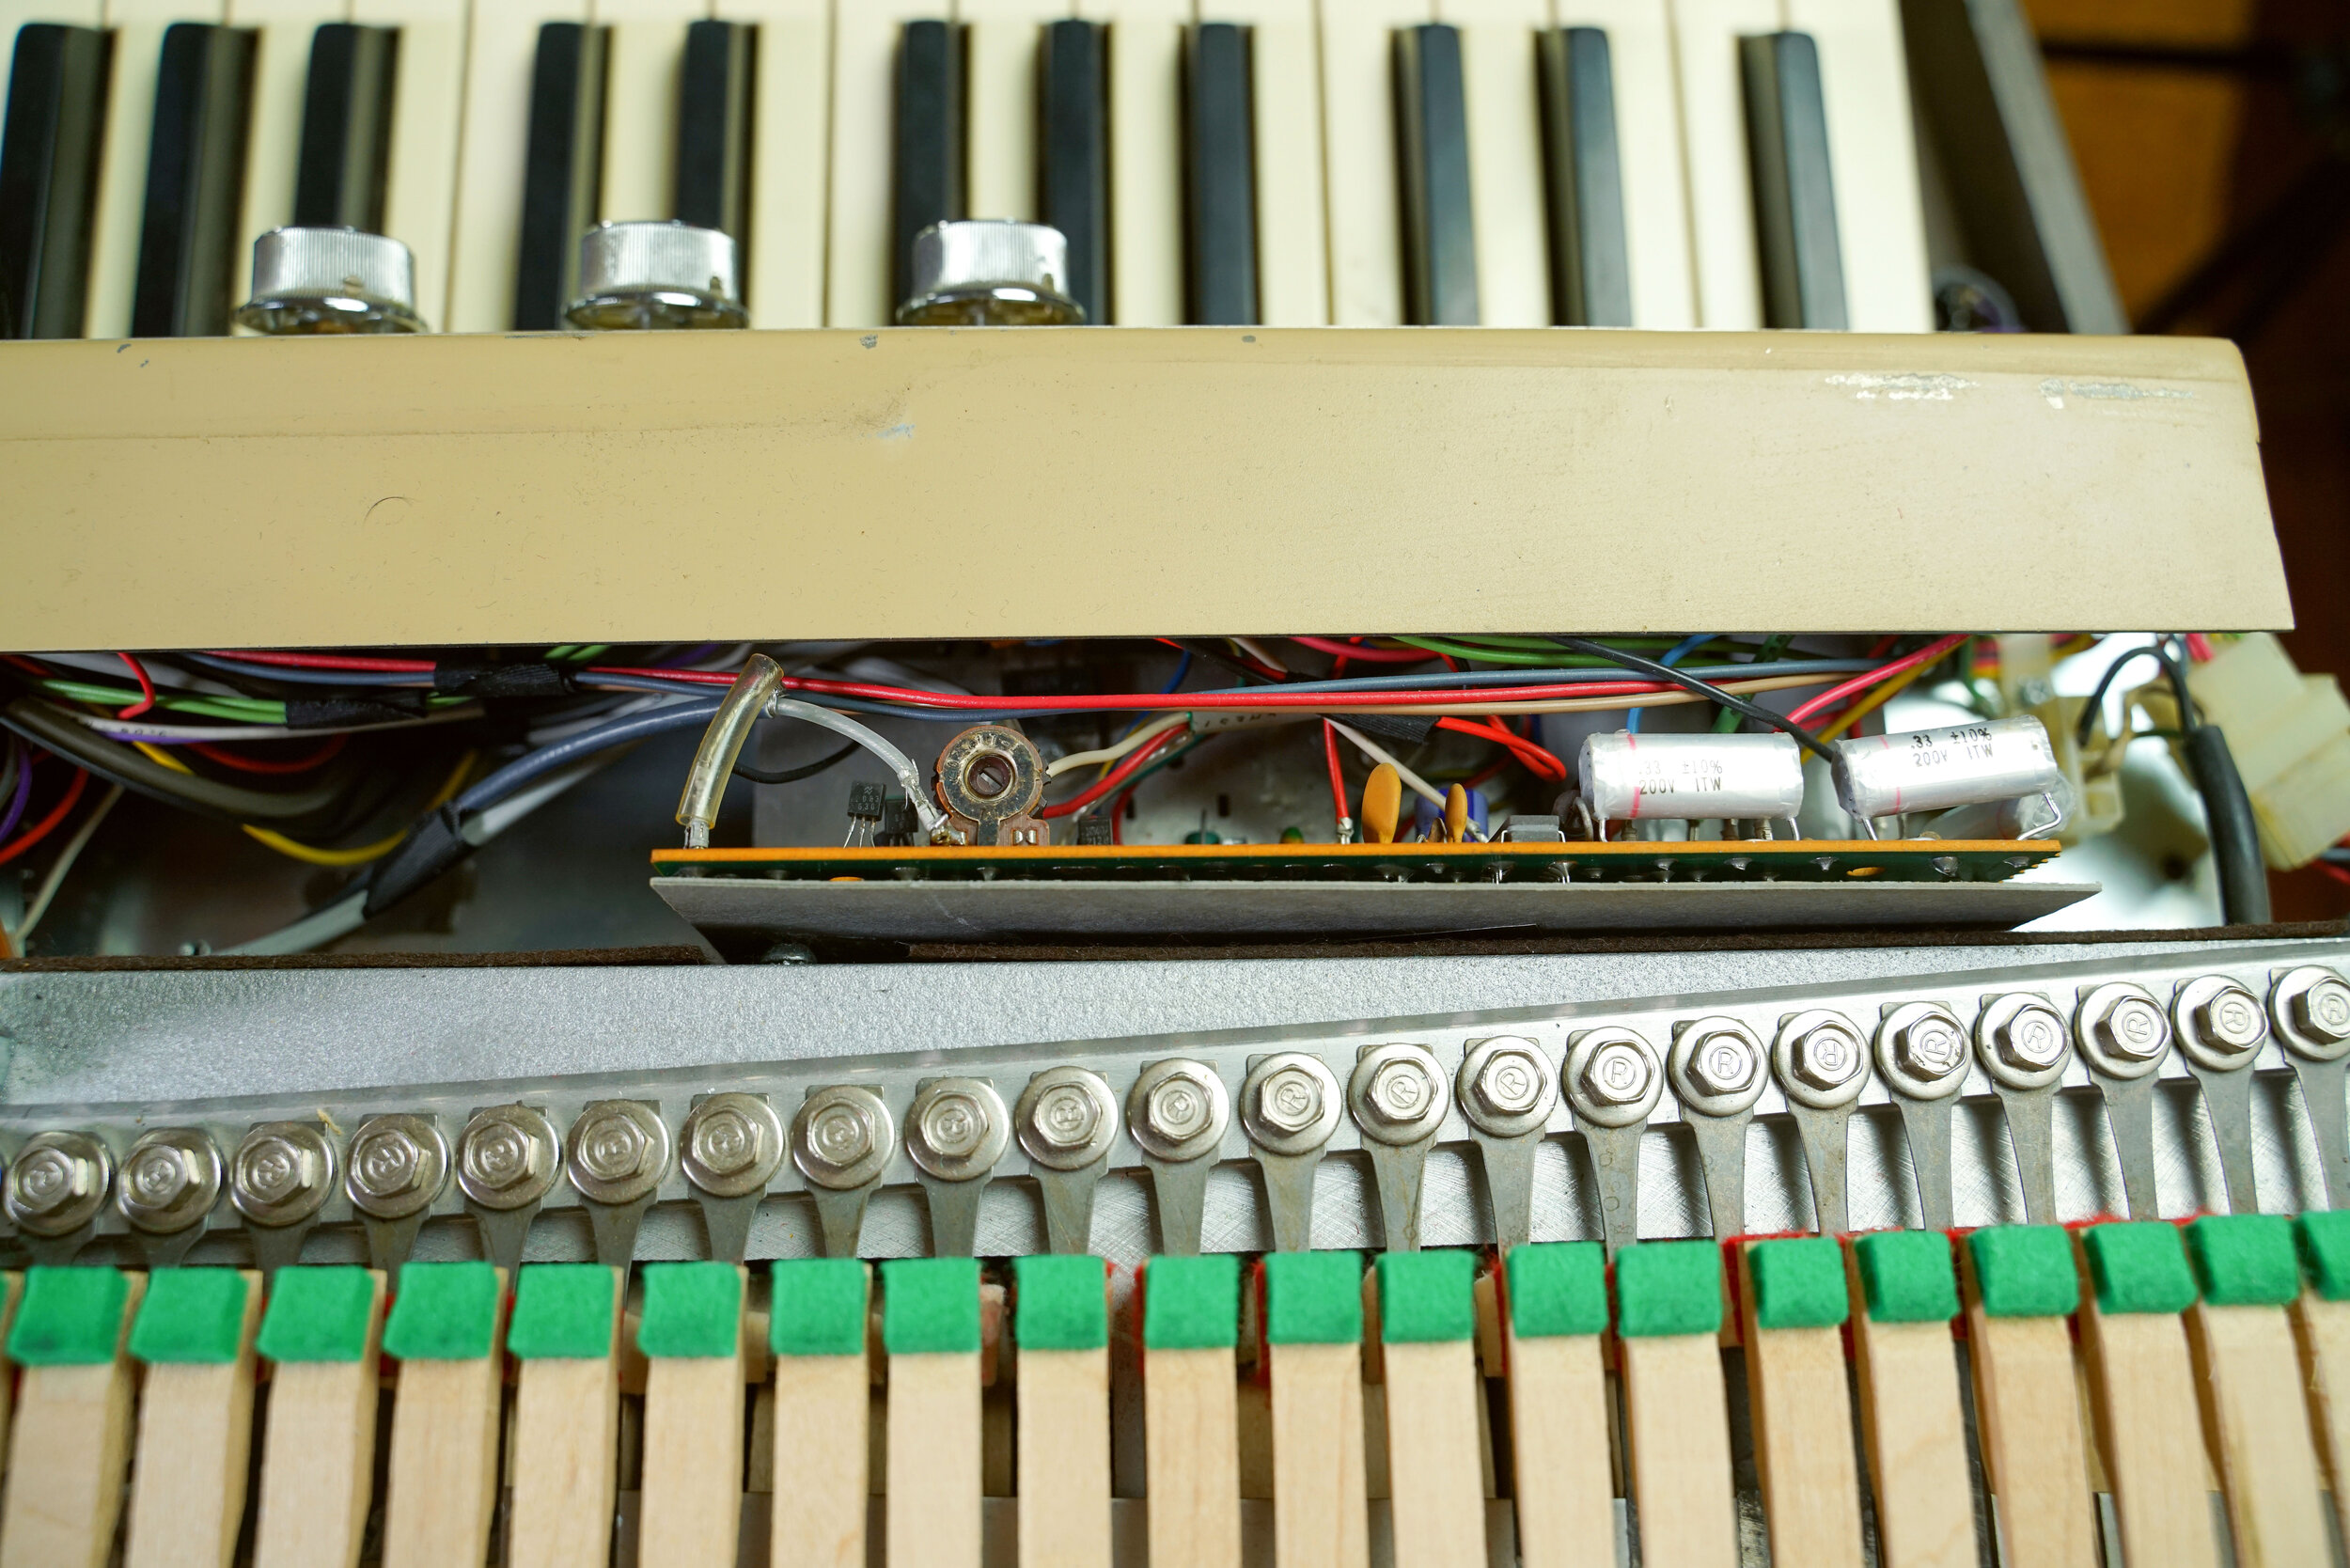
We disassembled the keyboard in order to clean it. This is our usual routine before performing any repairs to the amplifier or mechanical action. This 206a was dusty, but otherwise in very good cosmetic condition. We vacuumed out the interior and scrubbed a few scuff marks from the tolexed cabinet. Next, we lubricated the action centers. Before putting the keys back, we wiped down the key tops and lubricated the key posts.

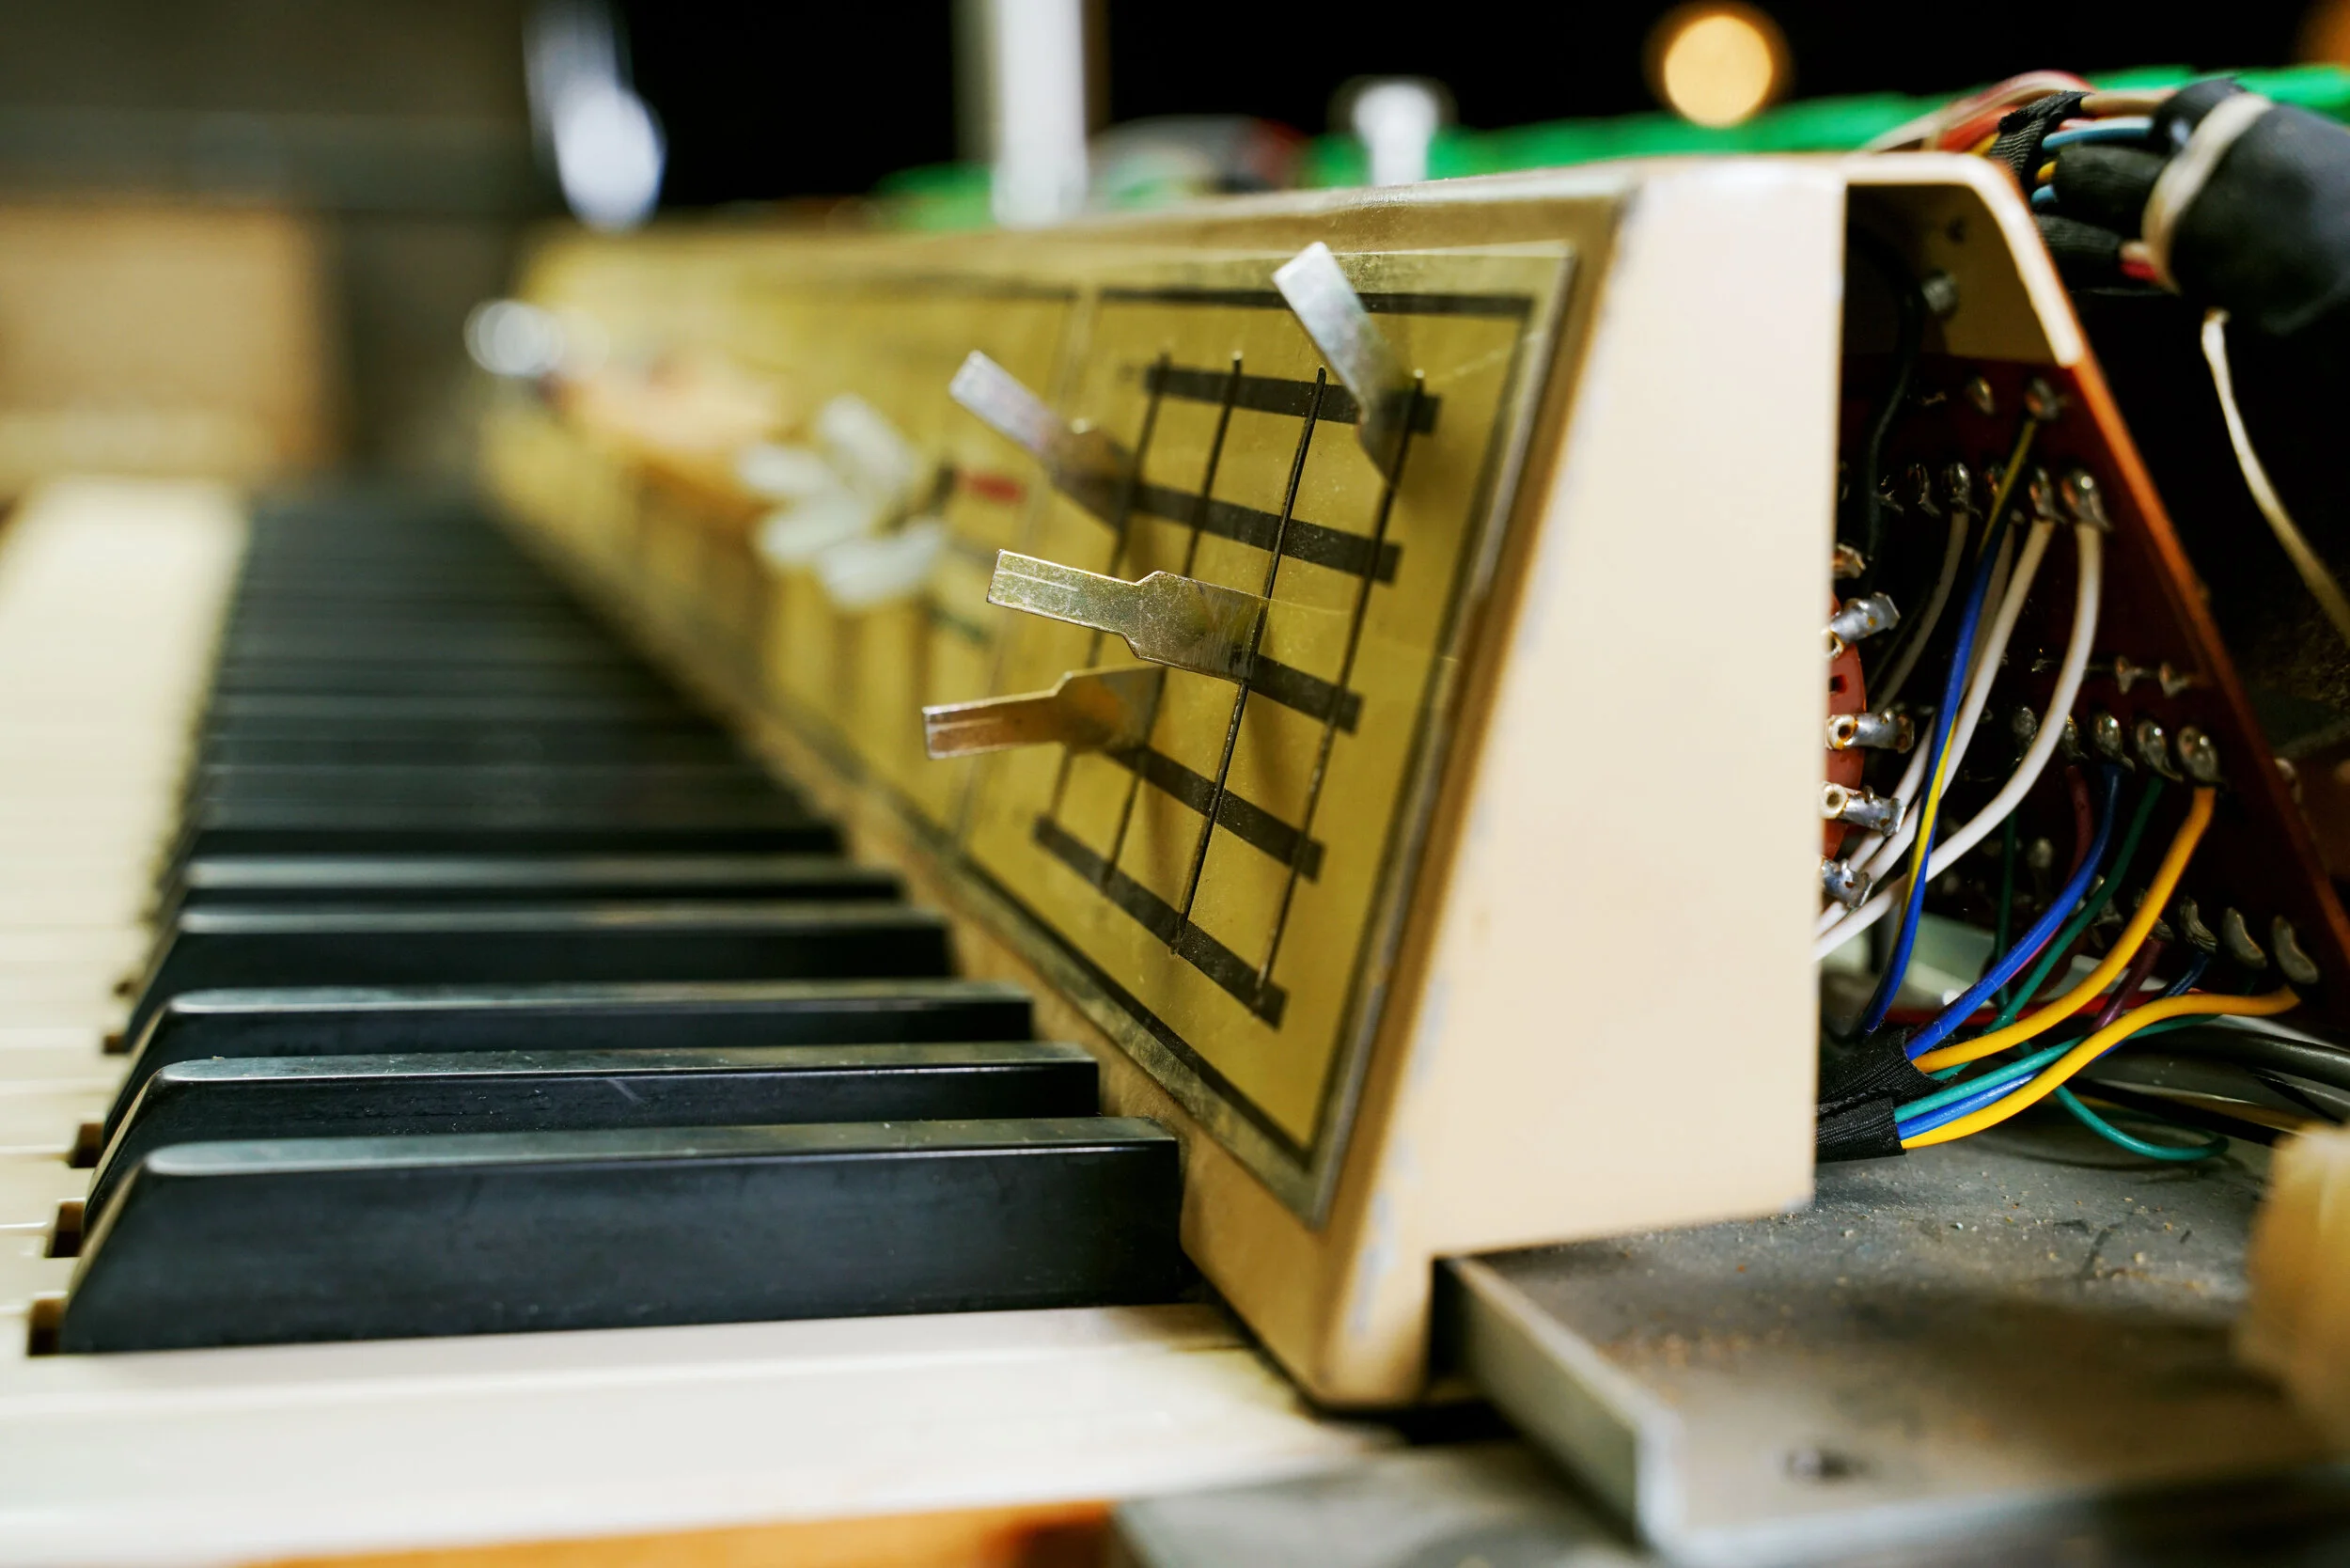
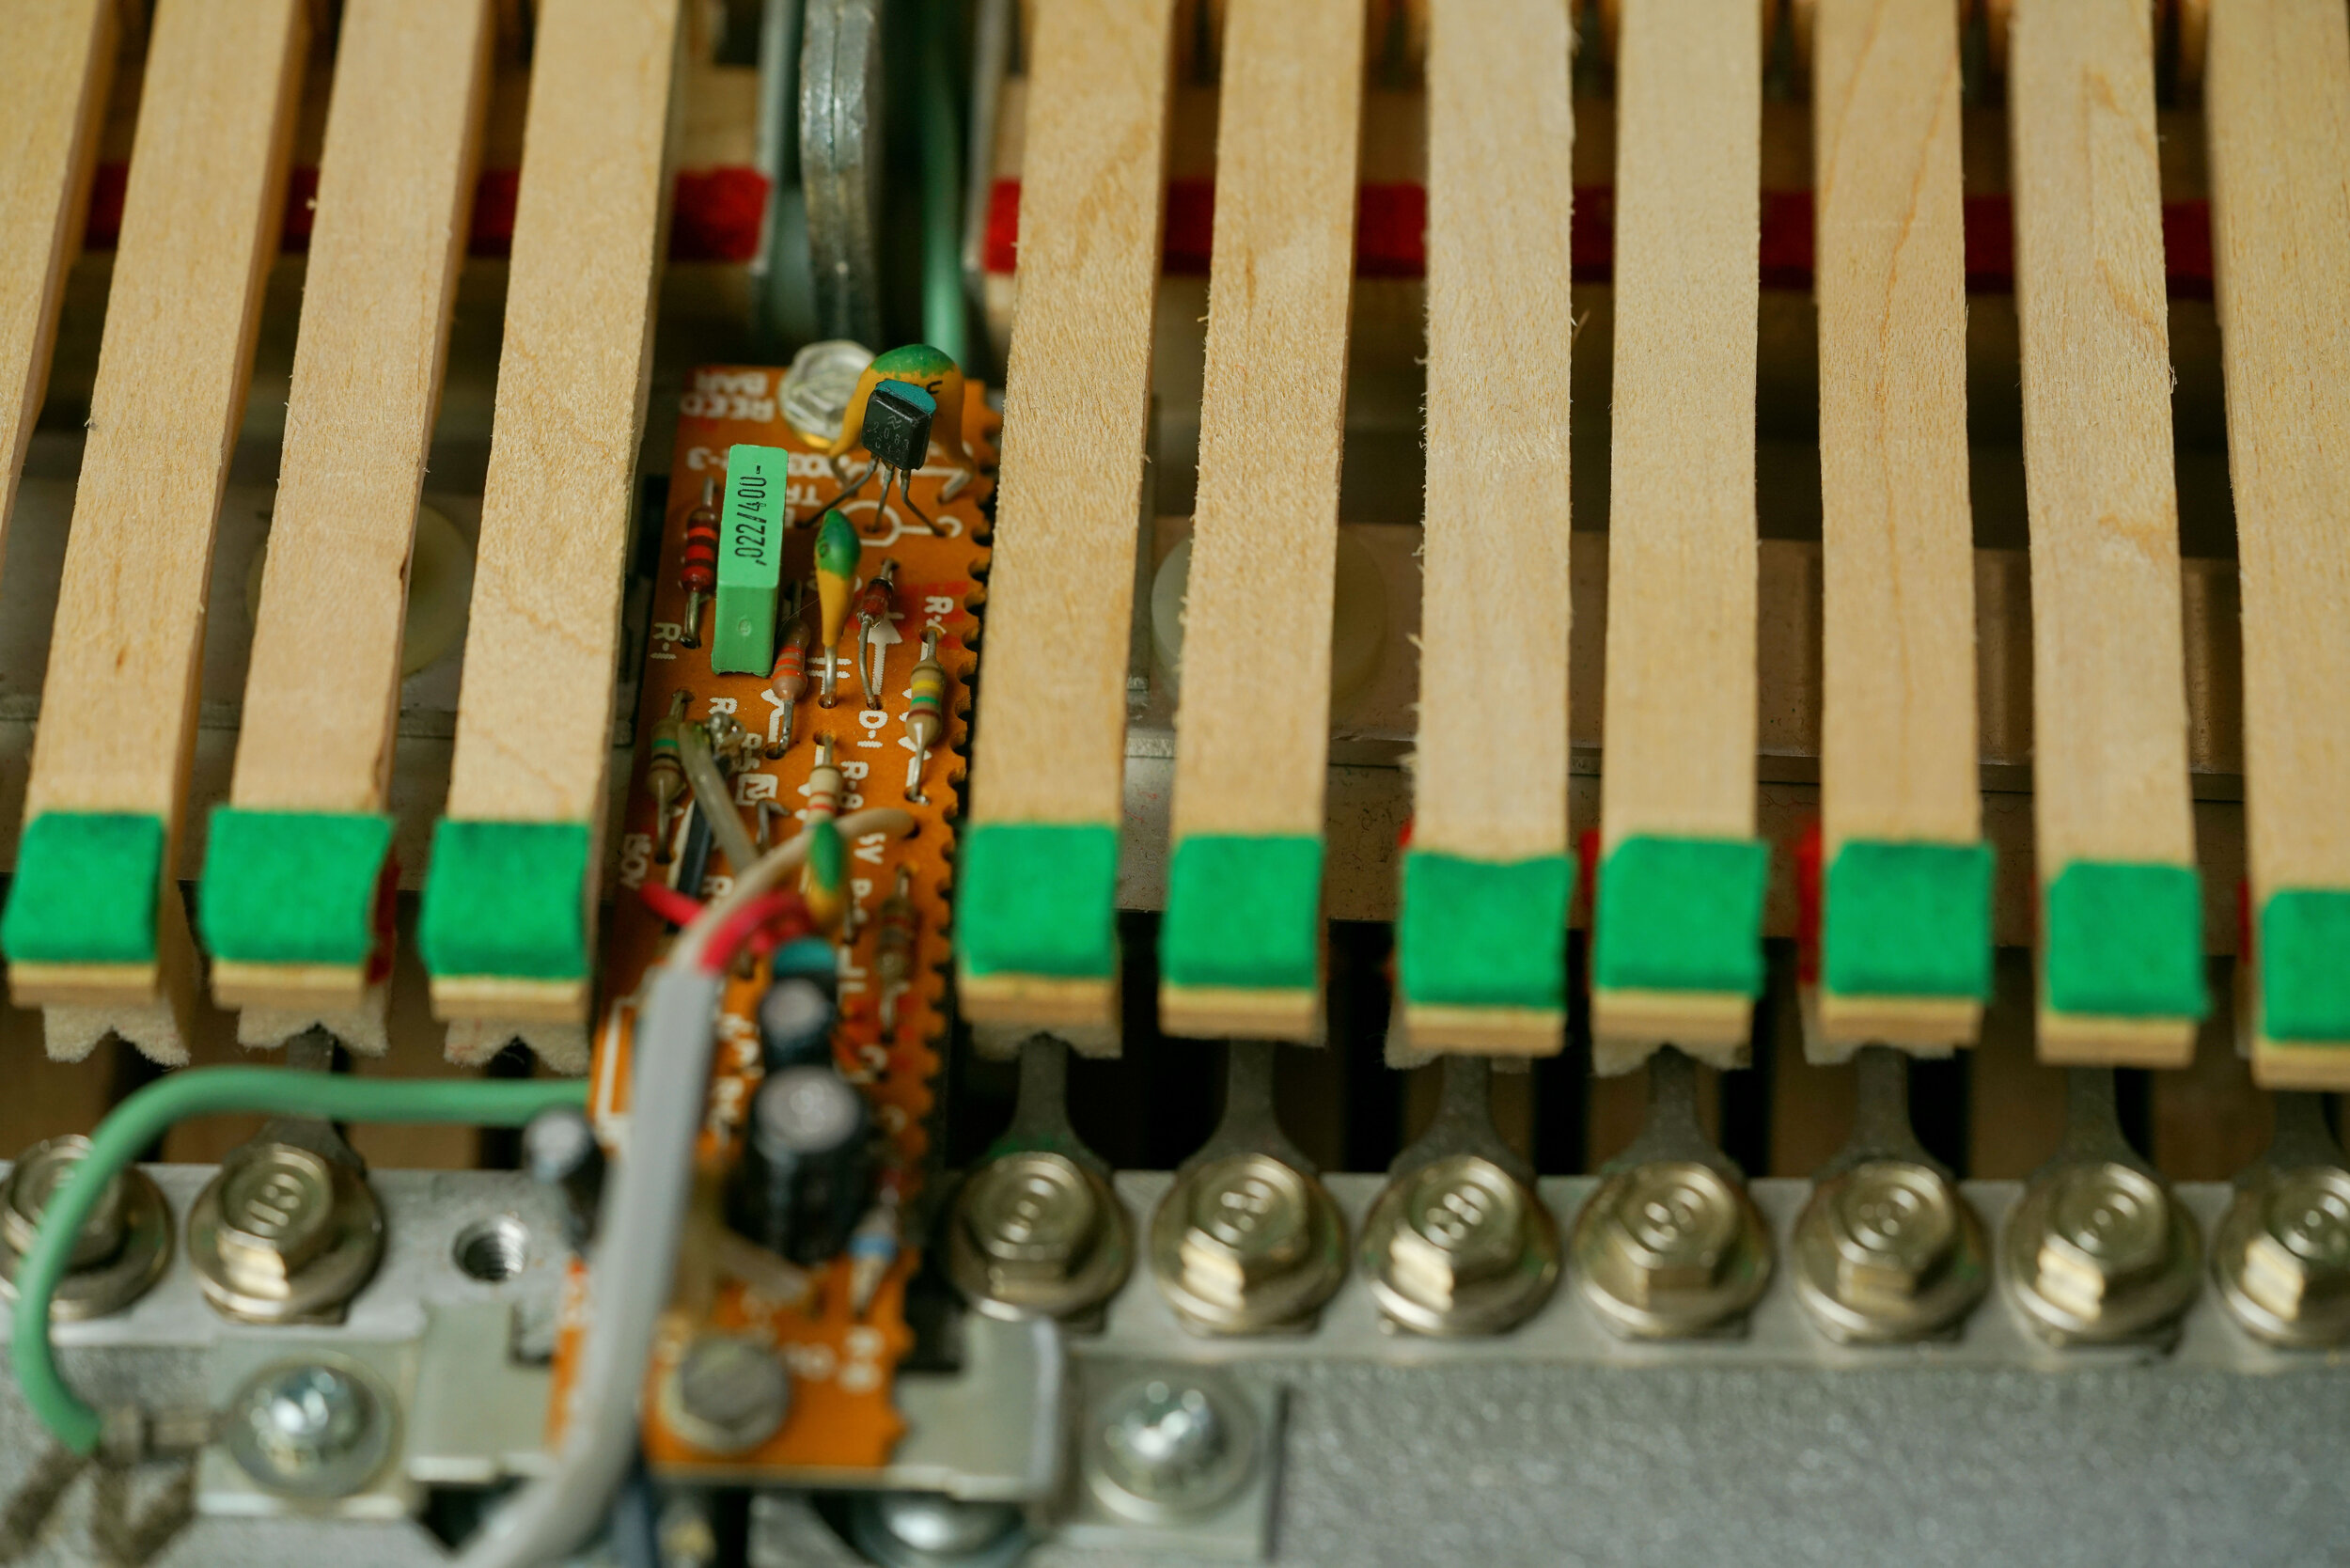
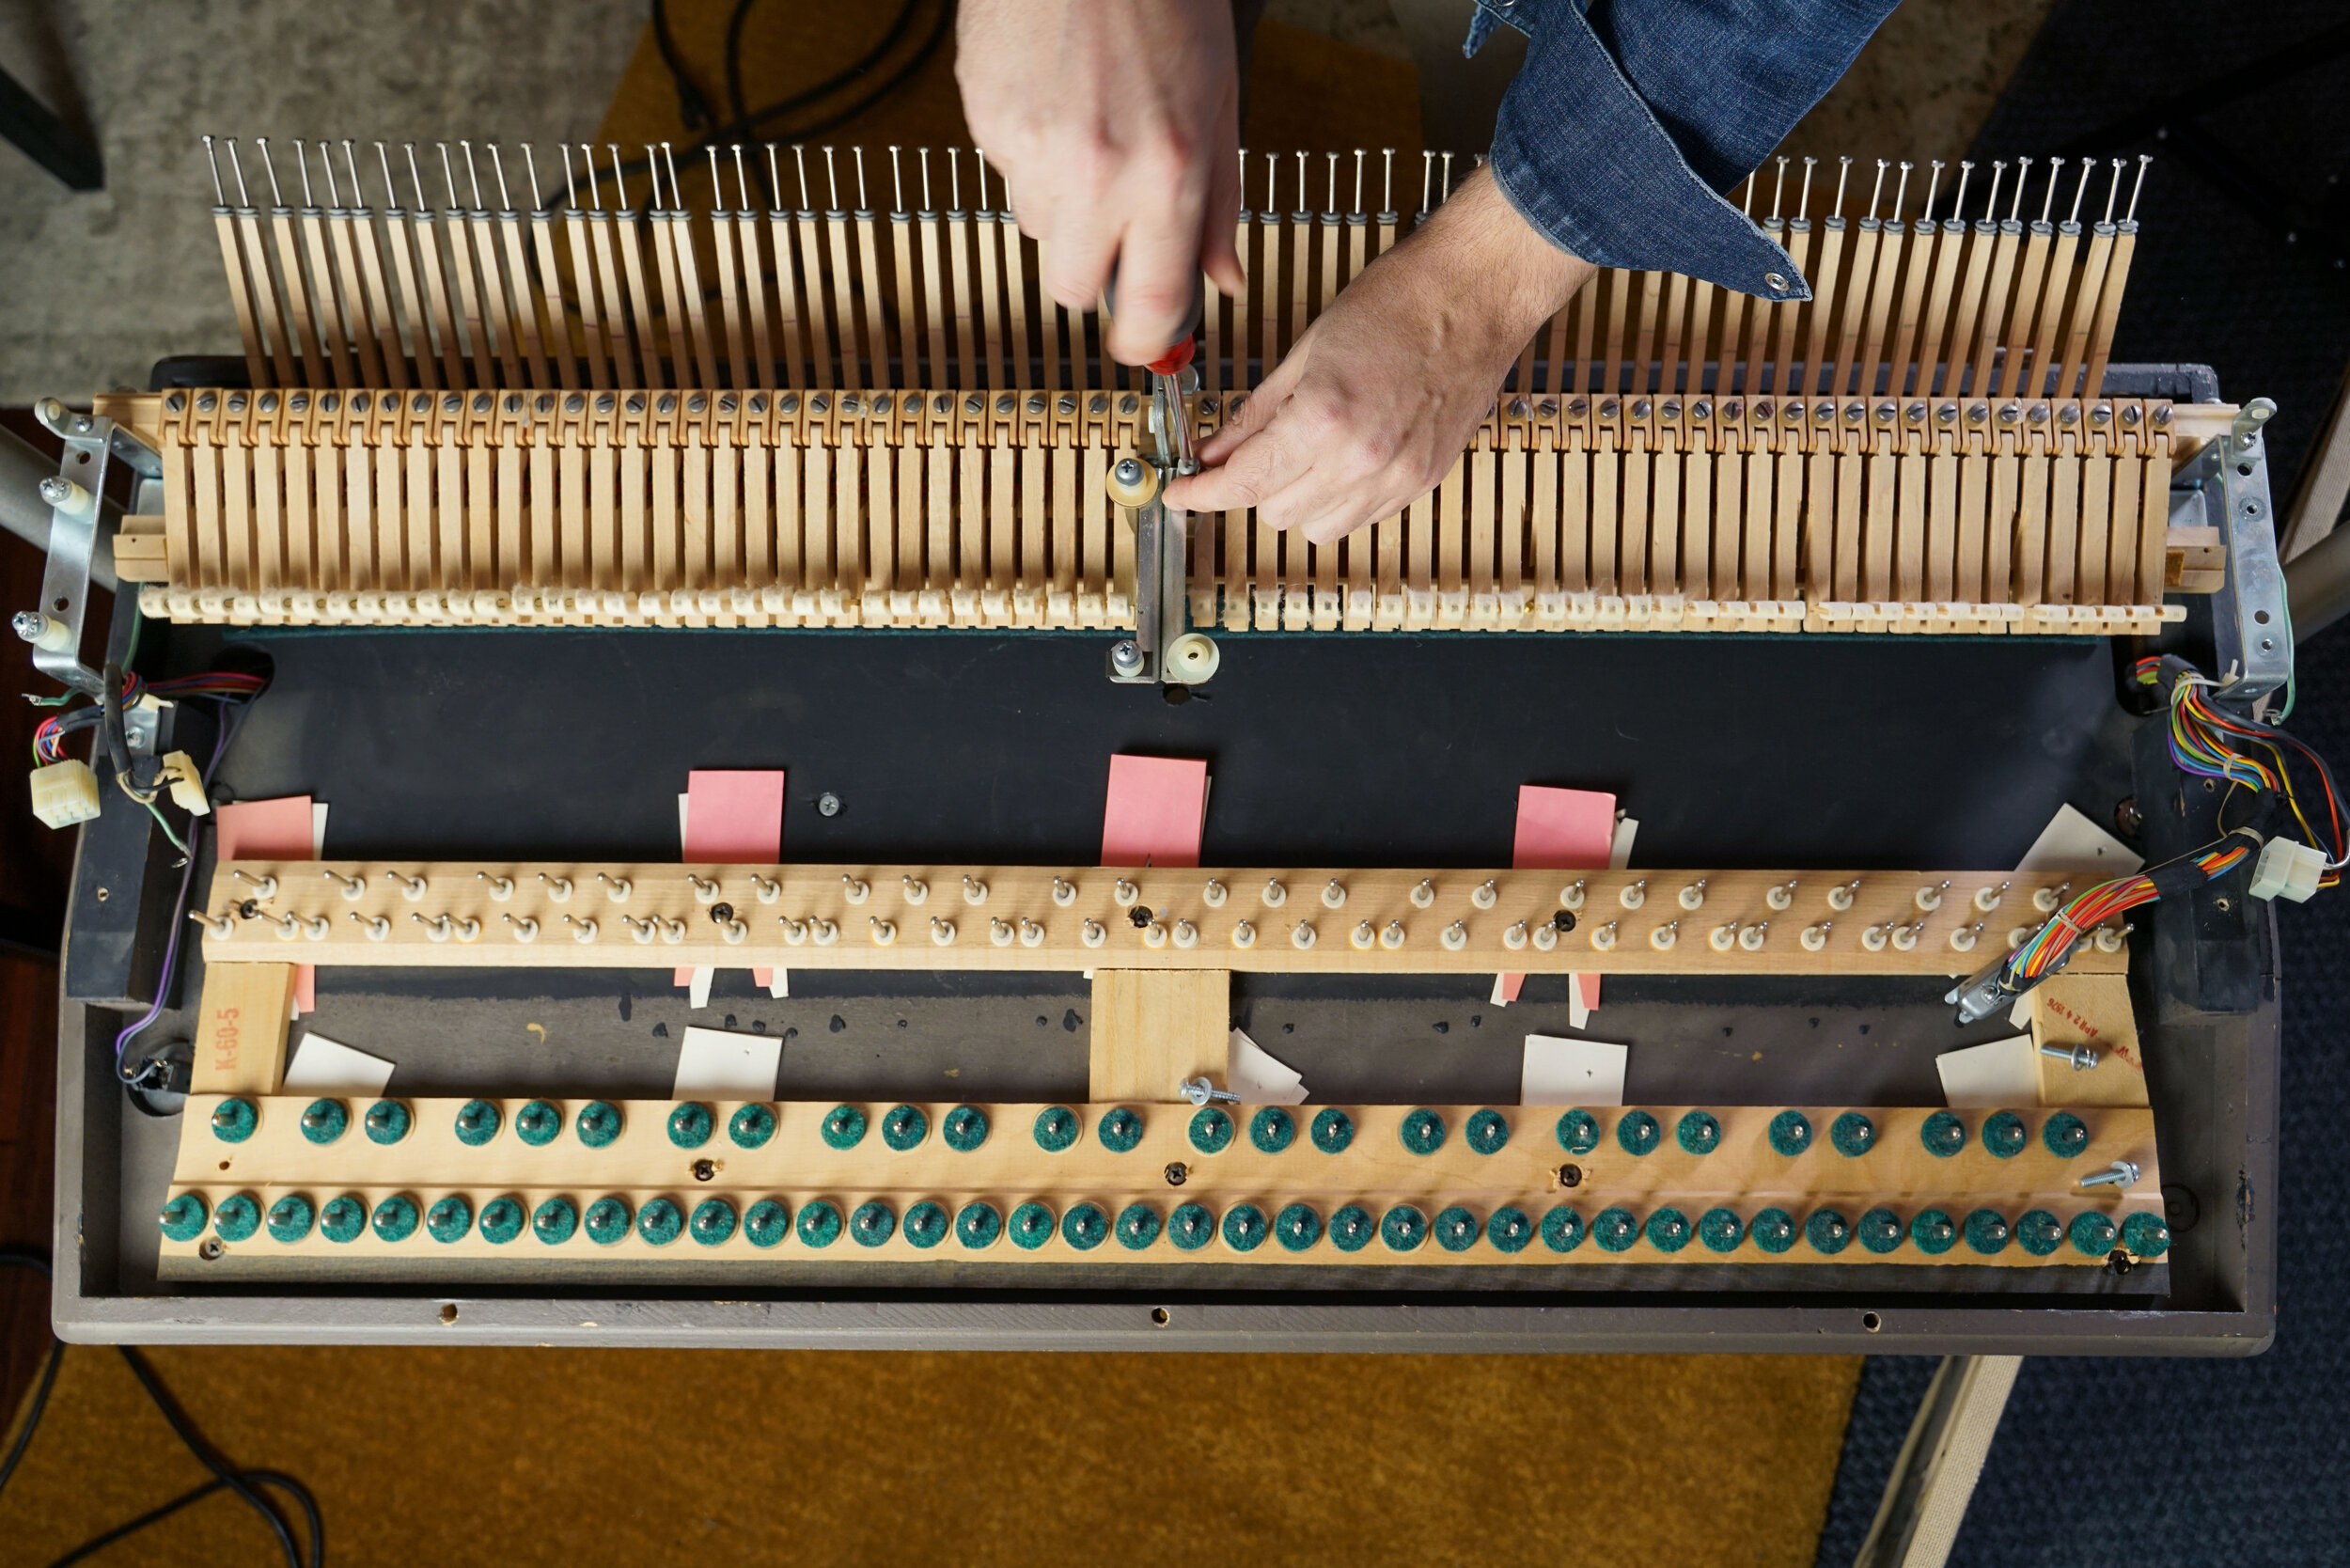
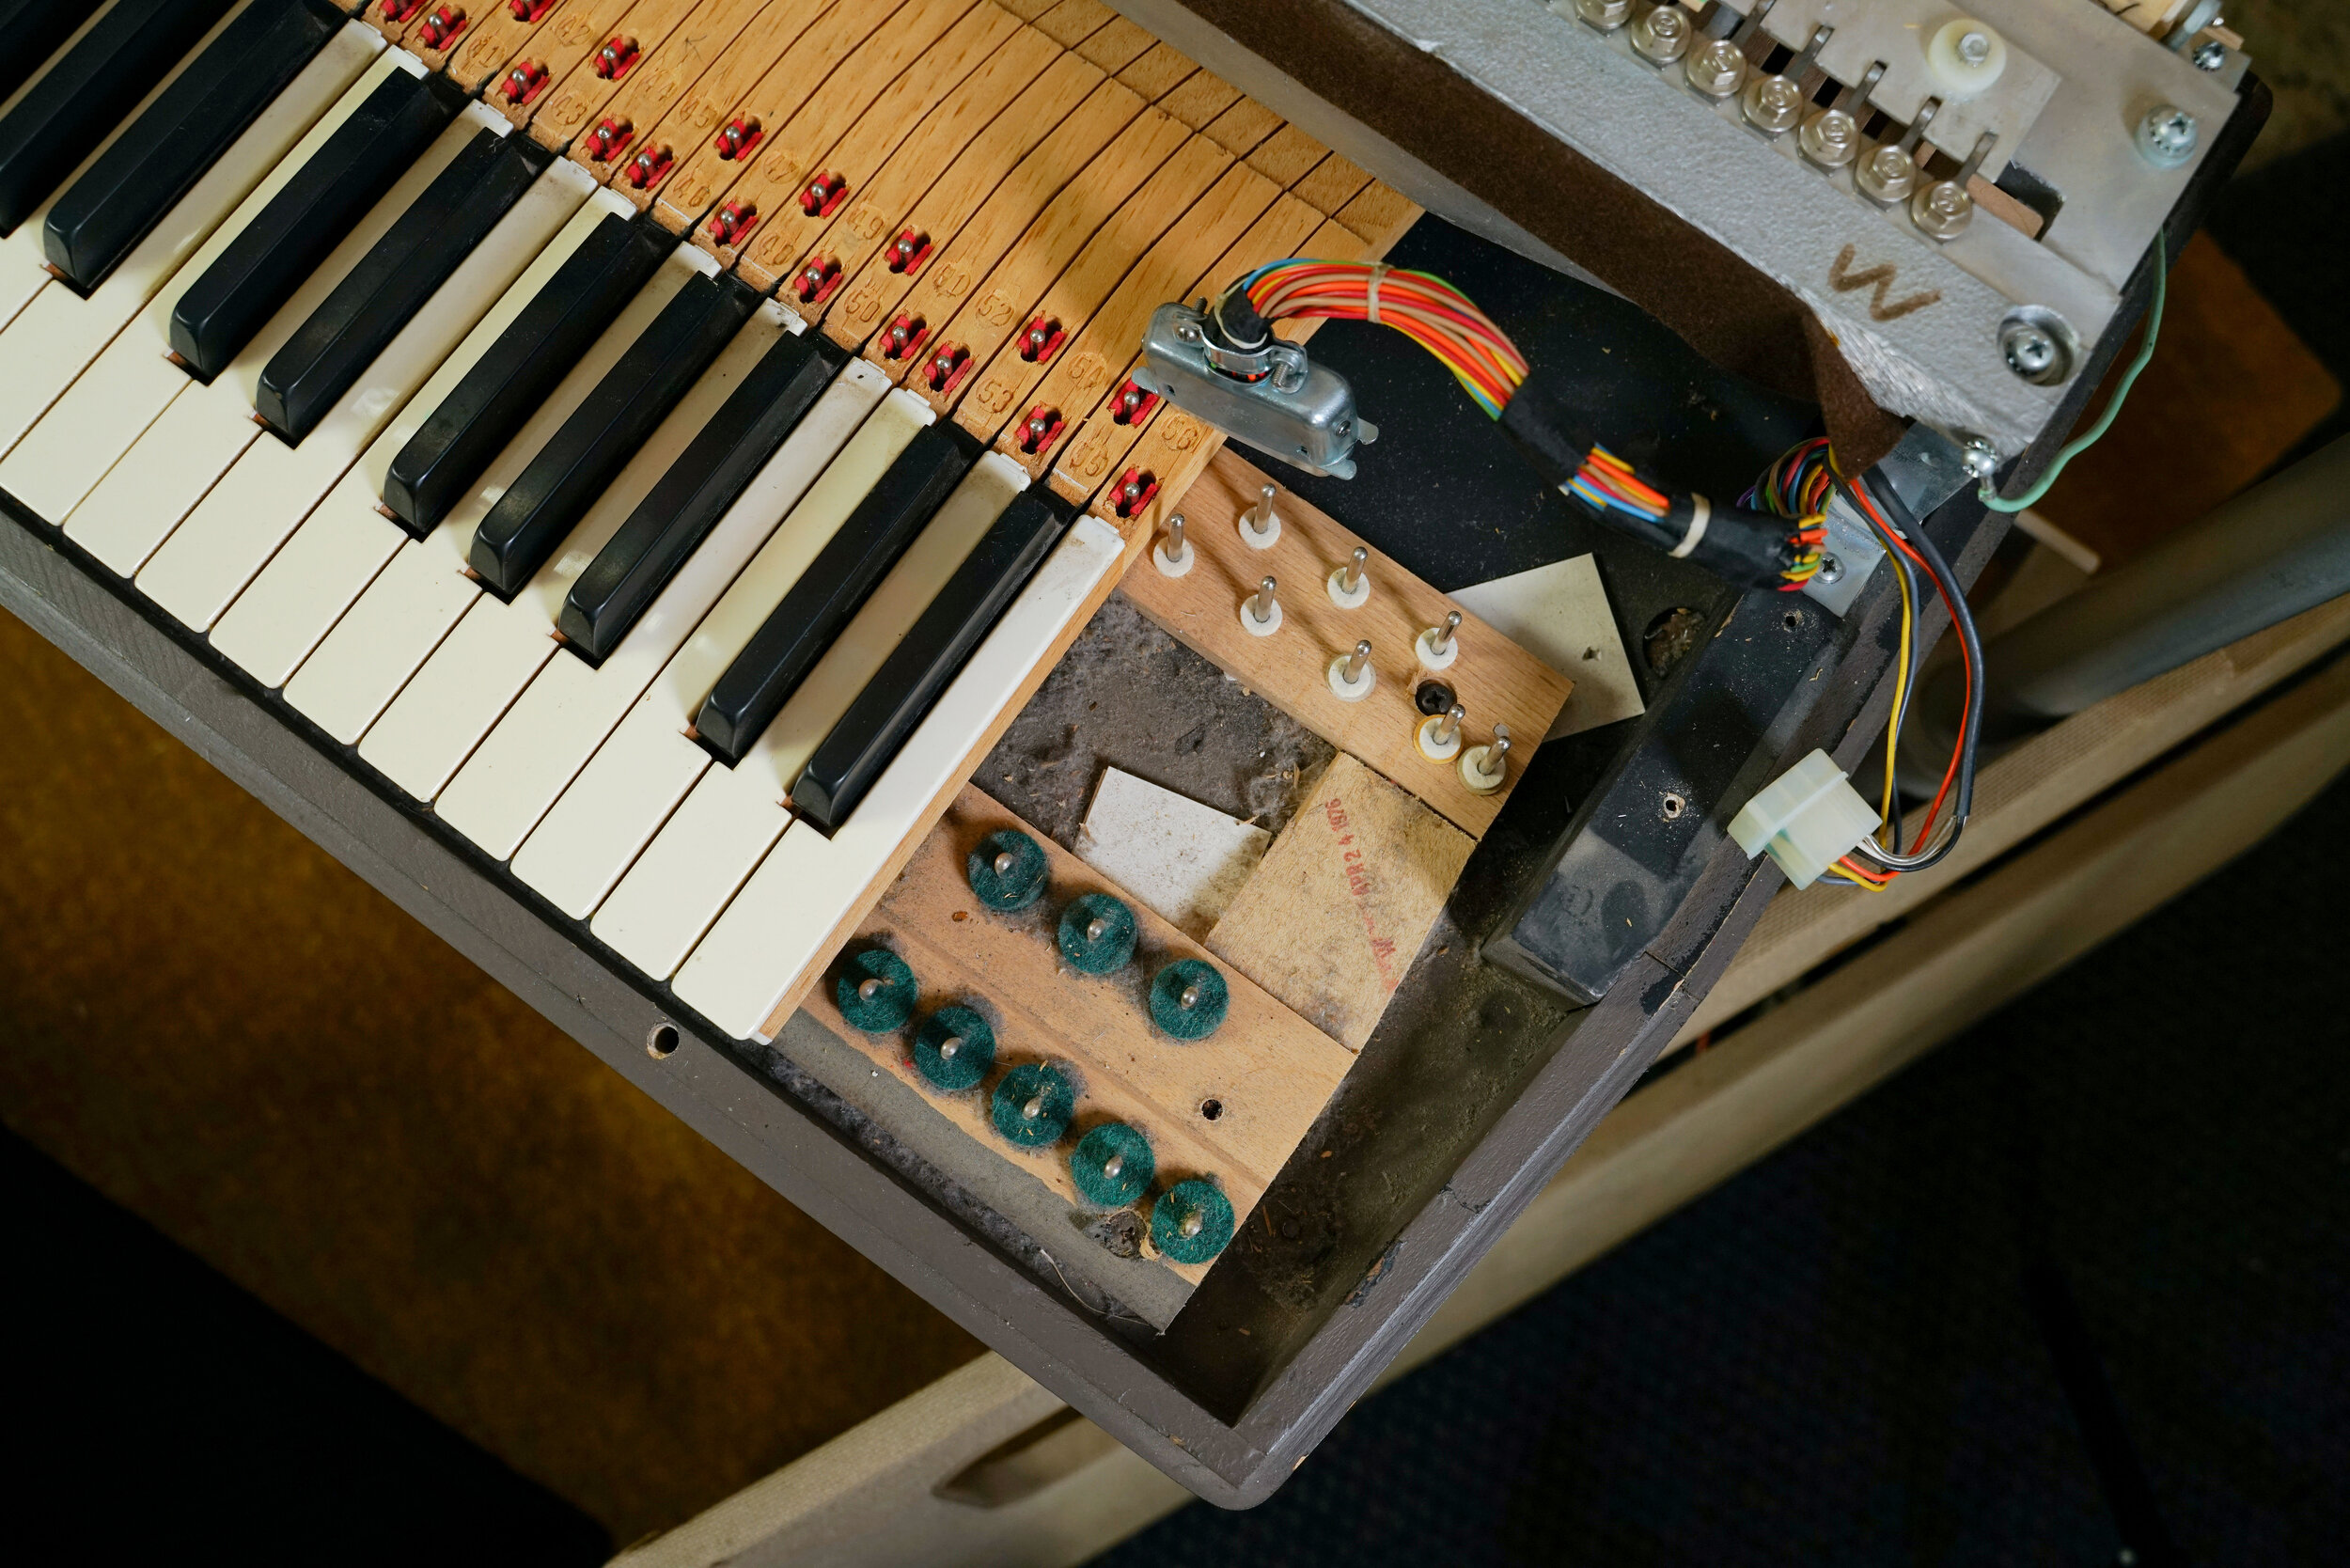
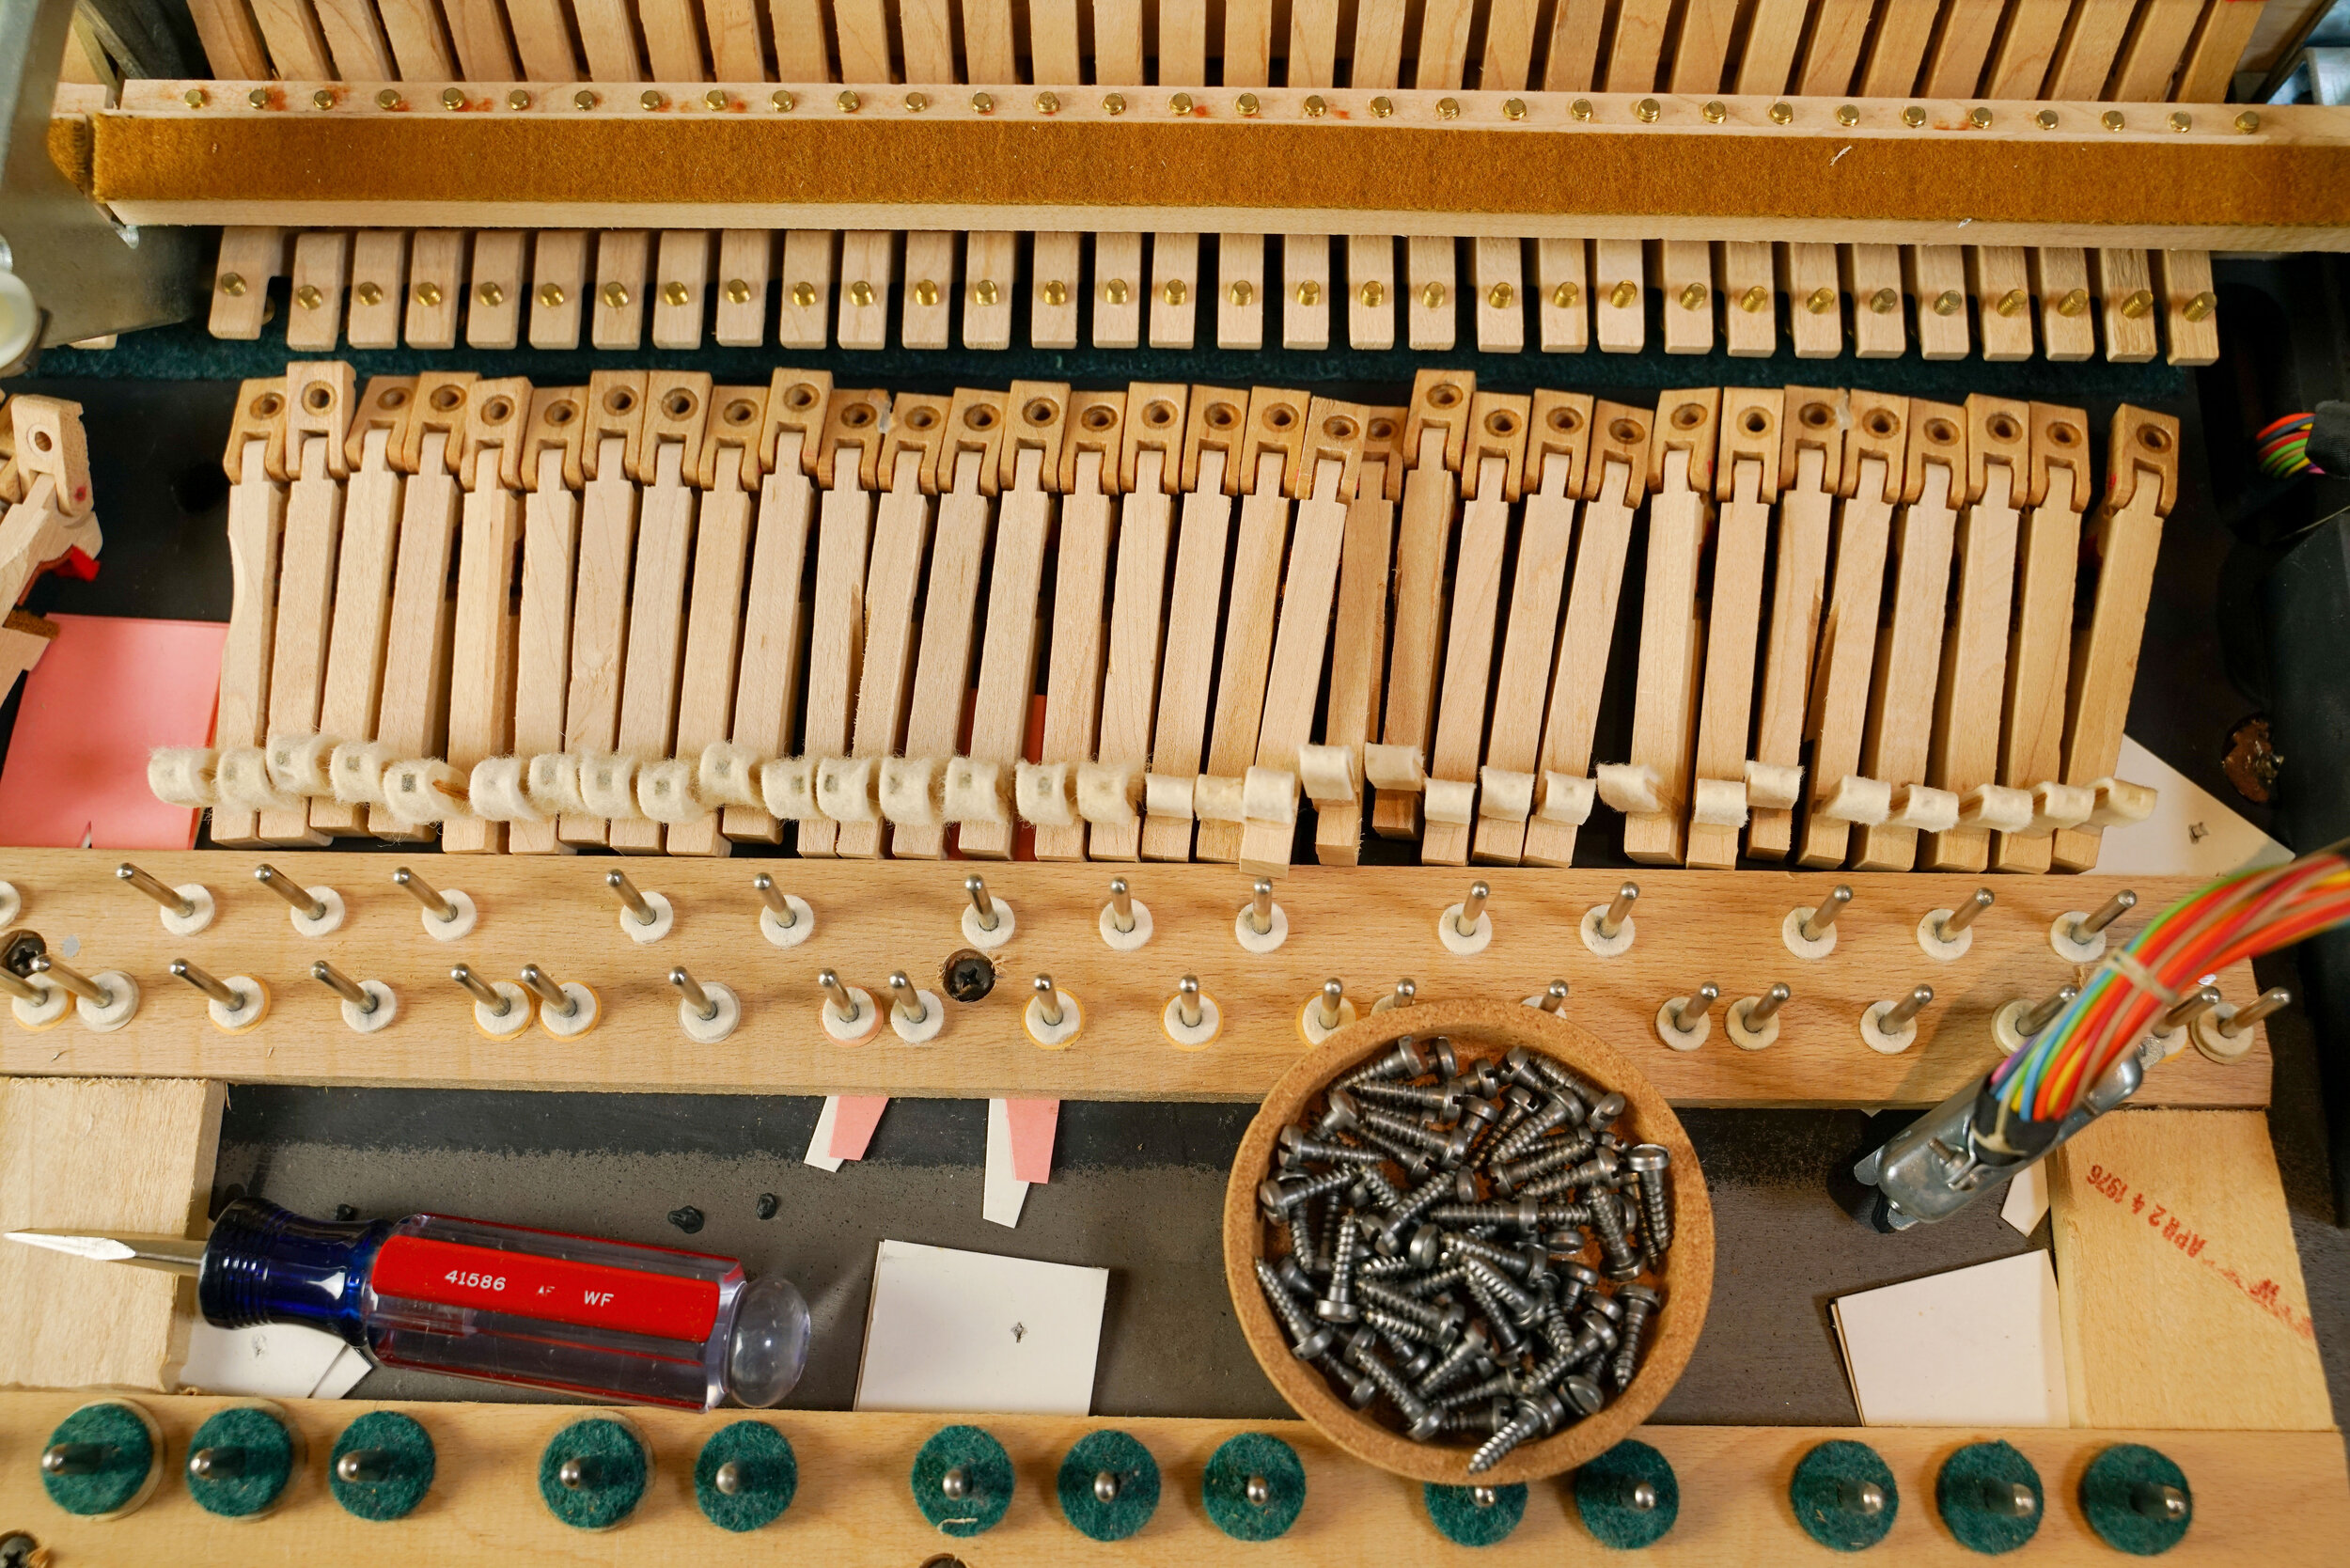
Here you can see, underneath the whips, the metal tabs that activate the Keynote Visualizer.
While the keyboard was disassembled, we wanted to search for the mechanism that allows the notes from the keyboard to show up on the Keynote Visualizer. We thought that it might be underneath the keys, but it was actually at the back of the keyboard, underneath the whips. When a key is pressed, the movement of the whip depresses a little metal tab that makes contact with wiring leading to the Visualizer. Only the center register is connected to the Visualizer: the highest and lowest notes do not have metal tabs (nor is there space on the Visualizer to depict them).
We will regulate the action and recap the amplifier before replacing the control panel. We also need to decide what to do with all of the extraneous circuitry. We will probably disconnect everything related to classroom functionality, but we may leave the circuit boards inside the keyboard. We will also ensure that there is no mains voltage across any of the ports.
Further Reading
Browse all of our articles on restoring vintage gear. Or, click on an image below.