
How to make a dolly for your organ or electronic piano
We often make dollies specifically to handle the organs and electronic pianos that we have in the shop. There are a lot of benefits to making a custom-sized dolly. First of all, the dolly allows you to move the instrument from one location to another, which makes your studio or shop a flexible space. Most importantly, there are no commercially available dollies that can comfortably accommodate an instrument of this size. The first time we set out to make a dolly we thought we were doing something frivolous, but the advantages immediately became apparent and we never looked back. So, if you need to move a heavy organ or console electronic piano around your studio, shop or rehearsal space, a custom furniture dolly is one of the best and easiest solutions.
To clarify, the dolly we will discuss in this article is designed to move your instrument around the studio, workshop, rehearsal space or other indoor space with relatively smooth floors. This would not be an optimal design for moving between buildings, up or down stairs, or into vehicles or things like that.
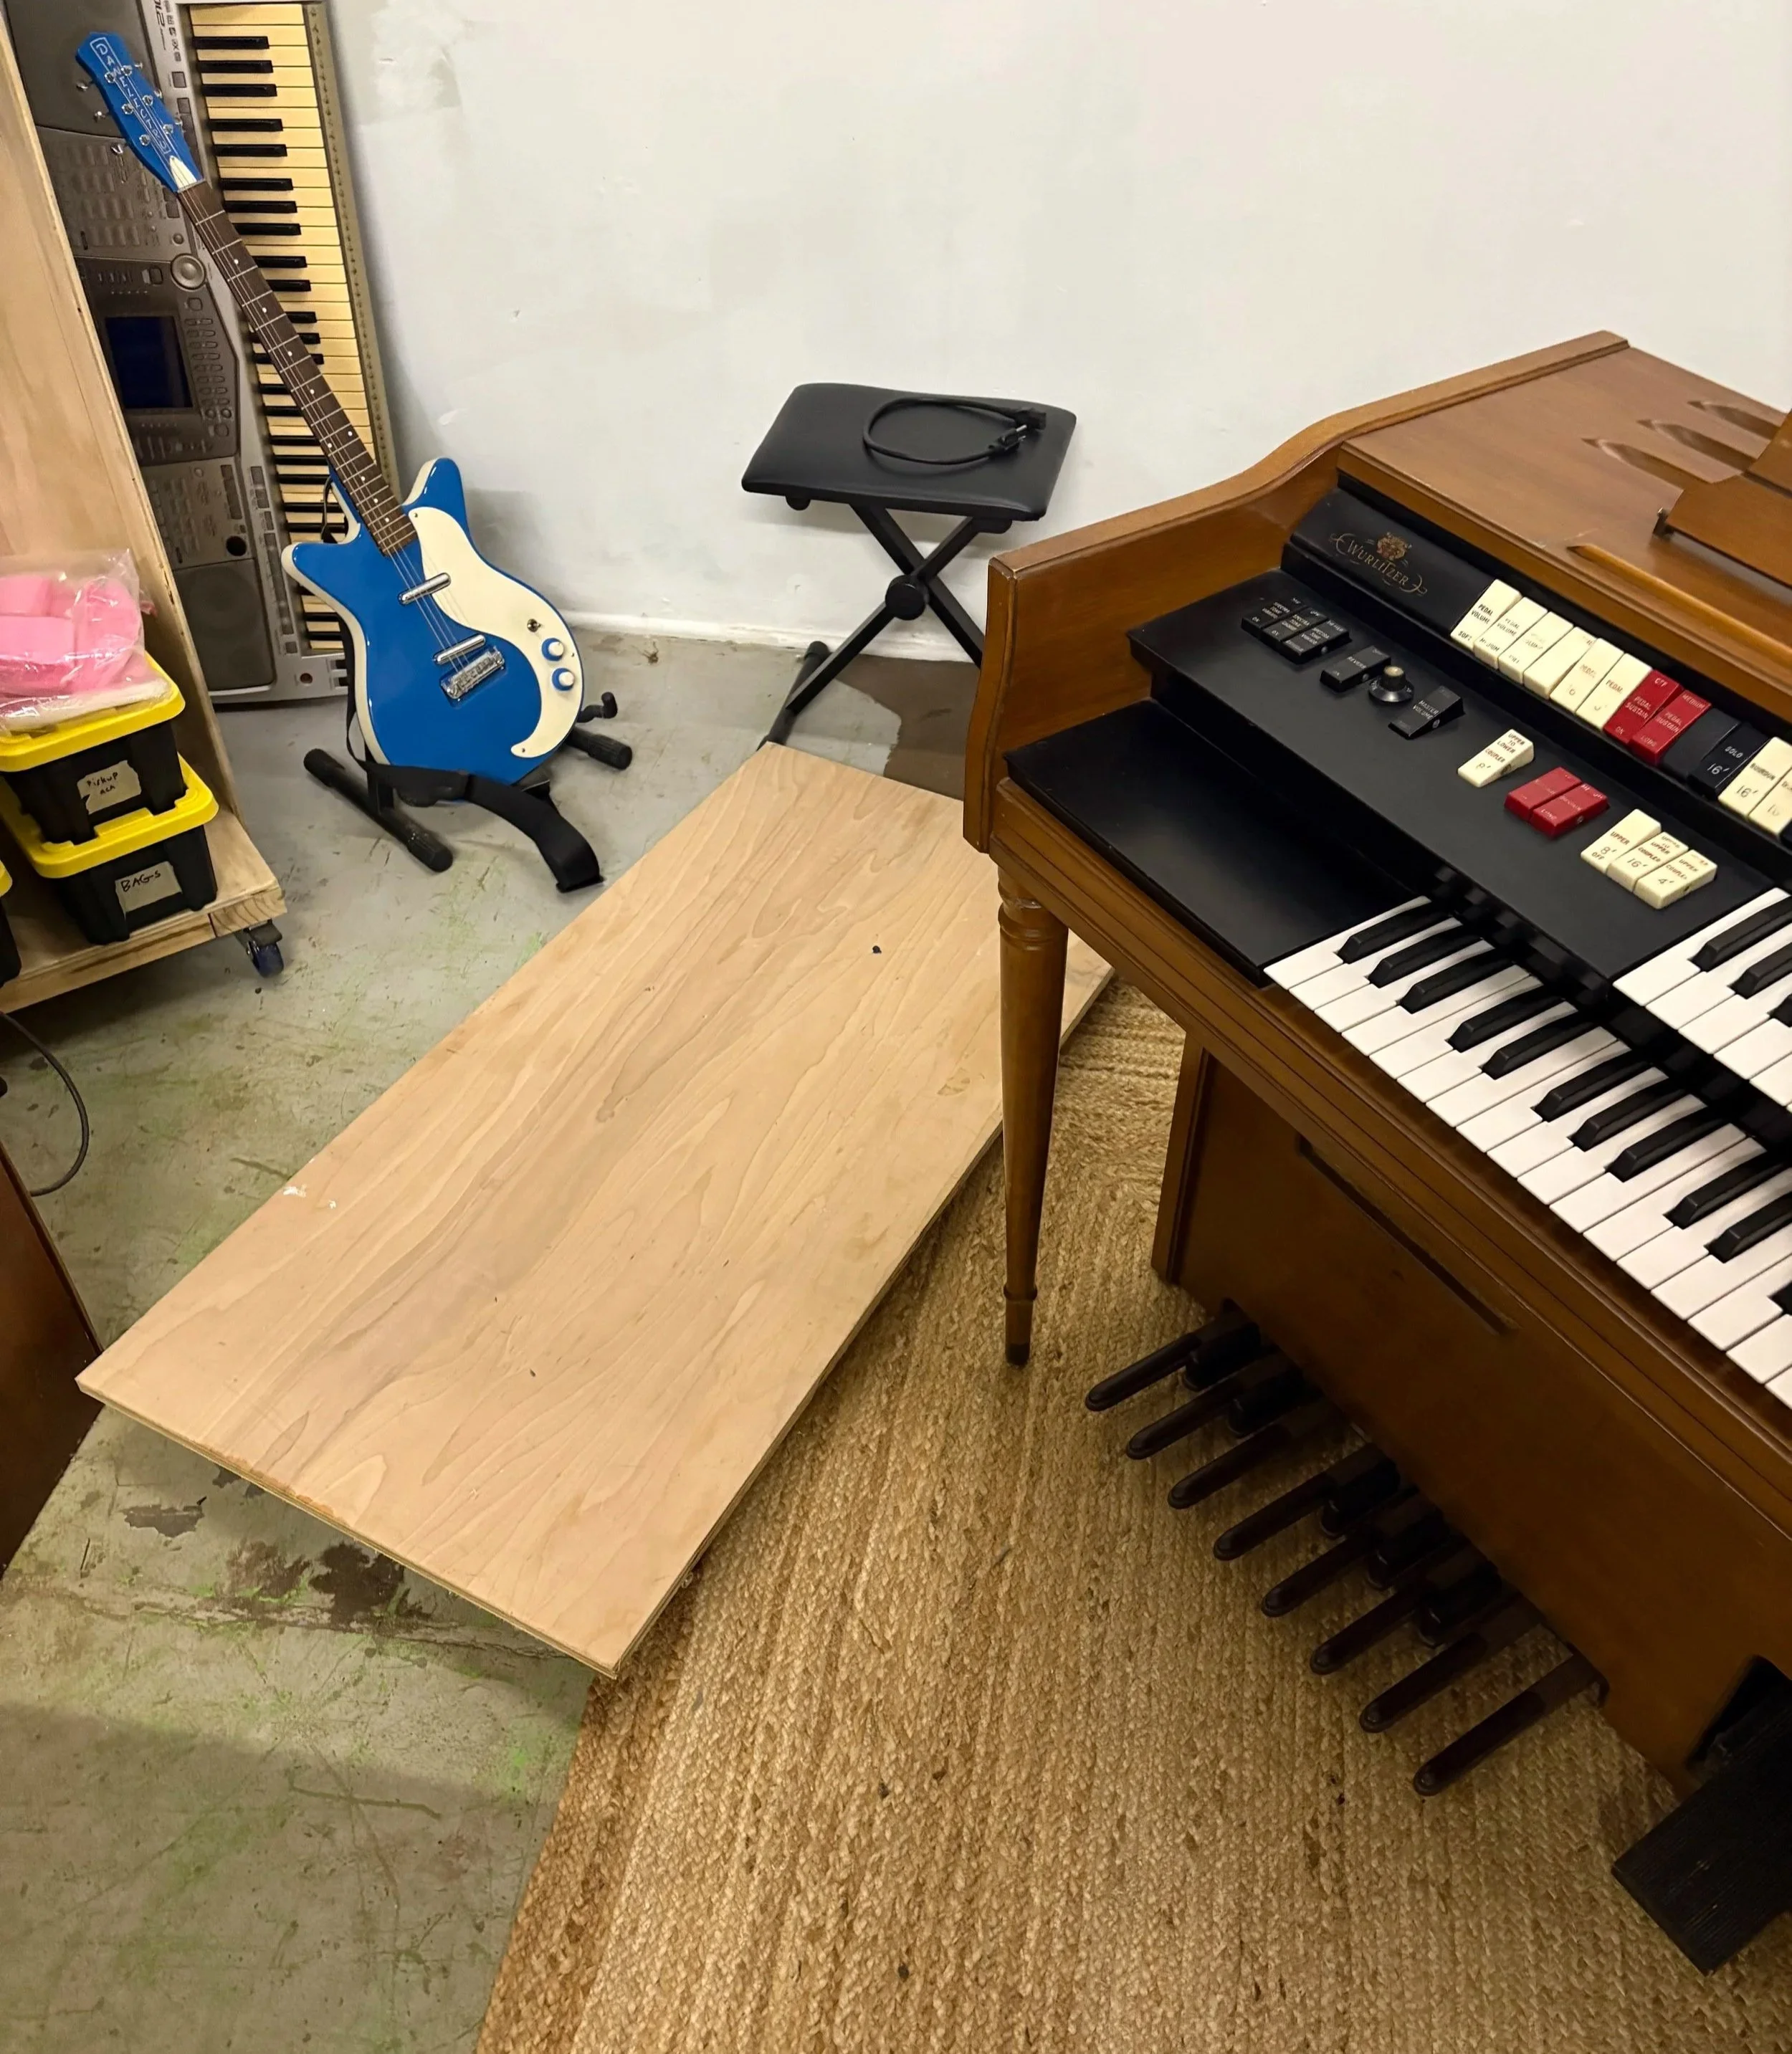
I had an extra piece of 3/4” birch plywood, so it has a nice smooth fin ish
Choosing a size for your dolly
First, I want to mention that console electronic pianos—Wurlitzer 206, 206A, 210, 214, 207, etc.–are in a different size class than a “full size” console organ such as a Wurlitzer 4100. The organ will be slightly wider than the console electronic piano (in this case, by about 8 inches). But, if you make a dolly for the organ, it will work just as well for the electronic piano. Still, you might want to make the slightly smaller dolly that is tailor-made for the console electronic piano because it will fit the instrument better, weigh less, and use less material.
Since you are going to be cutting material, ‘the saying measure twice, cut once’ applies. You should measure the actual floor-contact footprint of your instrument, not just the specified measurements found in the spec book or manual. Measure the overall width of the cabinet portion where it meets the floor, and the overall depth from the back of the cabinet, to the furthers forward facing point on the legs. And be sure add a one inch buffer around the entire perimeter of the instrument.
Construction considerations
Wheels
You will need four good-sized casters, such as 3” polyurethane swivel casters. It is important to size your wheel correctly, because a wheel that is too small in diameter will roll around slowly and struggle to make it over even minor obstacles, like the transition from smooth hard flooring to a carpet. Also, something like a tiny #6 nut could very easily stop an undersized wheel dead in its tracks, while a good sized wheel will make it over that object. This becomes very tedious when trying to move around a large organ or e-piano, because you aren’t going to want to crouch down and see what debris is under your dolly over and over again. Springing for 3-inch wheels minimum is critical.
Also, the wheel may say “rated for 250lbs” but it is important to know that the total weight limit is a factor the load weight distributed among several wheels, as well as the construction of the platform. The rough calculator is your wheel rating times three (250 X 3 = 750lbs). Reed organs will push that limit, but tube organs by Wurlitzer are around 250lbs, and 206 electronic pianos are less than 130 lbs.
I exclusively use plate-mount, non-locking swivel casters. I do not feel the need to ever lock the casters because the floors in my studio are level, and the weight of the instrument keeps the keyboard from moving under normal playing.
I choose plate mount because the ‘decking’ material can be 3/4” and will hold wood screws firmly. Stem mount casters require more decking material to support the stem, so they are generally better suited for mounting directly to furniture where there is a lot of wood to mount into. If there is ever a concern about the wood screws losing their hold on the decking, recessed or counter-sunk bolts can be used from the top down direction through the decking, and through the plate with nuts and lock washers.
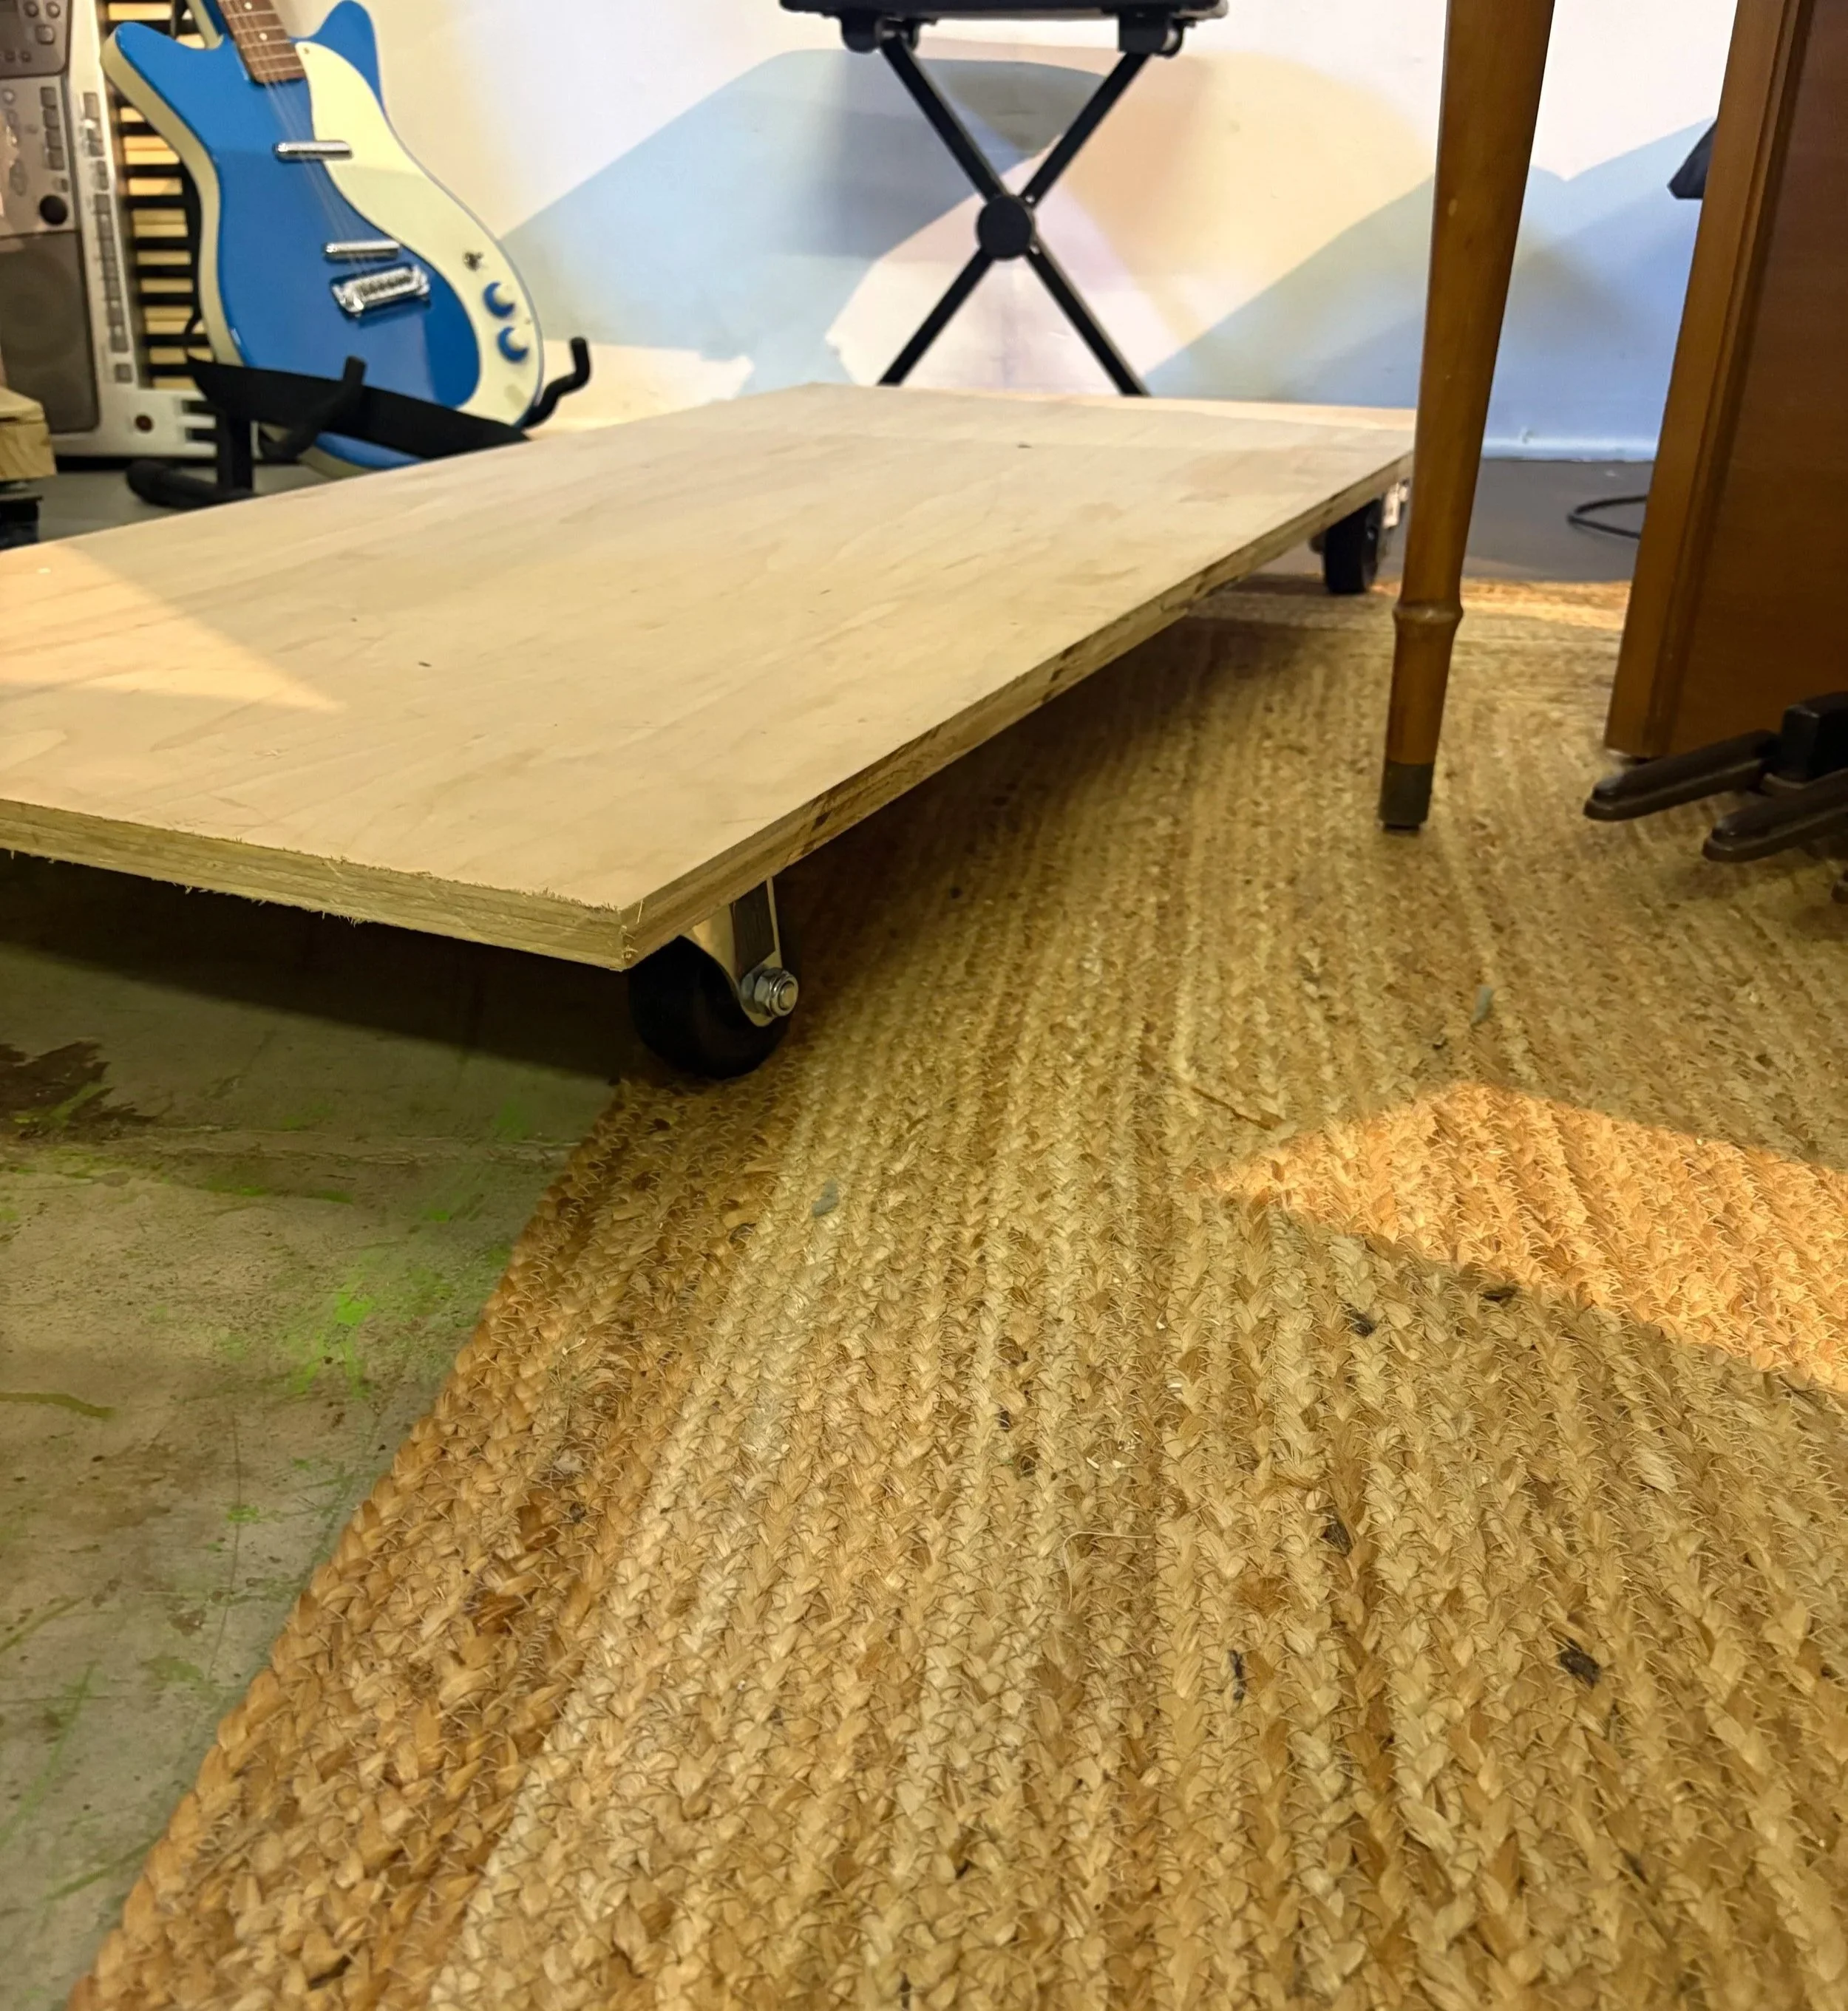
The side/edges where the plies are visible can actually start to really shine if you sand them smooth (mentioned below)
The wheels will be mounted close to the four corners, but there are a few considerations. One, when the wheels rotate (360 degrees) they overhang beyond the plate’s footprint on the side that they favor. So setting the plate in from the extreme edge is a good idea. I often set the plate in two inches from the short edge of the decking, and one inch from the long side of the dolly. There is room for play here, but too far in will create tipping potential at the far edge of the decking.
Decking material
I like using 3/4” plywood, and cutting the plywood so there is an inch perimeter around the instrument. For instance, our Wurlitzer 4100 organ’s footprint—which includes the console/cabinet and where the legs touch the ground—is 46.5” x 22.5”. So, I made the decking an even 48” x 24”. Double-measure the complete footprint of your instrument, and make sure there is a good perimeter of space on the decking in case the instrument is off-center or slides at all during moving.
Going with a thinner plywood is not a great idea because it will be less rigid. 3/4” MDF is also a great option as it is a very strong material. Just know that MDF is a little heavier than plywood, and edges of MDF are susceptible to water damage—not that you have puddles in your studio, but it’s good to keep in mind.
Carpet, or no carpet?
Carpet serves to keep the instrument from sliding, and is a good idea. The carpet can cover the entire top, or can be two generous strips on the far ends of the dolly, like traditional moving dollies. This is up to you. Wrapping the carpet over the edge and around to the bottom and stapling on the bottom, keeps carpet edges off the top, reducing snags while loading onto the dolly. If you are using one plywood piece for the decking, and you want to have carpet, you may want to opt for one continuous piece of carpet covering the entire top, so there are no carpet thresholds that your instrument can get snagged on, and no edges fraying or peeling up, on the top of your decking.
Pros and cons of having a dolly sized for your instrument
The dollies available in most stores come in predetermined sizes, and the vast majority are smaller than your organ. For quick moves and perfectly smooth floor conditions this may not be a concern. But for moving the instrument to an area where you are recording, then moving it back to the area where it is stored, and then moving it where you like to make a quick repair, or to make space for another keyboard you are trying out—you will want a comfortable way to move it. Here are some pros of a custom dolly:
You may want to keep it permanently on your dolly.
Your instrument won’t be precariously off to one side of a small dolly
Your instrument is not going to fall off—in fact, it would take a lot of effort to make it fall off
It looks intentional
One person can easily move the instrument around because it is not tipping off of an undersized dolly
The legs aren’t hanging off of the dolly
Small dollies are actually incredibly unsafe for the instrument
Using two small dollies usually ends in disaster. One gets caught, you keep pushing the organ without seeing the caught dolly, now ~50% is hanging off—one of the dollies completely in the air—how’s it in the air?—oh wait it isn’t, its falling—
The only con of making a custom sized dolly is the fact that you have to make the custom sized dolly. But it is one of the quickest DIY projects you will likely get into. Also, if you go for the plywood option, hardware stores like Home Depot have an employee designated to make the exact cut for you. Just bring your measurements (and a pencil and tape measure, so you can help make a mark if need be), and tell the employee the dimensions you are going for.
List of materials for building a custom dolly
Four 3” casters, plate mount, non-locking, swivel
(16) #8 5/8” Philips, round or pan head wood screws
(16) #8 washers (the mounting holes in the caster plate are often big)
Decking (3/4” plywood cut to your dimensions)
Thin carpet (optional)
Staple gun (to attach the carpet, if applicable)
How you can beautify your new organ or electronic piano dolly (sanding)
After you have completed your organ dolly or electronic piano dolly you may be tempted to beautify it. After all it will be hanging around your studio, and may be something you keep your instrument on permanently. If the dolly is purely functional, after the wheels are on, you are done. But if you want to improve the look and ergonomics of it, sanding the edges will make a big difference in appearance and feel when picking it up. I would start by wearing gloves (rubber coated fabric gloves from a hardware store are a great choice). Wear safety glasses if you have them, and wear a respirator mask as fine airborne sanding dust particles are harmful to breath in. You can also do this outside (because sanding does make a mess by way of fine wood dust particles landing on everything in the room). This is one of those jobs that can be achieved by hand, and does not need a rotary sander for speed. Start with some 80 grit (this removes material rather quickly, so you do not need heavy force) and start evening out the sides. Then move up to 120 grit, and finally 220. One sheet of each would likely be enough for this project.
If you chose a birch plywood or pre-sanded plywood the faces may already be beautifully smooth and require no sanding. Freshly cut sides (edges, which include the edges of the whole pieces itself) require sanding.
You may be tempted to finish or seal the wood. A small bit of finish might be a nice idea, but would certainly require drying and curing time - check out the container and manufacturer instructions for curing time.
Sealing with a polyurethane would certainly look nice, but might add a slickness, causing the organ or electric piano to slide around while moving, so I have always avoided sealers on my dollies - besides the instrument will be cover most of the surface.
