Common Amplifier Malfunctions: The amp smells like it's burning.

There are two major reasons why an amp might smell like it’s burning:
The amplifier is covered in dust, which is in fact burning from the heat of the tubes
The amplifier is malfunctioning and a component is burning
If you have any doubt whether your amplifier is burning, you should turn it off and unplug it right away. However, you may be asking yourself, am I overreacting? Is it correct to be concerned about this burning smell? Or do old amps always smell this way?
The answer is no: your old amplifier should not smell like it’s burning if it is operating correctly. However, it is normal for vacuum tubes to get hot, and if they are dusty it is possible for the amp to smell like burning dust. This guide will discuss how to identify and remediate an excessively dusty amplifier.
However, it is also possible for components to burn up due to certain amplifier malfunctions. The second part of this guide discusses why a component might burn up, and how to diagnose the underlying issue.
the amplifier is dusty
Burning dust has an unpleasant musty smell. Obviously, burning dust will never emit actual smoke. If your amp is smoking, that’s a great sign that it is seriously malfunctioning and needs to be examined by a tech. Likewise, if you clean the dust from the amp and it continues to smell, you can assume that the amp should be examined by someone qualified.
Enjoying this article? Subscribe to our newsletter for weekly repair tips & other vintage amplifier & electronic piano content!
Signs your amp might be cooking in its own dust:
The chassis is mounted upright — i.e., at the bottom of the cabinet — not upside down. It is difficult for an amp that is mounted upside-down to accumulate dust. On the other hand, dust easily settles on an upright chassis mounted to the bottom, particularly if the cabinet is partially open.
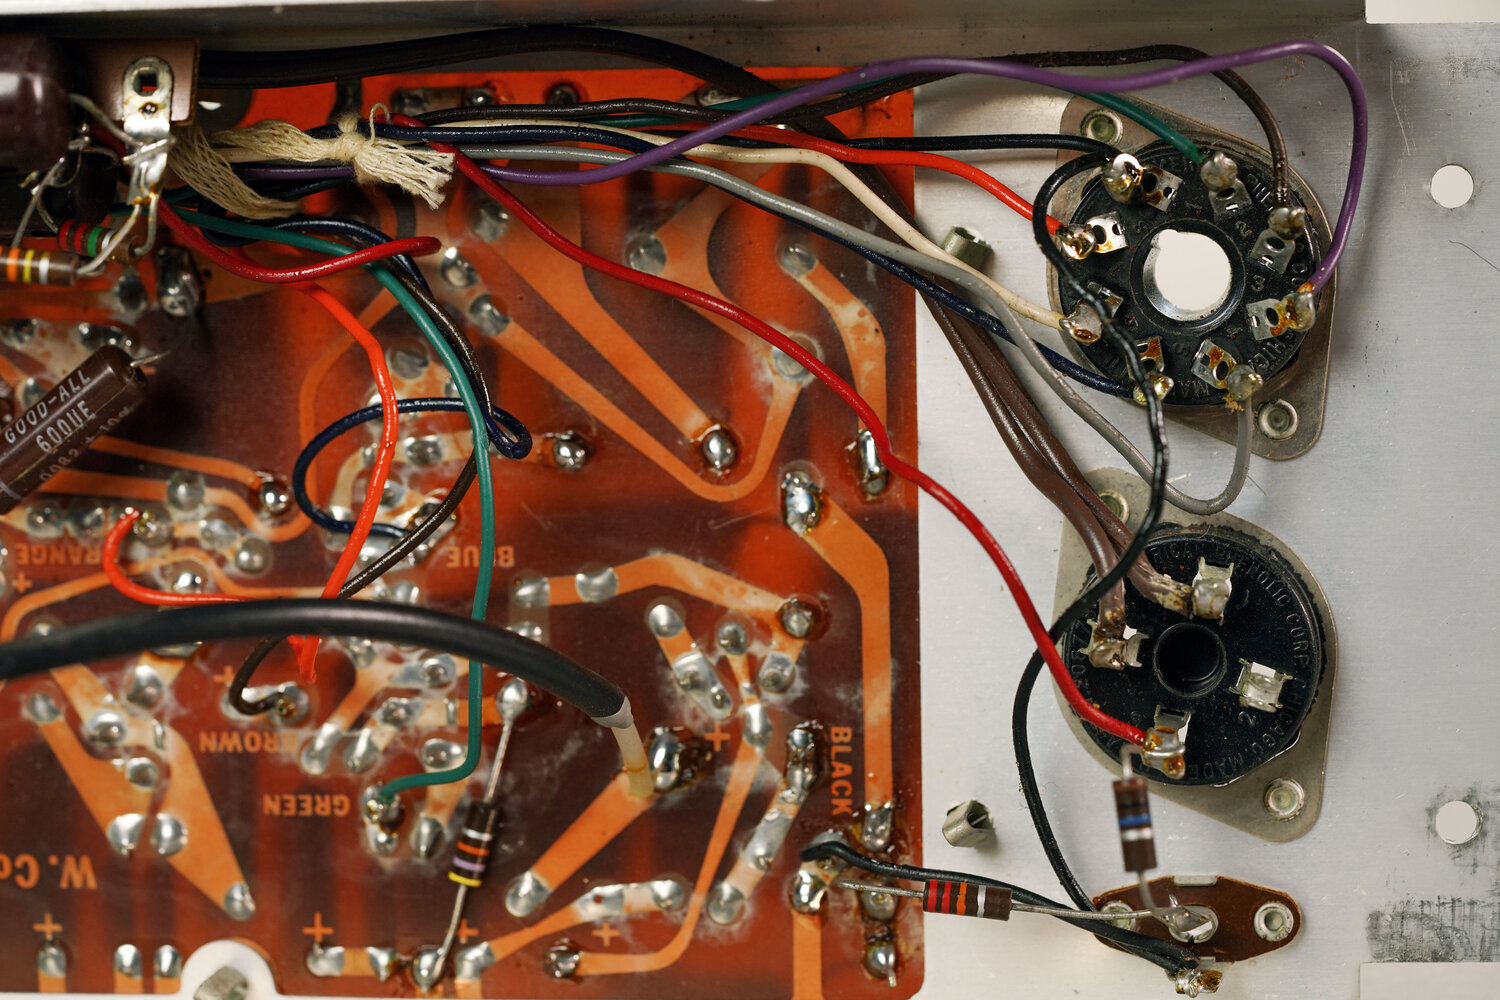
The amp has power tubes that are visibly covered in dust. Even under normal operation, power tubes get pretty hot. If they are covered in dust, you might detect that musty aroma which tells you that the amp is ready to be wiped down.
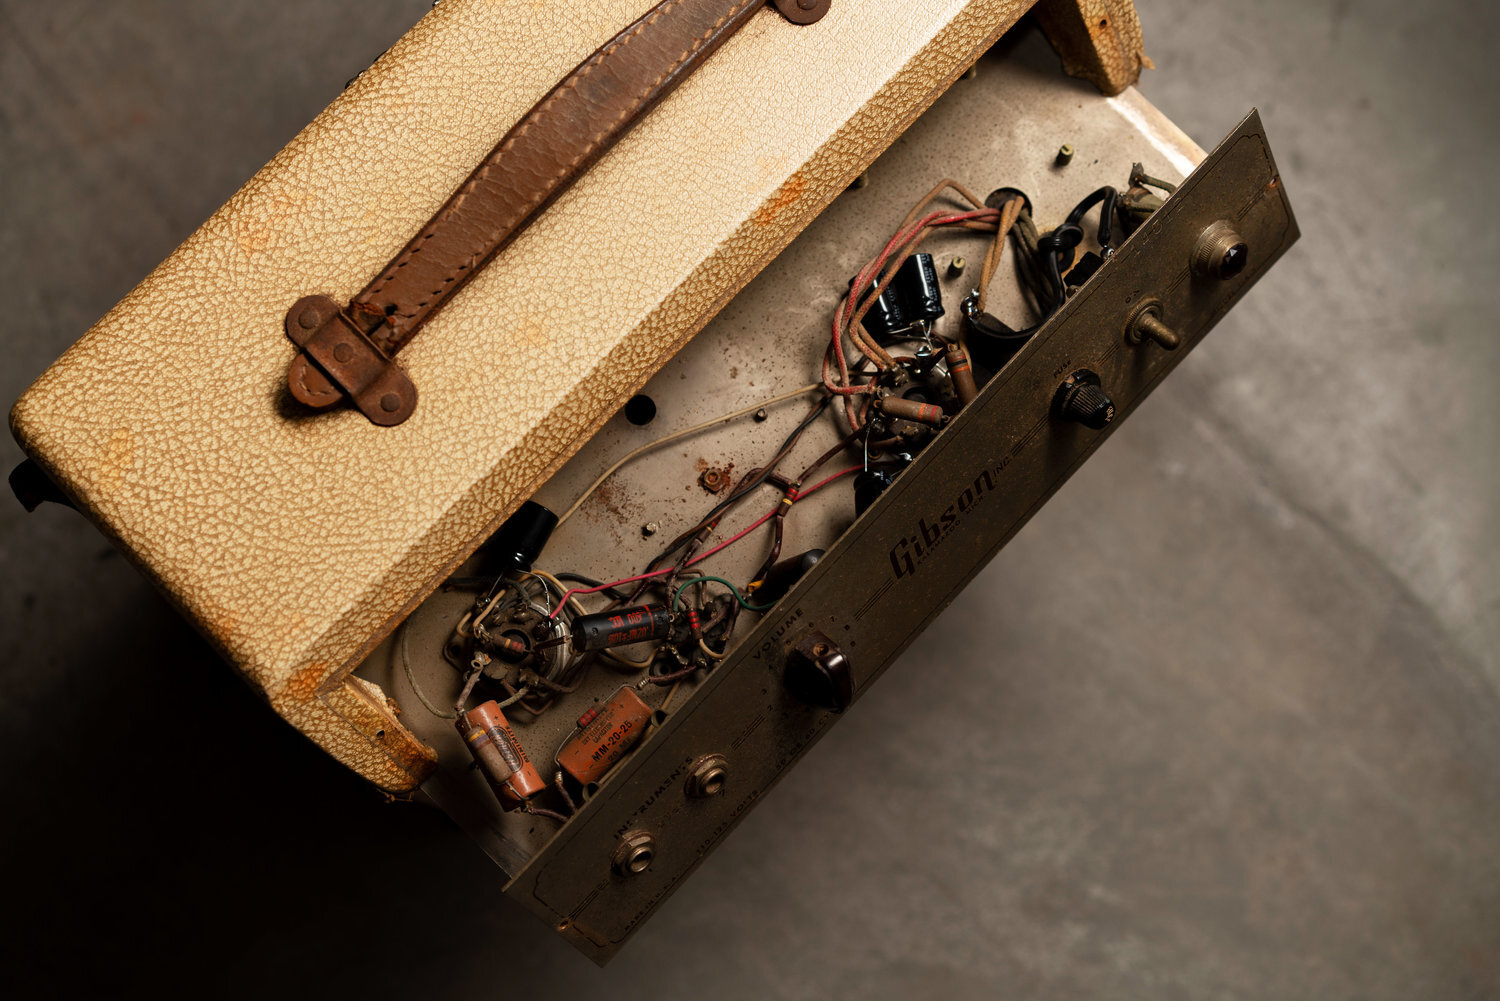
Only the exterior of your amplifier should require cleaning. The inside of the chassis should already be dust-free because it presumably spent the years screwed into place, shielded from the environment.
Some safety notes on cleaning an amplifier chassis:
Always unplug the amplifier before cleaning it.
If you remove the chassis from the cabinet, you must avoid touching the inside of the chassis. The filter capacitors can shock you even when the amplifier is turned off and unplugged.
Remove the tubes before cleaning them in order to avoid dripping liquid through the tube sockets.
Make sure that everything is thoroughly dry before you put the tubes back and power the amp back on.
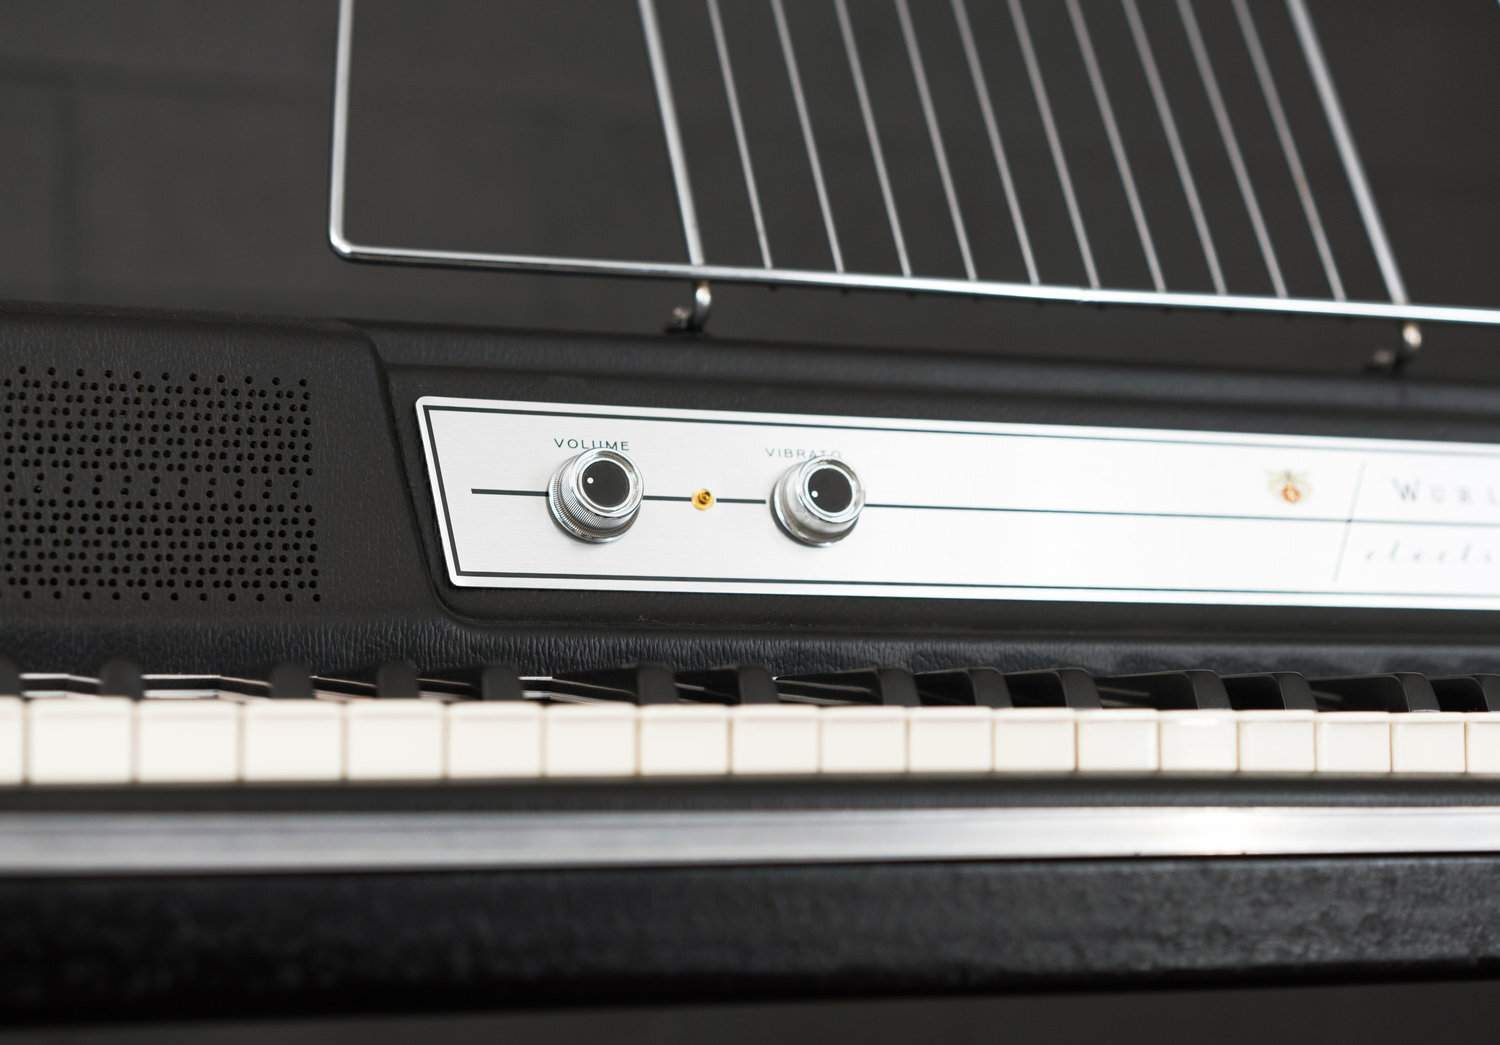
What products should be used? Use isopropyl alcohol on solder connections. On other parts of the amp, you can use any cleaner appropriate for the material: i.e., glass cleaner on tubes, metal polish on the chassis. However, note that cleaning products can remove the screen printing from the chassis and the tubes, so be cautious if you want to preserve this. Transformers should not be cleaned with any product.
When cleaning your amplifier, use a minimum of liquid. If using a spray product, always spray a cloth, not the amplifier directly.
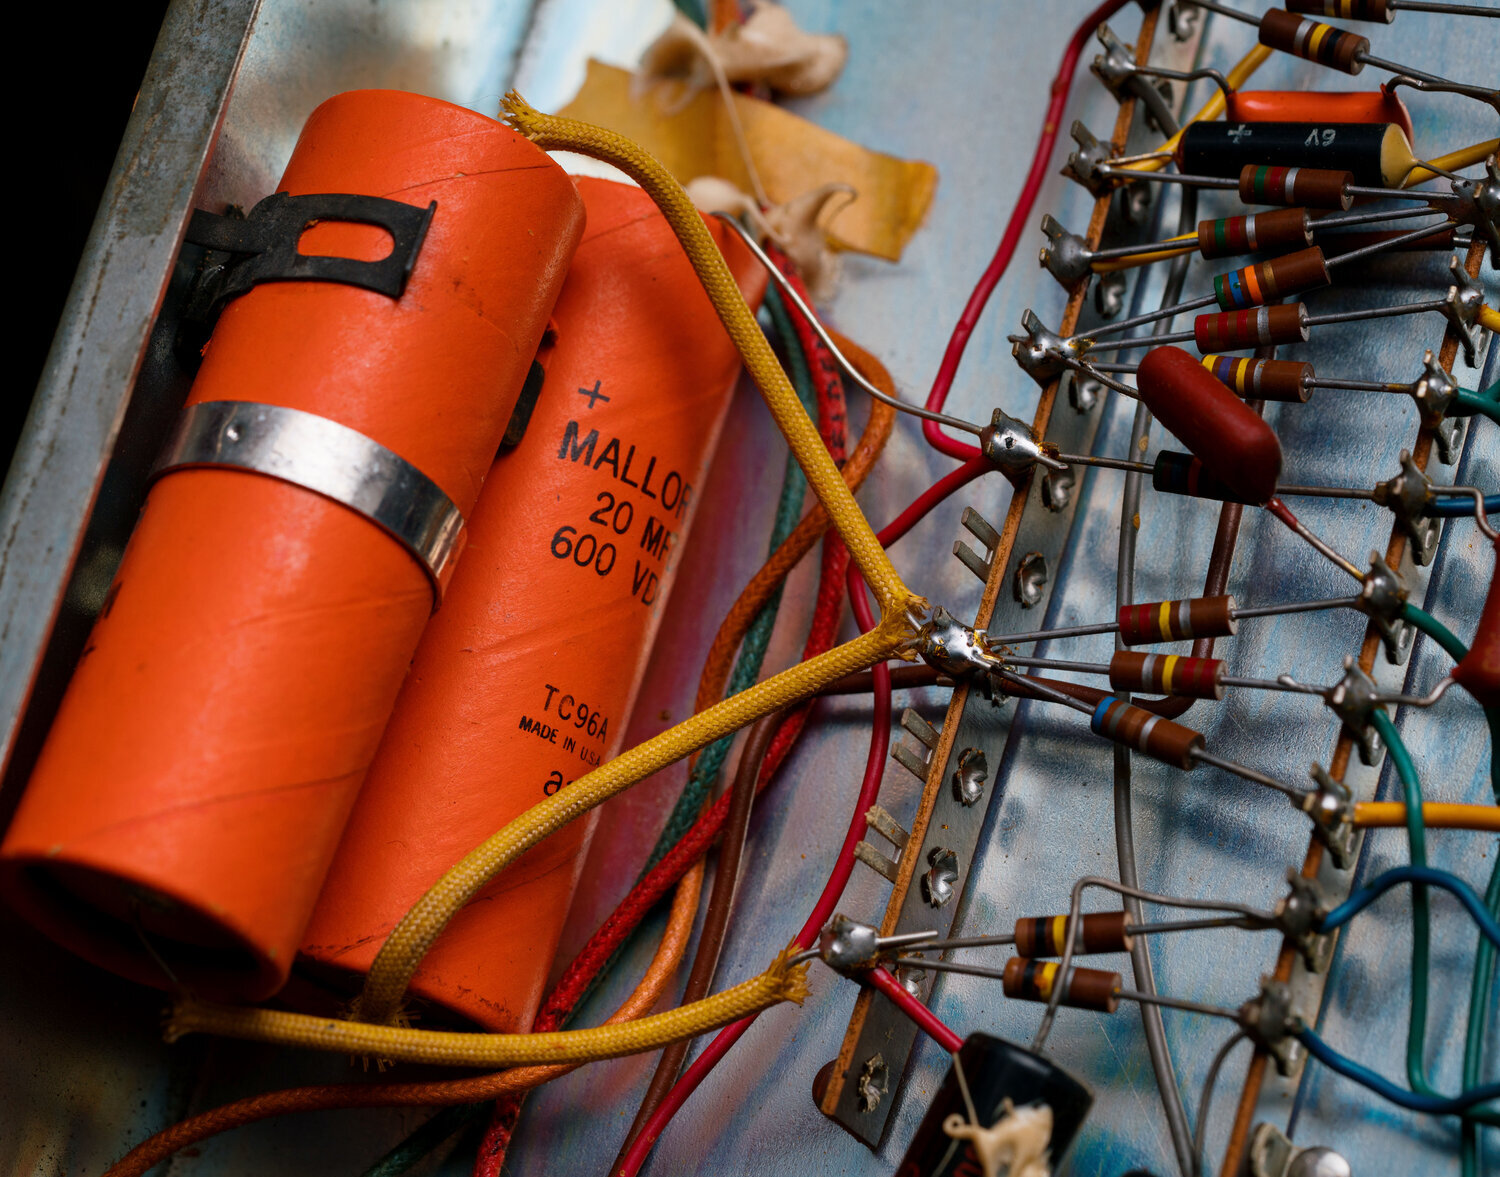
Note about cleaning transformers. Transformers should not be aggressively cleaned, even if they are rusty. Rust on a transformer core provides insulation from the eddy currents that contribute to power losses. You can gently knock loose debris from a transformer, but if you remove the rust you will reduce the transformer’s performance.
the amplifier is malfunctioning
If a component dissipates too much heat, or experiences excessive voltage, it may start to burn up. This may happen because the component did not have the appropriate power or voltage rating for its position, or because a component has deteriorated to such an extent that its manufacturer voltage ratings are no longer valid. However, it is also likely that another part of the circuit is malfunctioning and diverting excessive voltage or current to the component in question.
So: the culprit may be the burned component itself, but it may also be a malfunctioning component elsewhere. So, when you see a burned component, you must consider how it fits into the rest of the circuit:
What is the component’s job in the circuit?
What path might have the excess current taken when it burned the component?
What other parts of the circuit does the component interact with?
This is an analysis that is very helpful no matter what the issue is. However, a burned component is a visual reminder of how components in a circuit never stand alone, but rather rely on the functionality of the rest of the circuit.
Components that handle high voltages and currents and a lot of heat are typically found in the power supply and output stage. If there is a short here, it is very possible for a component in the area to start burning. This is also why it is important to replace power tubes, rectifiers, or any other power-handling components as soon as they start to show evidence of malfunction or degradation.
This should also be obvious, but if components are burning or smoking, working on the amplifier is extra dangerous. Depending on the issue, a little smoke can be the precursor to actual flames. Amps in this condition should only be troubleshooted by a qualified person. This article is meant to be information and is not an invitation to tinker inside an amp that may be on the verge of an electrical fire.
Further Reading
Browse all of our articles on restoring vintage gear. Or, click on an image below.